
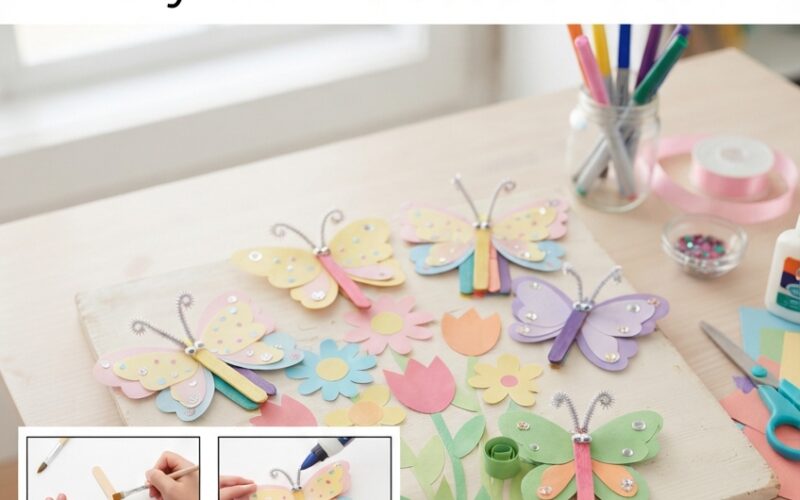
Looking for a fun, colorful craft that kids can make with simple supplies? These adorable popsicle stick butterflies are an easy project for preschoolers and young children. With craft sticks, colorful paper, paint, and a little imagination, kids can create cheerful butterflies that are perfect for spring crafts, classroom activities, nature projects, or an afternoon at home.
This craft is simple enough for beginners and offers plenty of opportunities for children to choose their own colors and decorations. Each butterfly can look completely different, making the finished collection extra fun to display.
Why Kids Will Love This Butterfly Craft
Popsicle stick butterflies are more than just a cute craft. They encourage children to practice creativity, hand-eye coordination, and fine motor skills while working with different materials.
Kids can paint their own craft sticks, cut or decorate butterfly wings, and add colorful details such as dots, hearts, stars, or glitter. Parents and teachers can also use the activity to introduce children to butterflies, colors, patterns, and nature.
The best part is that you don’t need complicated craft supplies. Many of the materials may already be sitting in your craft drawer.
Materials You’ll Need
Gather the following supplies before getting started:
- Wooden popsicle sticks or craft sticks
- Colored cardstock or construction paper
- Washable paint
- Paintbrushes
- Child-safe scissors
- Glue
- Googly eyes
- Markers or crayons
- Pipe cleaners for antennae
- Pom-poms or small decorative pieces
- Optional: stickers, glitter, buttons, or foam shapes
For younger children, an adult should handle scissors and supervise the use of small decorative pieces.
Step 1: Prepare the Butterfly Wings
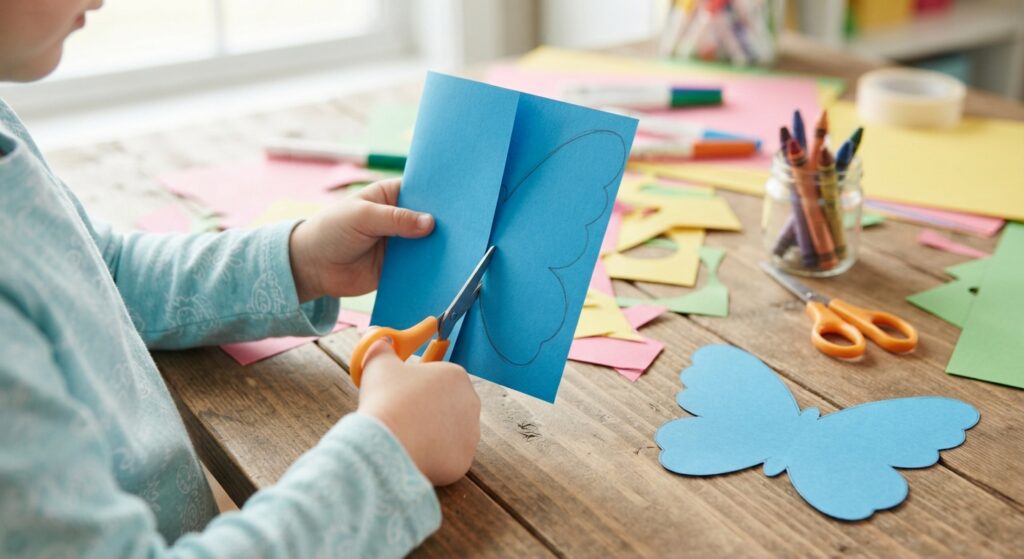
Start by creating the butterfly wings. Fold a piece of colorful paper in half and draw half of a butterfly wing shape along the folded edge.
Carefully cut around the shape and open the paper. You should now have a pair of symmetrical wings.
You can make the wings large and rounded or small and simple. Try using different colors of paper so every butterfly has its own personality.
Another option is to let older children draw their own wing designs before cutting them out.
Step 2: Decorate the Wings
Now comes the most creative part!
Give children markers, crayons, stickers, paint, or foam shapes and let them decorate their butterfly wings. Encourage them to experiment with patterns.
They could create colorful dots, stripes, hearts, stars, flowers, or zigzag designs. You can also show children pictures of real butterflies and ask them to notice the different colors and patterns.
For a simple activity, ask children to make matching patterns on both wings. This is a great way to introduce the idea of symmetry.
Let the wings dry completely if paint or glue has been used.
Step 3: Paint the Popsicle Stick
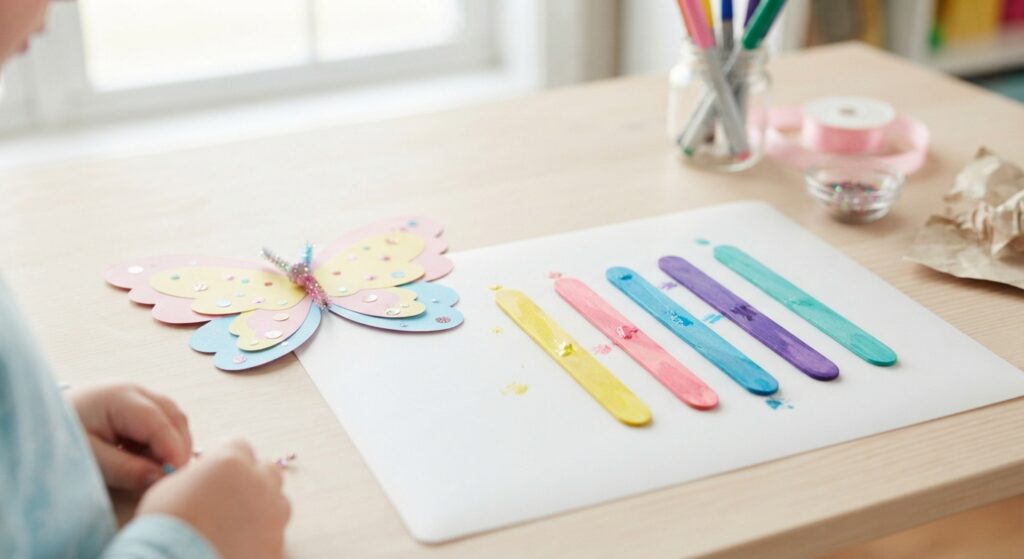
While the wings are drying, paint the popsicle stick that will become the butterfly’s body.
Choose a color that contrasts with the wings. For example, a bright yellow body looks cheerful with blue wings, while a purple stick can look beautiful with pink or orange wings.
Apply a thin coat of washable paint and allow the stick to dry. If you want a stronger color, add a second coat after the first one dries.
You can also leave the craft stick natural for a simple wooden look.
Step 4: Assemble the Butterfly
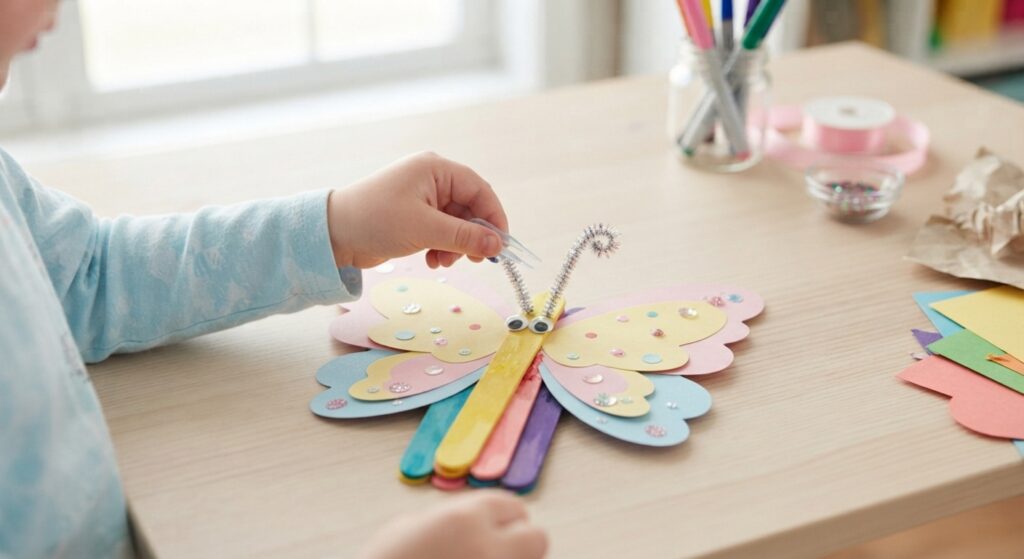
Once everything is dry, place the decorated wings behind the popsicle stick.
Apply a small amount of craft glue to the center of the wings and attach the popsicle stick vertically over them. Hold everything gently in place for a few moments.
Avoid using too much glue because it can make the paper soggy or take longer to dry.
Let the butterfly sit undisturbed until the glue has completely dried.
Step 5: Add the Face and Antennae
Give your butterfly some personality by adding two googly eyes near the top of the popsicle stick.
If you don’t have googly eyes, simply draw eyes with a marker.
For antennae, cut a short piece of pipe cleaner, bend it into a gentle curve, and attach it behind the top of the popsicle stick. An adult can help younger children with this step.
You can also draw a tiny smile to make your butterfly look extra cheerful.
Easy Ways to Customize Your Butterflies
There are countless ways to make these butterflies unique.
Try using patterned scrapbook paper instead of plain construction paper. You can also layer two different wing colors to create a dimensional effect.
For a classroom project, give each child a different color combination and create a colorful butterfly display.
Kids can also add their names to the popsicle stick or write a short word such as “happy,” “spring,” or “nature.”
For a less messy version, skip paint and use colored craft sticks or wrap the popsicle stick with colored paper.
Turn It Into a Learning Activity
This butterfly craft can easily become part of a larger educational activity.
After making the butterflies, talk about butterfly colors and patterns. Ask children questions such as:
- What colors did you use?
- Are the two wings the same?
- Which butterfly has the brightest colors?
- How many spots can you count?
- What shapes did you use to decorate the wings?
You can also read a children’s book about butterflies and then make the craft afterward.
For toddlers and preschoolers, the activity can become a simple color-recognition exercise. Ask children to identify each color as they decorate their wings.
Fun Ways to Display the Finished Butterflies
Once the butterflies are completely dry, don’t hide them away!
Attach them to a piece of string to create a colorful butterfly garland. They can also be placed on a bulletin board, refrigerator, bedroom wall, or classroom display.
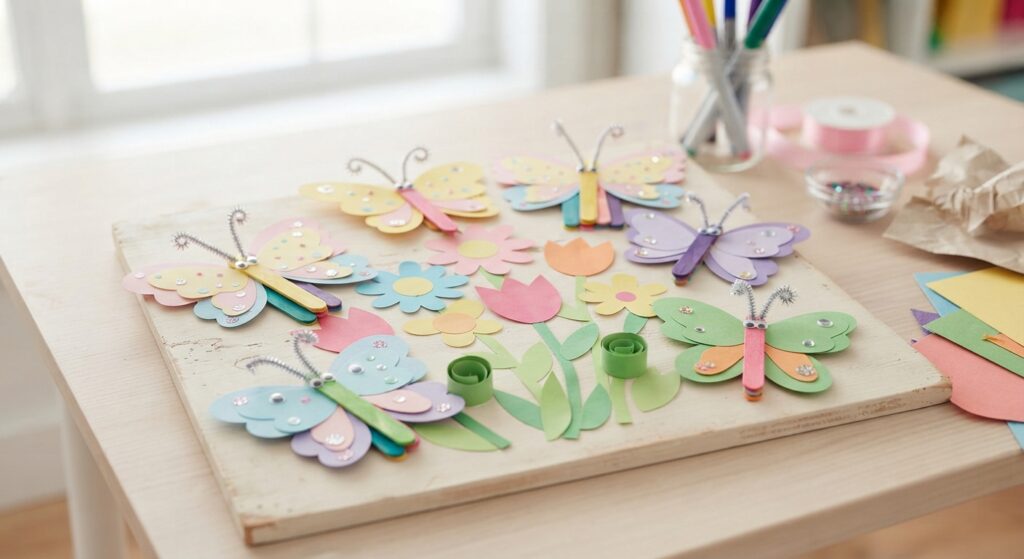
Another fun idea is to make several butterflies and attach them to paper flowers or a large cardboard garden scene. Children can create an entire colorful garden using their handmade crafts.
Final Thoughts
These popsicle stick butterflies are an easy and inexpensive way to keep kids creative and engaged. With just a few basic supplies, children can turn simple craft sticks and colorful paper into cheerful little butterflies.
The project is easy to adapt for different ages and skill levels, and there are endless possibilities for colors, patterns, and decorations. Whether you’re planning a spring craft afternoon, a classroom activity, or simply looking for something fun to make at home, these colorful butterflies are a wonderful project to try.
So gather your craft supplies, choose your favorite colors, and let the kids create their own beautiful butterfly collection!
