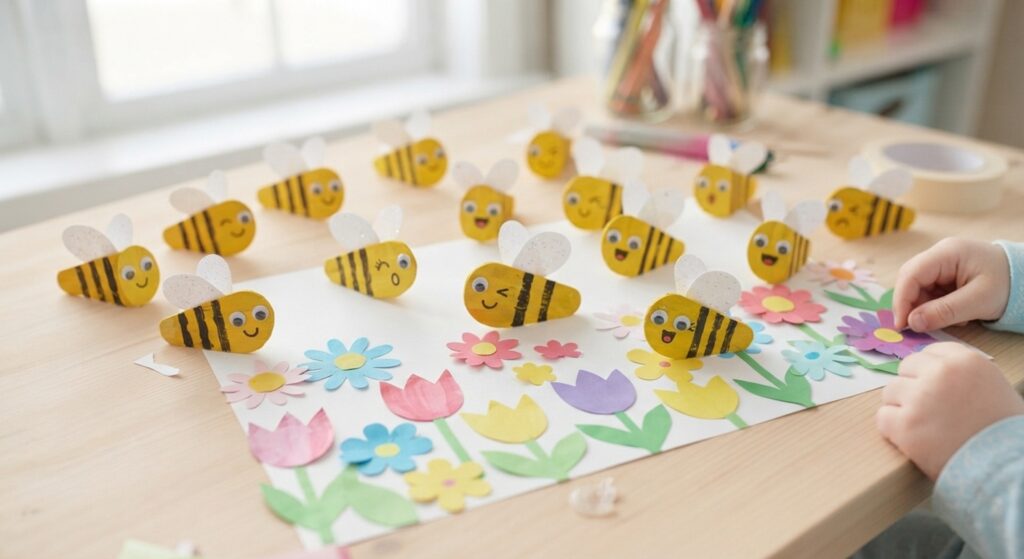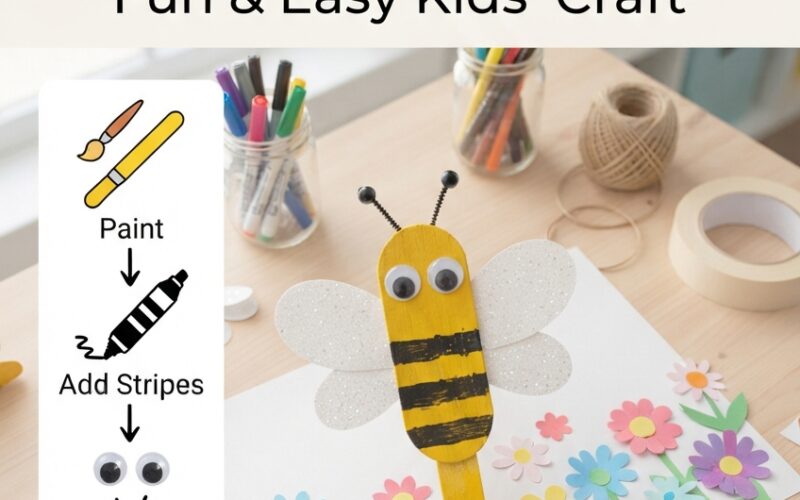
Looking for a cheerful craft that kids can make with simple supplies? These cute popsicle stick bees are an easy and creative project for toddlers, preschoolers, and young children. With craft sticks, paint, paper, and a few basic decorations, kids can turn ordinary popsicle sticks into adorable little bees.
This activity is perfect for a rainy afternoon, classroom craft session, spring activity, or a fun weekend project at home. It also gives children an opportunity to practice painting, gluing, cutting, and following simple steps.
Why Kids Will Love This Bee Craft
Popsicle stick crafts are popular because they are inexpensive, versatile, and easy to customize. Children can experiment with different colors, facial expressions, wings, and decorations to give each bee its own personality.
Making these little bees can also help develop fine motor skills, creativity, hand-eye coordination, and concentration. Younger children can focus on painting and decorating, while older kids can help with cutting and assembling the different pieces.
Once finished, the bees can become decorations, pretend-play characters, classroom displays, or cute handmade gifts.
Materials You’ll Need
You only need a handful of supplies for this project:
- Wooden popsicle sticks or craft sticks
- Yellow acrylic or washable craft paint
- Black paint or black marker
- White paper or cardstock
- Small piece of black paper
- Glue
- Paintbrush
- Scissors
- Googly eyes
- Pencil
- Optional: yellow or black ribbon, small pom-poms, glitter, or markers
For younger children, adults should handle scissors and supervise the use of glue and small decorative pieces.
Step 1: Prepare the Popsicle Sticks
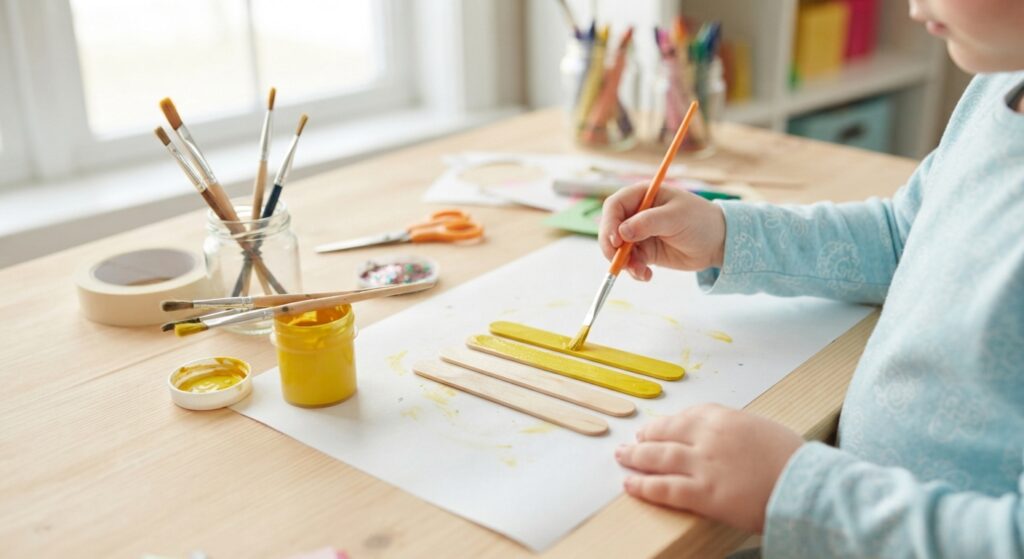
Start by placing several popsicle sticks next to each other on a flat surface. Depending on the design you want, you can use around 5–7 sticks for each bee.
Apply yellow paint to the front of the sticks. Try to create an even coat without using too much paint. Let the first layer dry before adding another coat if needed.
If you’re making several bees, painting all the sticks at once can make the project faster.
Step 2: Add the Bee’s Black Stripes
Once the yellow paint has completely dried, it is time to turn the sticks into little bees.
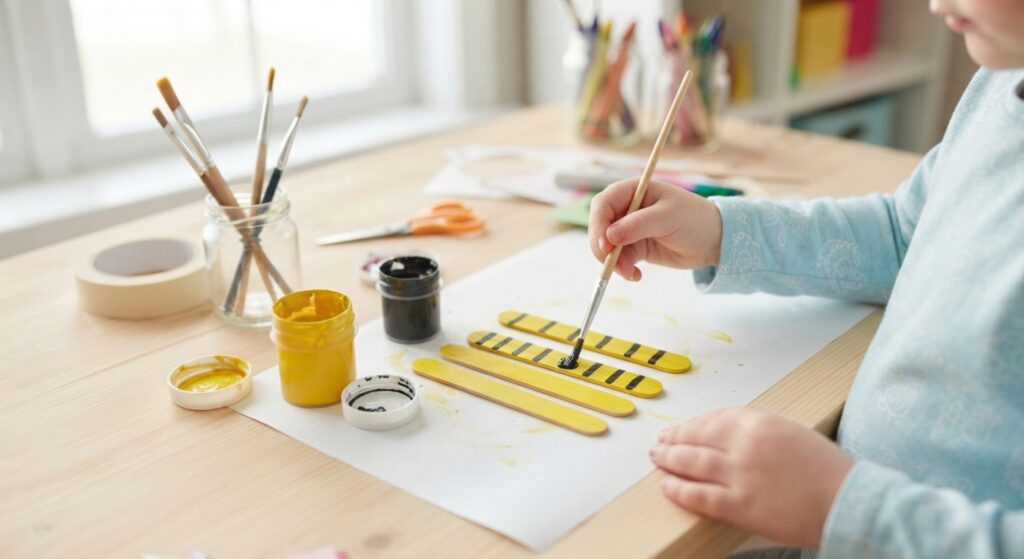
Use black paint or a black marker to add horizontal stripes across the yellow sticks. Leave some yellow space between each stripe so the bee pattern is easy to see.
For younger children, an adult can draw the stripes first and let the child color them in.
Don’t worry about making every stripe perfectly straight. Slightly different stripes can make each handmade bee look unique and playful.
Step 3: Create the Bee’s Face
Now comes the fun part!
Glue two googly eyes near the top of the popsicle stick arrangement. If you don’t have googly eyes, children can draw eyes with a black marker or cut small circles from white and black paper.
Add a tiny smile underneath the eyes using a black marker. You can also create different expressions. One bee might have a happy smile, while another could have a surprised or silly expression.
For an extra cute detail, add two tiny black antennae using strips of black paper or thin pieces of pipe cleaner.
Step 4: Make the Wings
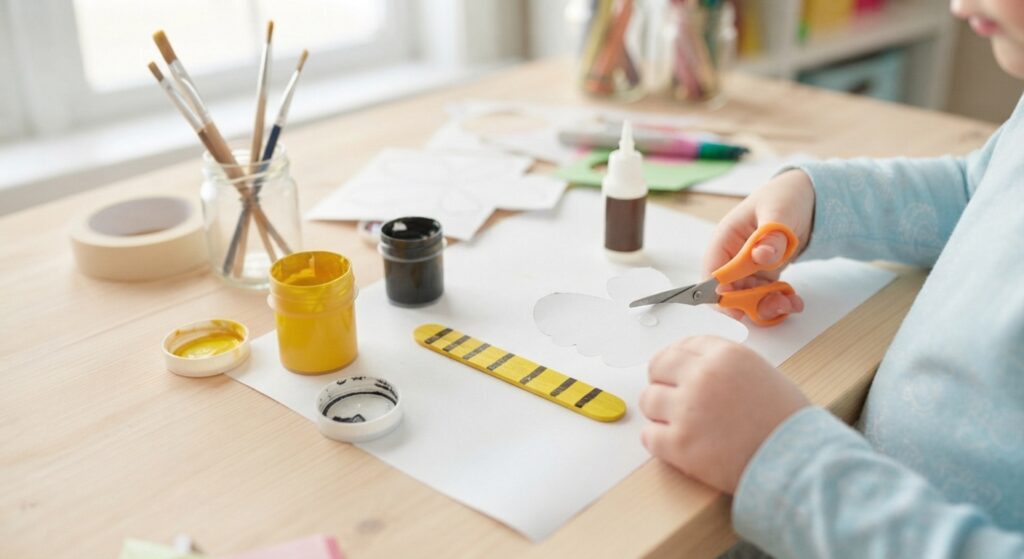
To create the wings, draw two simple wing shapes on white paper or cardstock. They can look like small rounded ovals or soft heart shapes.
Carefully cut them out and glue one wing on each side of the bee.
For a more decorative look, children can lightly color the edges of the wings with a pale blue or gray marker. A tiny amount of glitter can also make the wings sparkle.
Step 5: Add Creative Details
Once the basic bee is complete, let kids personalize their creations.
They can add:
- Tiny paper flowers
- Small paper leaves
- Colorful dots
- Glitter accents
- Mini bows
- Pipe-cleaner antennae
- A paper honey pot
- A popsicle stick flower
You could even make a whole family of bees with different sizes and expressions.
Encouraging children to make creative choices is one of the best parts of an open-ended craft. There doesn’t have to be one “correct” way to decorate the bees.
Easy Bee Craft Variations
There are many ways to adapt this project.
Bee Bookmark
Use only one popsicle stick and decorate it as a tiny bee. Add a small piece of ribbon at the bottom to create a simple homemade bookmark.
Bee Garden Decoration
Make several bees and attach them to craft sticks. Place them around paper flowers to create a cheerful pretend garden.
Bee-Themed Classroom Display
Children can make individual bees and add their names underneath. Display them together with paper flowers and the phrase “Busy Little Bees!”
Bee Puppet
Attach the finished bee to a longer craft stick and use it as a simple puppet for imaginative play.
Tips for Making This Craft Easier
If you’re crafting with toddlers or preschoolers, prepare some of the materials ahead of time. Cutting the wings and preparing the popsicle sticks can make the activity easier for younger children.
Use washable paint whenever possible, and cover the table with newspaper or a craft mat before beginning.
Most importantly, let the project be fun rather than perfect. Handmade crafts often look best when children can add their own ideas and personality.
A Sweet Craft for Any Day
These popsicle stick bees are a simple way to turn everyday craft supplies into something adorable. Children can practice useful skills while painting, gluing, and decorating their little bees.
Whether you’re looking for a spring craft, preschool activity, classroom project, or easy afternoon craft, this bee project is a wonderful option. Make one bee or create an entire buzzing collection—the possibilities are endless!