
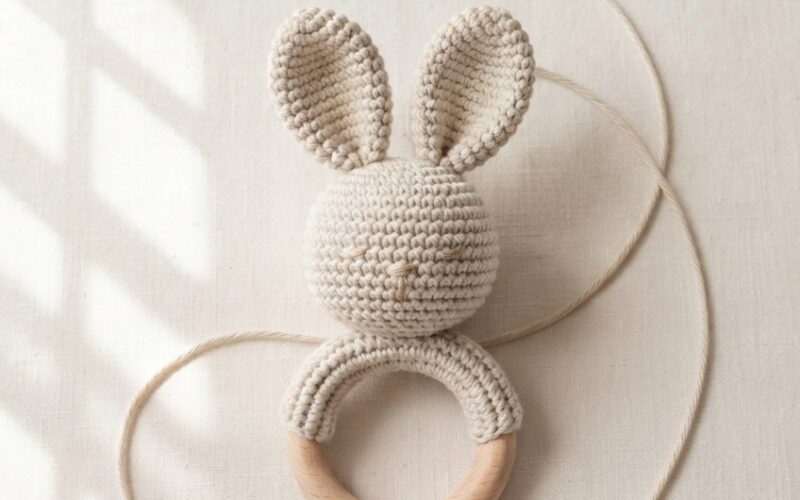
If you love making sweet handmade gifts for little ones, this DIY Crochet Bunny Teether Ring is a fun project to add to your crochet collection. With its cute bunny ears, soft crocheted texture, and simple wooden ring, it makes an adorable handmade baby accessory.
This free crochet bunny teether pattern is designed with beginners in mind. The project uses basic crochet stitches and can be customized with different yarn colors to create a bunny for every nursery theme.
Safety note: This tutorial is for a decorative crochet teether-style ring. For anything intended for a baby to chew, use only materials specifically manufactured and safety-tested for infant teething products. Avoid loose buttons, beads, plastic eyes, or detachable decorations. Always inspect the finished item before every use and supervise babies and toddlers.
Materials You’ll Need
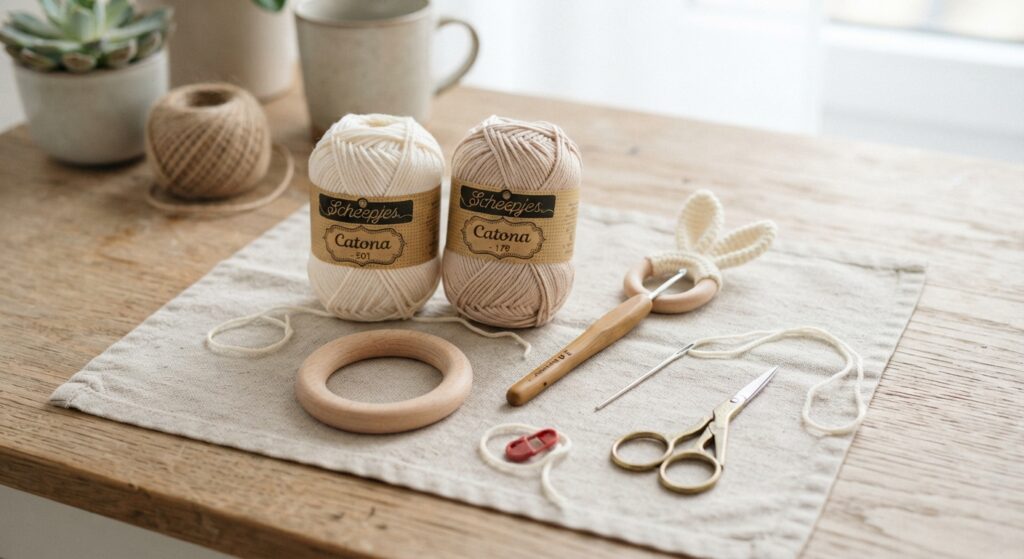
For this DIY crochet bunny ring, gather:
- Baby-safe cotton yarn
- Crochet hook appropriate for your yarn
- A smooth, untreated wooden teething ring specifically made for baby products
- Yarn needle
- Scissors
- Small amount of embroidery thread, if desired
- Stitch marker
- Measuring tape
For the safest handmade version, keep the bunny design simple. Embroidered details are preferable to loose decorations.
Step 1: Crochet the Bunny Head
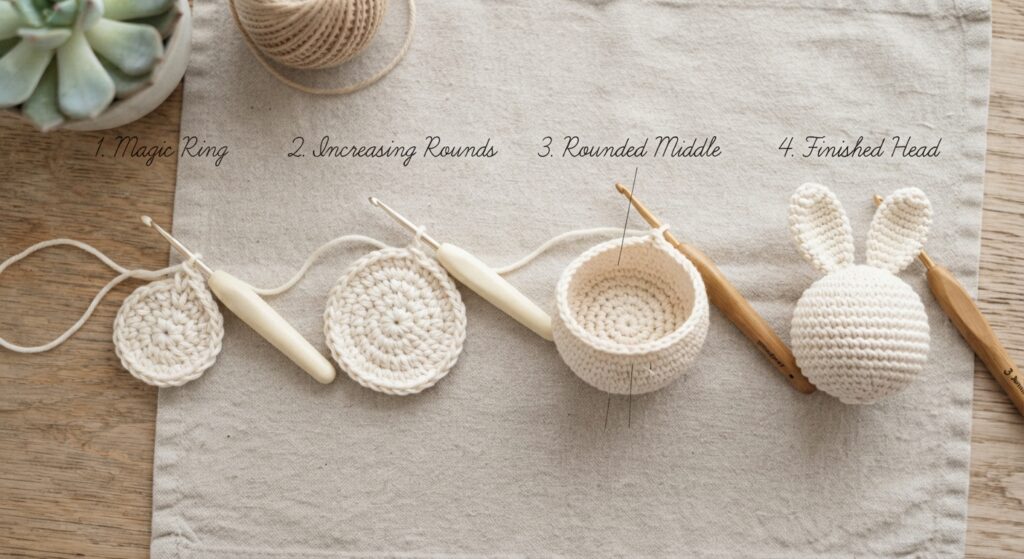
Start by making a small amigurumi-style bunny head.
Using your chosen yarn:
- Make a magic ring.
- Crochet 6 single crochet stitches into the ring.
- Increase around the next round.
- Continue working in single crochet while gradually increasing to create a rounded shape.
- Crochet several rounds without increases.
- Begin decreasing gradually to shape the bottom of the head.
- Add a small amount of suitable stuffing if the design calls for a soft stuffed head.
- Continue decreasing until the opening is closed.
- Fasten off and weave in the yarn securely.
Keep the shape compact rather than making a large stuffed animal. The goal is a simple bunny accent attached securely to the ring.
Step 2: Make the Bunny Ears
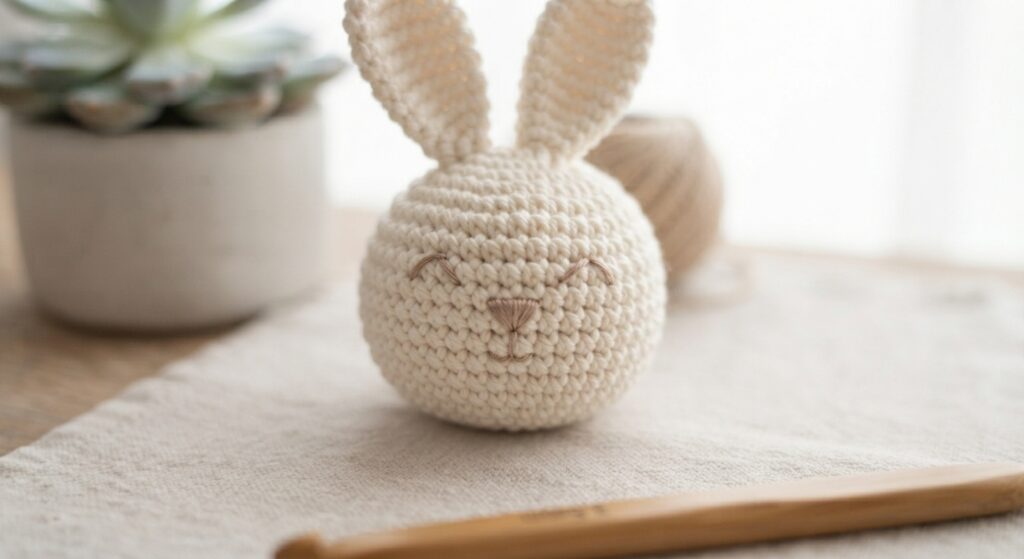
The ears give this little project its recognizable bunny shape.
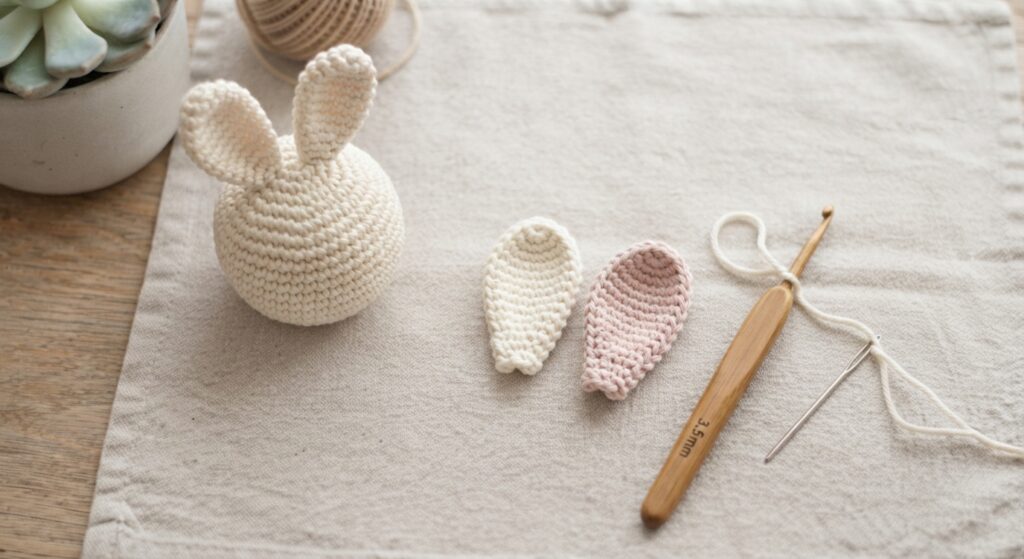
For each ear:
- Chain a short foundation.
- Work single crochet stitches along the chain.
- Add stitches near the end to create a gently rounded tip.
- Continue back along the opposite side of the foundation chain.
- Fasten off securely.
- Repeat for the second ear.
You can make the ears slightly floppy for a softer look or keep them upright for a more traditional bunny design.
Try using a slightly darker shade on the inner ear if you want more visual detail, but keep all pieces securely stitched.
Step 3: Add the Bunny Face
For a baby-friendly design, skip plastic safety eyes and other detachable decorations.
Instead, use embroidery to create the face.
With a small amount of embroidery thread, carefully stitch:
- Two simple closed eyes
- A tiny triangular nose
- A small curved mouth
Keep every embroidered detail tight and secure. After finishing, check the back of the embroidery and make sure there are no loose ends that could become accessible.
A simple face often looks even sweeter than a highly detailed one.
Step 4: Attach the Bunny to the Wooden Ring
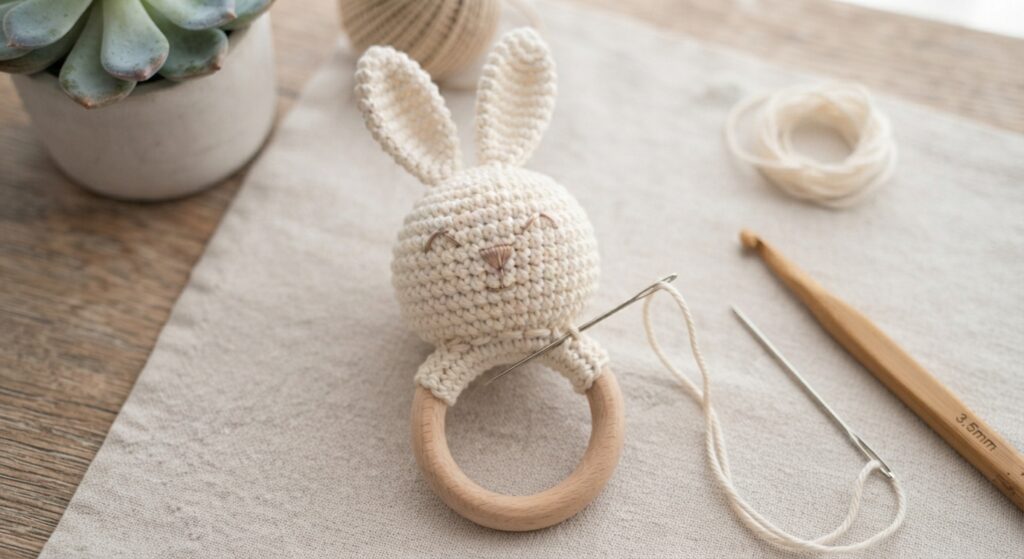
Once your bunny head and ears are complete, position them against the wooden ring.
Place the bunny head near the top or side of the ring, depending on the look you prefer. Use matching cotton yarn to stitch the crocheted piece firmly to the ring.
Work through the crochet fabric several times and around the attachment point. The connection should feel secure without leaving long loose yarn tails.
After sewing, gently pull the bunny in different directions to check the attachment.
Step 5: Inspect and Finish
Before considering the project complete, carefully inspect every part.
Check that:
- The wooden ring has no cracks or rough areas.
- The crochet fabric is tightly stitched.
- The bunny ears are securely attached.
- Embroidered details cannot easily come loose.
- There are no exposed long yarn tails.
- The bunny does not have detachable decorations.
Give the ring a gentle pull from several directions. If anything feels loose, reinforce the stitching before using or gifting the item.
Easy Color Ideas
One of the best things about this crochet bunny project is how easily you can personalize it.
Try:
- Cream + natural wood for a minimalist nursery look
- Soft beige + ivory for a neutral baby gift
- Dusty pink + cream for a sweet pastel design
- Sage green + beige for a modern nursery palette
- Light blue + white for a classic baby theme
- Warm brown + cream for a woodland-inspired bunny
You can even make several bunny rings using different pastel colors for a handmade baby-gift set.
Why Make a Crochet Bunny Teether Ring?
A handmade crochet bunny ring can be a charming addition to a baby shower gift basket or nursery collection. The project is small enough to finish relatively quickly, making it useful when you want to practice amigurumi techniques without committing to a large project.
It also gives you an opportunity to practice magic rings, increases, decreases, embroidery, and secure sewing techniques.
Most importantly, keep the design simple and prioritize baby safety over decorative details.
Final Thoughts
This DIY Crochet Bunny Teether Ring combines a cute handmade bunny with the natural appearance of a wooden ring. With basic crochet skills and a few supplies, you can create a sweet personalized project for a baby gift.
Choose soft cotton yarn, keep decorative elements securely embroidered, and always use a wooden ring specifically designed and safety-tested for infant products. With a little creativity, you can turn this simple pattern into a lovely handmade keepsake.
Happy crocheting!
