
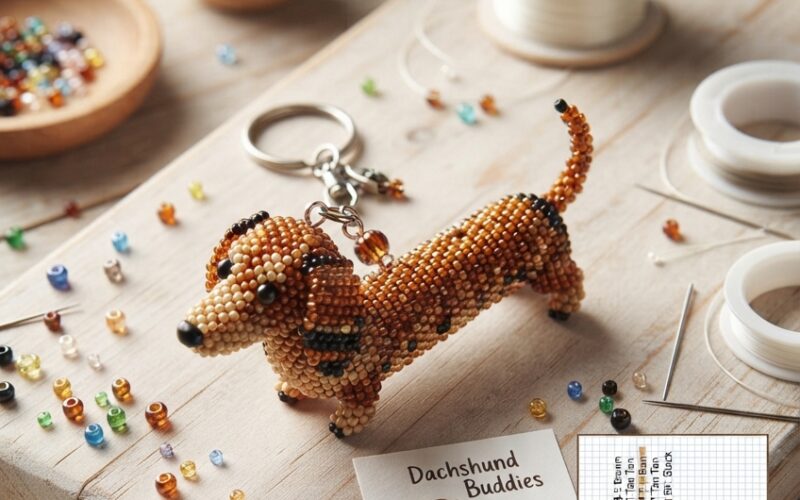
If you love cute handmade accessories, a tiny bead Dachshund is a fun project to try. With a few simple materials and colorful beads, you can create an adorable little sausage dog that works beautifully as a keychain, backpack charm, zipper pull, or handmade gift.
This project is beginner-friendly and can be customized with different bead colors, patterns, and accessories. You can make a classic brown Dachshund, a black-and-tan version, or even create a colorful miniature dog using your favorite beads.
What You’ll Need
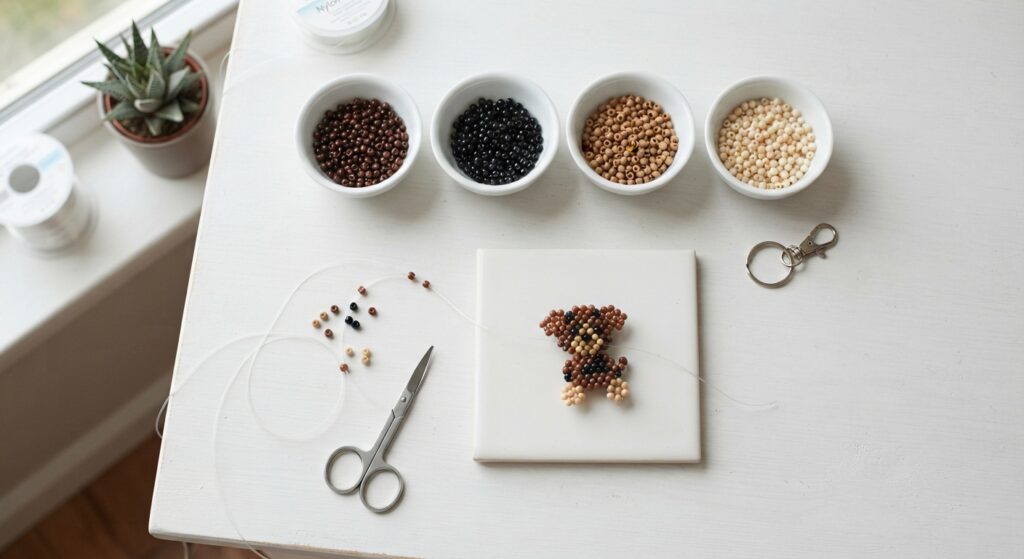
Before starting, gather your supplies:
- Small pony beads or Perler-style craft beads
- Strong beading cord, elastic cord, or nylon thread
- Scissors
- A small keychain ring
- Optional small lobster clasp
- Optional jump ring
- Brown, black, cream, or tan beads
- A small container to organize your beads
For a classic Dachshund look, use a dark brown or chocolate color for the body, a slightly darker color for the nose, and black beads for the eyes.
Step 1: Plan Your Dachshund Pattern
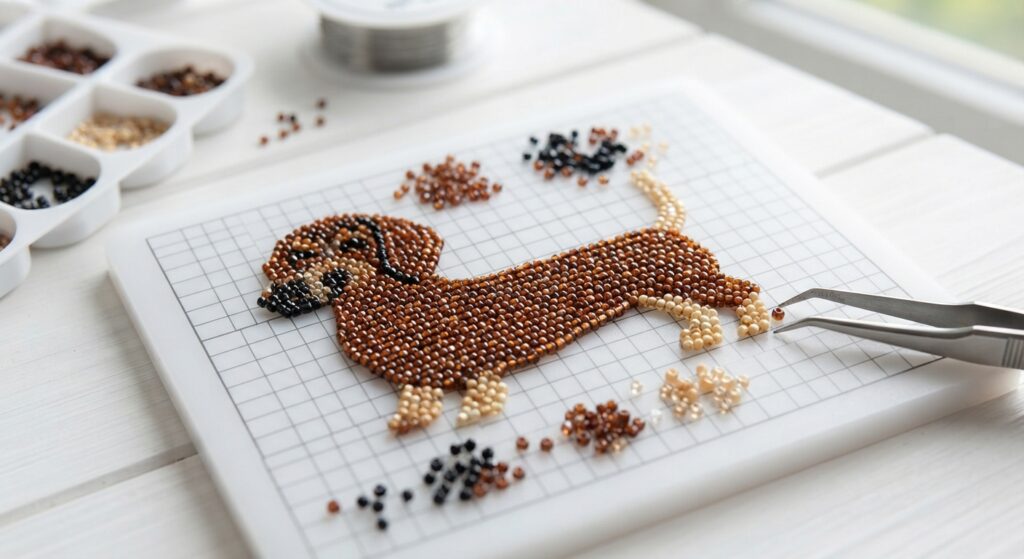
Before threading your beads, decide how large you want your Dachshund to be.
A simple design can be made with a long horizontal body, a small head, four short legs, a tail, and two tiny eyes. You can sketch the shape on graph paper first or arrange the beads on your work surface before threading them.
The key feature of a Dachshund is its long body and short legs. Keep the body noticeably longer than the legs so the finished design has that recognizable sausage-dog shape.
For a small keychain, around 25–40 beads may be enough depending on the bead size and pattern you choose.
Step 2: Start the Body
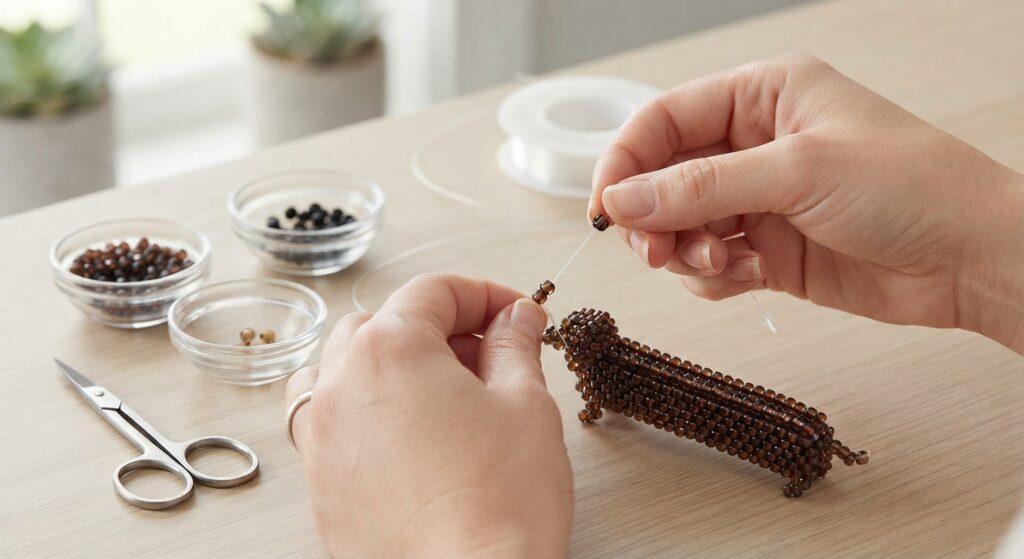
Cut a comfortable length of beading cord. Avoid making it too short because you will need extra cord for securing the finished piece.
Begin with the longest section of the Dachshund: the body.
Thread the beads according to your pattern, keeping them close together without pulling the cord so tightly that the shape becomes distorted.
If you’re using a two-strand technique, pass the cords through the beads according to your chosen pattern and gradually build the body row by row.
Take your time during this stage. Keeping each row straight will make the final Dachshund look much neater.
Step 3: Add the Head and Face
Once the body is complete, continue toward the head.
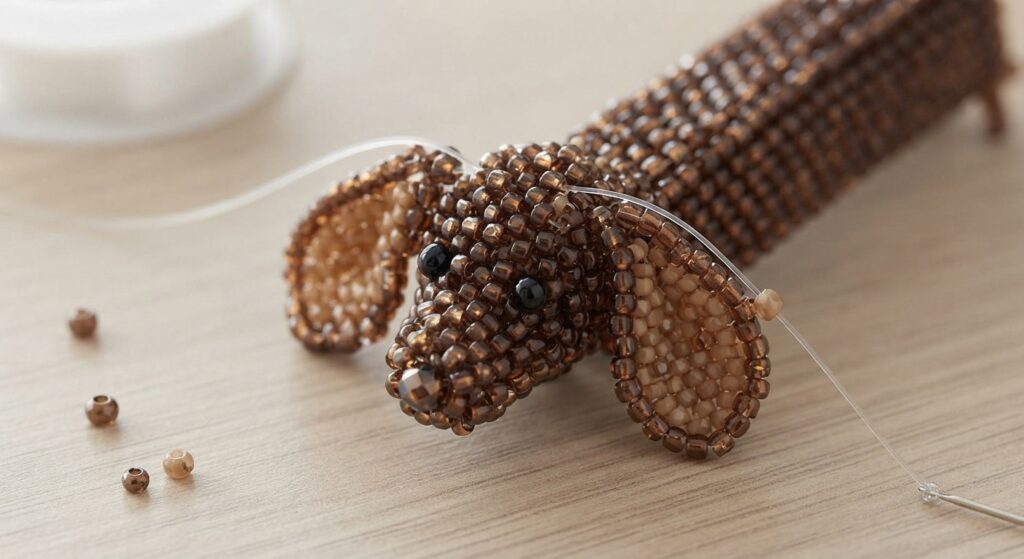
The head can be slightly wider than the neck, with a small black bead representing the nose. Add two dark beads for the eyes and use tan or cream beads if you want to create a classic Dachshund facial pattern.
For an especially cute appearance, make the ears slightly longer than the top of the head. Brown or black beads work well for floppy ears.
Don’t worry if your first attempt isn’t perfectly symmetrical. Handmade bead animals often look charming because of their small imperfections.
Step 4: Create the Short Legs and Tail
Now it’s time to give your bead dog its characteristic short legs.
Create four small sections underneath the body using the same bead colors. Keep them relatively short and evenly spaced.
For the tail, add a narrow row of beads at the back of the body. You can make the tail point slightly upward for a playful look.
If you’re making the Dachshund as a keychain, avoid making the legs or tail extremely thin. A slightly stronger structure will help the finished charm hold its shape during everyday use.
Step 5: Secure the Beads
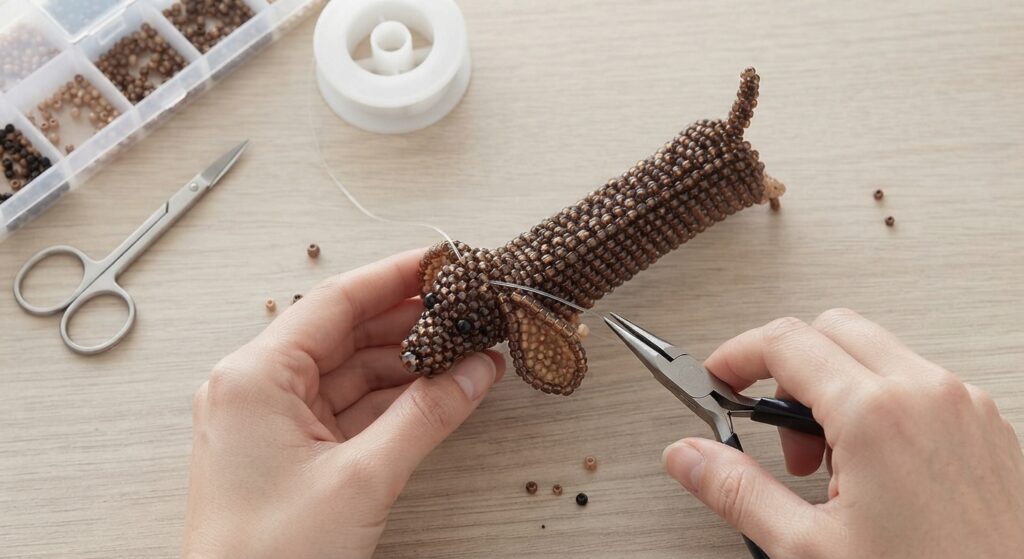
When your Dachshund is complete, carefully secure the cord.
Make several strong knots in a discreet area and trim the excess cord. Check the entire figure before attaching the keychain hardware.
Gently pull on the body, legs, and tail to make sure the beads stay securely in place. If anything feels loose, reinforce the connection before continuing.
Safety is especially important if you’re making this project for a child. Small beads can be a choking hazard, so bead crafts should be made and handled with appropriate adult supervision.
Step 6: Turn It Into a Cute Keychain
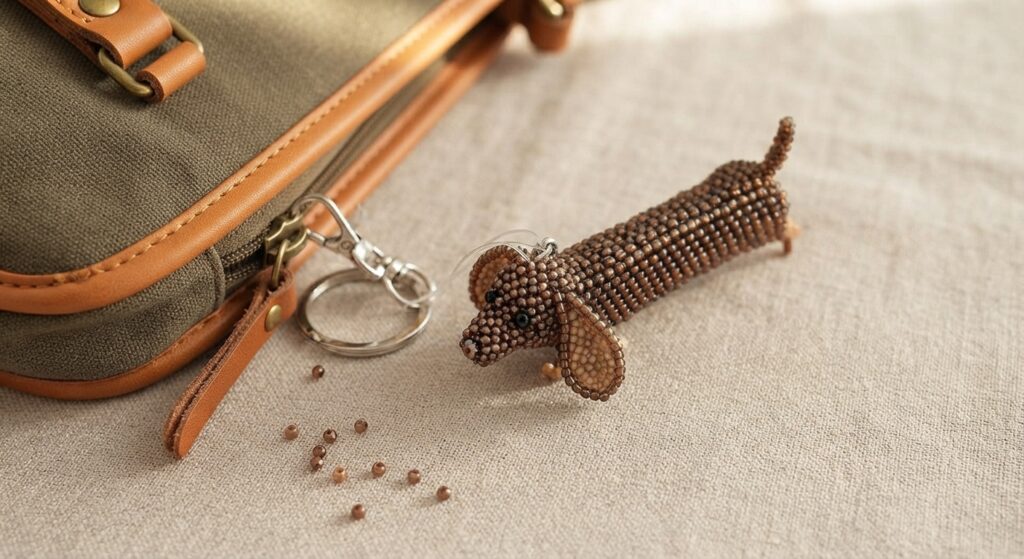
To transform your finished Dachshund into a keychain, attach a small jump ring or clasp to the top of the figure.
You can also add a simple metal keychain ring, colorful tassel, or small charm.
A beaded Dachshund makes a sweet handmade gift for someone who loves dogs, especially Dachshund owners. You can even personalize the colors to resemble a favorite pet.
Easy Ways to Customize Your Bead Dachshund
Once you’ve mastered the basic pattern, experiment with different designs.
Try a chocolate-brown Dachshund with cream details, a black-and-tan version, or a lighter caramel color. You can also create several tiny dogs in different colors and turn them into matching charms for friends or family.
Another fun idea is to make a seasonal collection. Add pastel colors for spring, warm autumn shades for fall, or festive colors for the holidays.
You can also make the Dachshund slightly larger and use it as a decorative zipper charm or backpack accessory instead of a traditional keychain.
Final Thoughts
Making a bead Dachshund is a simple and creative craft that combines pattern-following with a little personalization. The long body, tiny legs, floppy ears, and little tail make the finished design instantly recognizable and incredibly cute.
Start with a simple pattern, organize your beads before you begin, and work slowly through each section. Once you’ve made one Dachshund, you may find yourself wanting to create an entire collection of tiny bead buddies.
Whether you keep one for yourself or give one as a handmade gift, these little beaded dogs are a fun way to turn a handful of simple craft beads into something special.
