
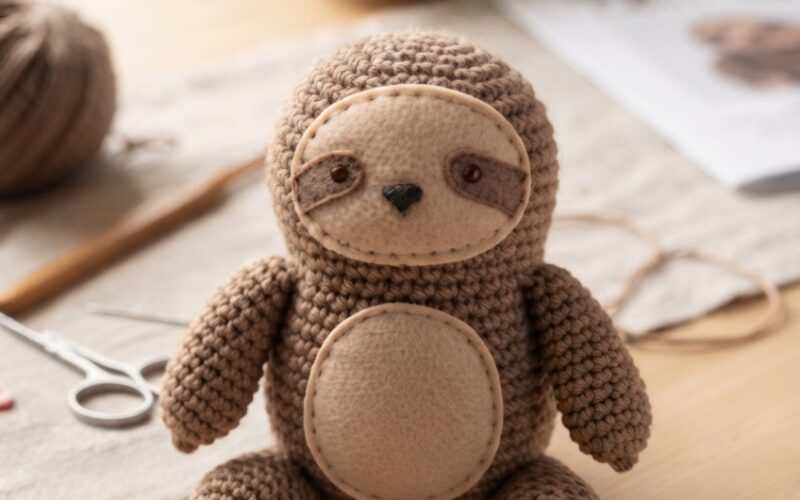
Looking for a cute crochet project that is simple enough for beginners? This easy crochet sloth toy for kids is a fun little project to make for a toddler, child, or as a handmade gift. With basic crochet stitches, soft yarn, and a little stuffing, you can create an adorable sloth that is perfect for imaginative play, decorating a child’s room, or giving as a special handmade present.
This free written crochet pattern uses simple techniques and can be customized with different yarn colors. You don’t need advanced crochet skills to make it!
Safety note: If making this toy for a young child, embroider the facial features securely rather than using loose plastic safety eyes or small detachable pieces. Always supervise young children with handmade toys.
Materials You Will Need
For this beginner-friendly crochet sloth, gather:
- Worsted-weight or DK yarn in brown, beige, and a small amount of black
- Crochet hook suitable for your yarn
- Polyester fiberfill stuffing
- Yarn needle
- Stitch marker
- Scissors
- Measuring tape
- Optional: embroidery needle for the face
A finished sloth will be approximately 18–22 cm (7–9 inches) tall, depending on your yarn and crochet tension.
Basic Crochet Abbreviations
This pattern uses beginner-friendly stitches:
- MR – Magic ring
- SC – Single crochet
- INC – Increase
- DEC – Decrease
- SL ST – Slip stitch
- CH – Chain
- ST – Stitch
The toy is worked mostly in continuous rounds.
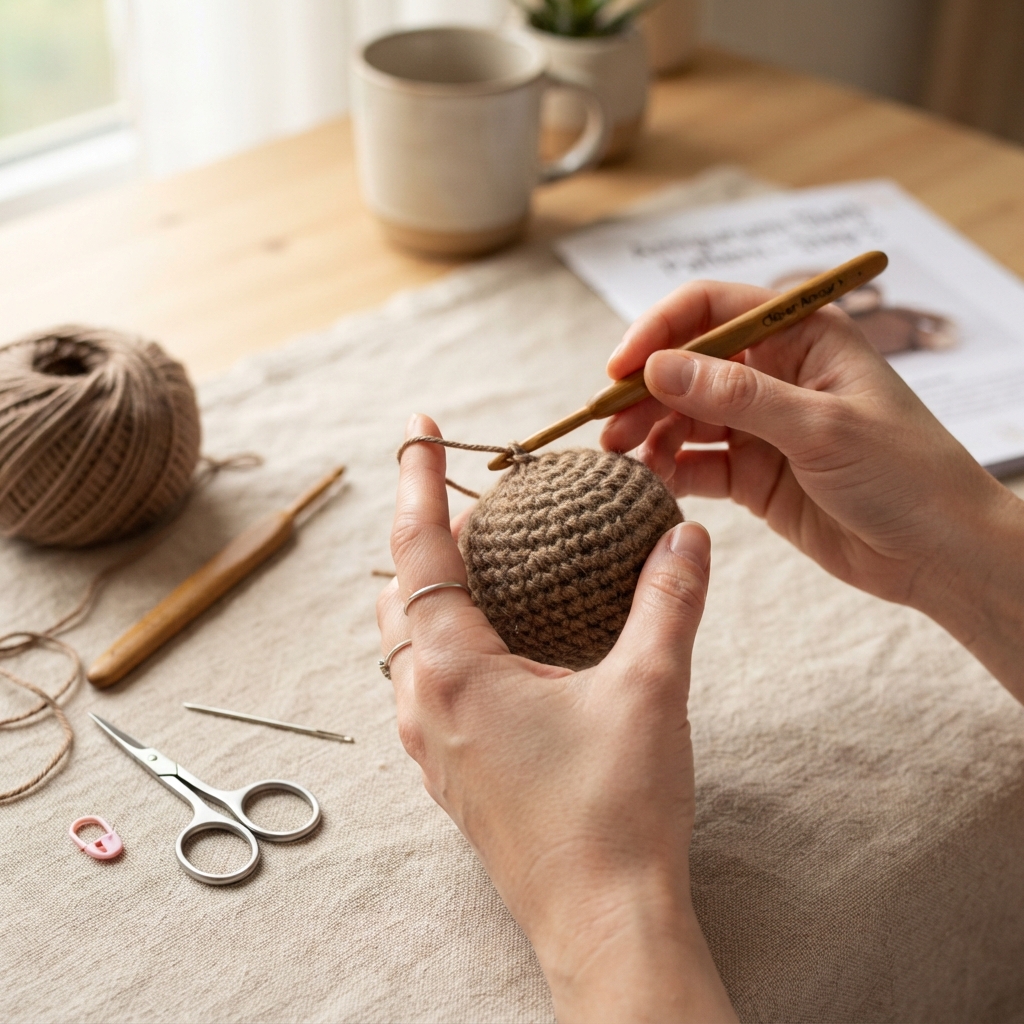
Step 1: Crochet the Sloth’s Body
Start with your main brown yarn.
Round 1: Make a magic ring and crochet 6 SC into the ring.
Round 2: Increase in every stitch around — 12 SC.
Round 3: 1 SC, INC around — 18 SC.
Round 4: 2 SC, INC around — 24 SC.
Rounds 5–12: SC around — 24 SC.
The body should now begin to look like a small rounded tube.
Rounds 13–16: SC around — 24 SC.
Begin decreasing to shape the top:
Round 17: 2 SC, DEC around — 18 SC.
Round 18: 1 SC, DEC around — 12 SC.
Add a small amount of stuffing before closing.
Round 19: DEC around — 6 SC.
Fasten off and leave a long yarn tail. Use your yarn needle to close the remaining opening.
Step 2: Make the Sloth’s Face
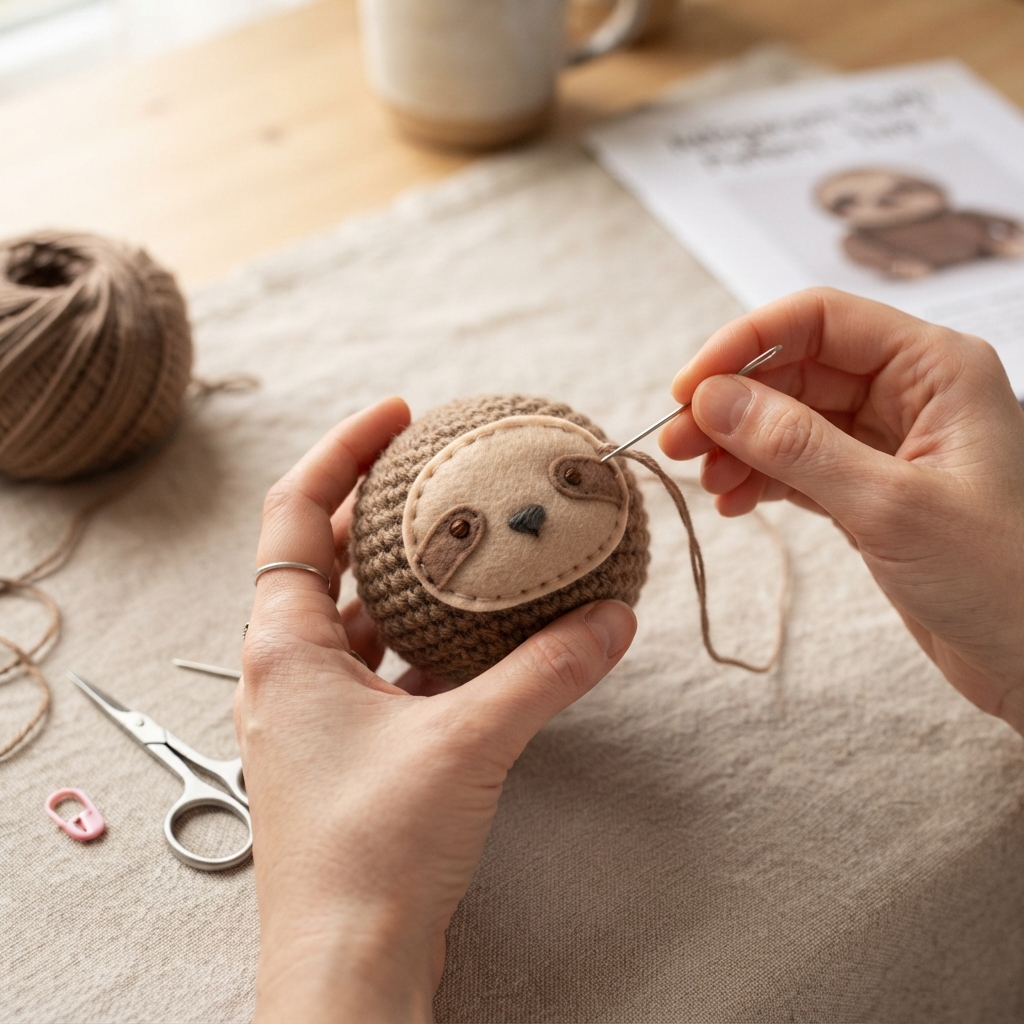
The face gives this little sloth its adorable personality.
Using beige yarn:
Round 1: Magic ring with 6 SC.
Round 2: INC around — 12 SC.
Round 3: 1 SC, INC around — 18 SC.
Round 4: SC around — 18 SC.
Fasten off and leave a long tail for sewing.
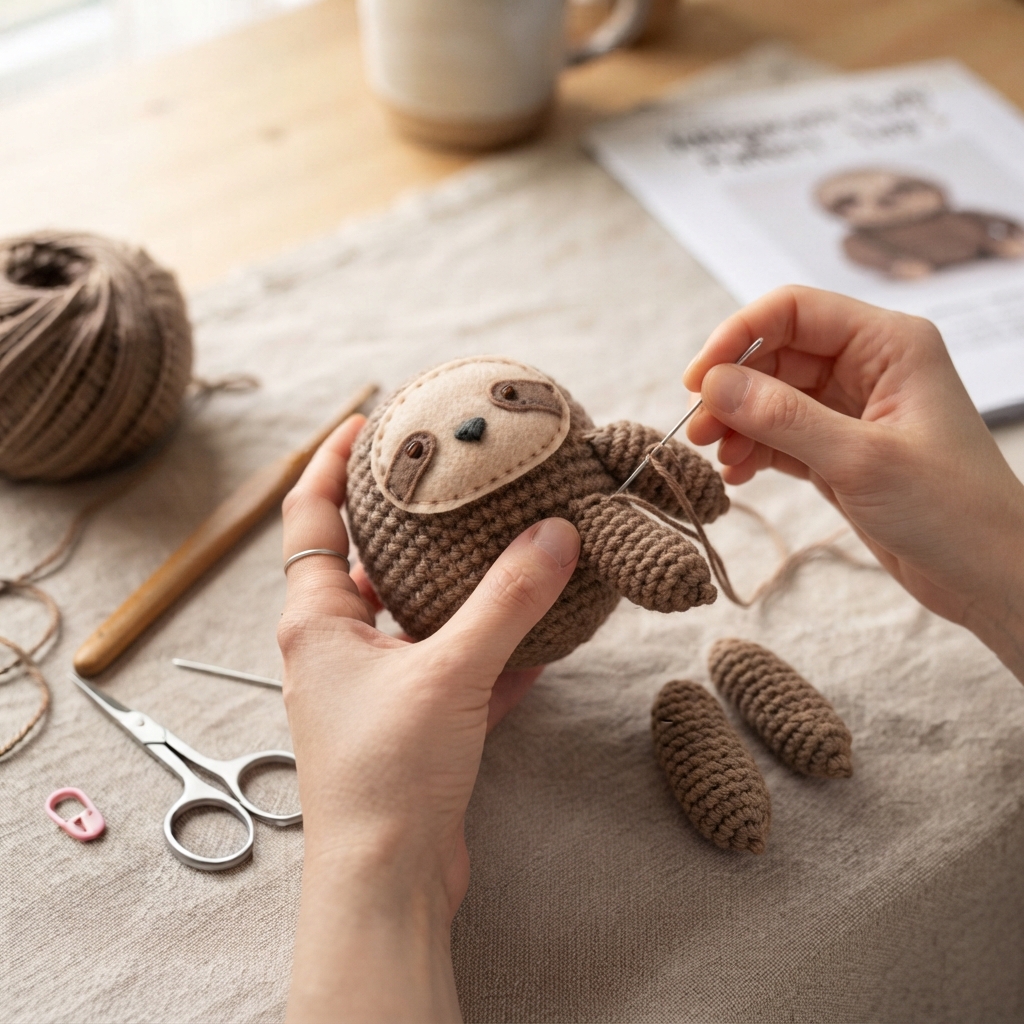
Gently flatten the piece into an oval and sew it onto the front of the body.
For the facial details, use black embroidery yarn. Carefully stitch two small eyes and a simple curved nose and mouth.
For a toddler-safe toy, embroidered details are preferable to small plastic pieces.
Step 3: Crochet the Arms
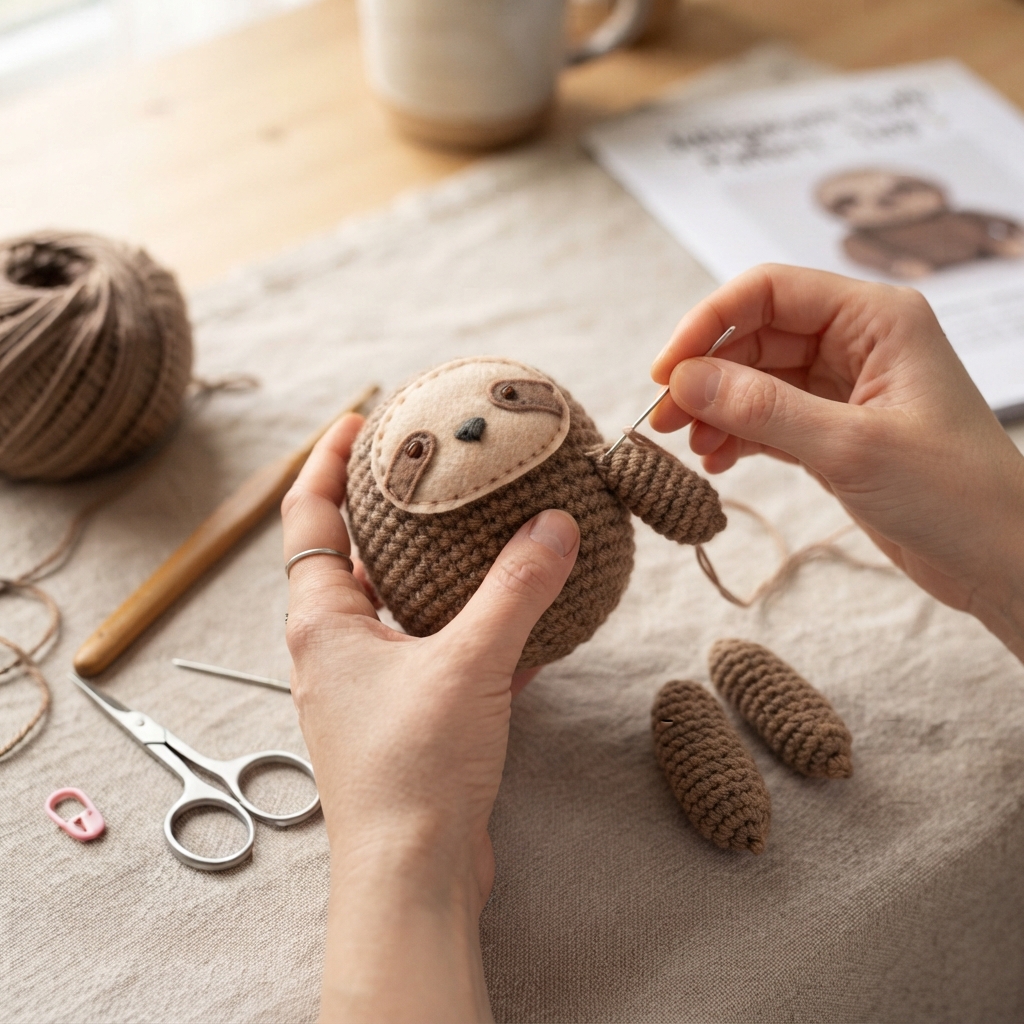
Make two identical arms using brown yarn.
Round 1: Magic ring, 6 SC.
Round 2: INC around — 12 SC.
Rounds 3–8: SC around — 12 SC.
Add a tiny amount of stuffing.
Flatten the opening and sew it closed.
Repeat for the second arm.
Sew the arms onto the sides of the body, positioning them slightly below the face.
Step 4: Crochet the Legs
Make two small legs.
Round 1: Magic ring with 6 SC.
Round 2: INC around — 12 SC.
Rounds 3–6: SC around — 12 SC.
Add a small amount of stuffing.
Flatten the top and sew each leg closed.
Attach the legs to the bottom of the body, spacing them evenly so the sloth can sit upright.
Step 5: Add the Sloth’s Character
Now comes the fun part!
You can add small details to make your sloth unique. Try adding:
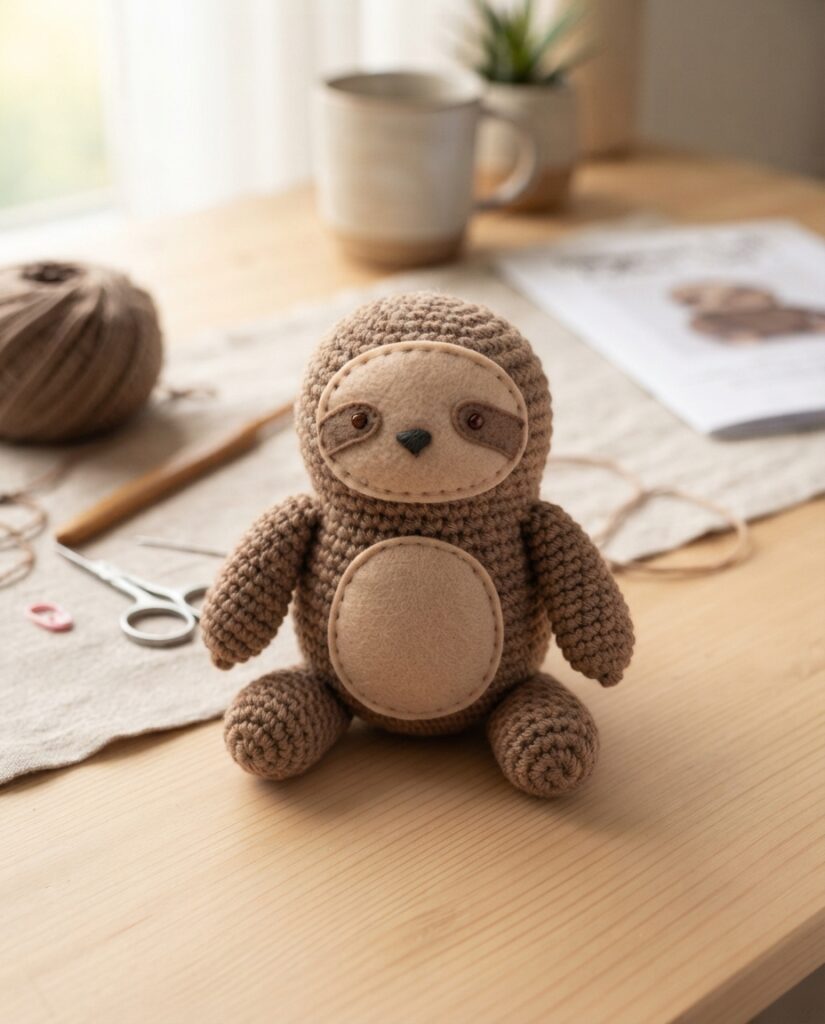
- A beige belly patch
- Small embroidered claws
- Tiny rounded ears
- A darker nose
- A small crocheted scarf
- A little bow
- Different shades of brown
For children, keep decorations securely attached and avoid small pieces that could become detached.
Step 6: Finishing Your Crochet Sloth
Check all seams carefully and weave in any loose yarn ends.
Gently shape the stuffing so the body looks smooth and rounded. Avoid overstuffing because a softer toy usually has a more cuddly appearance.
Your finished sloth should measure approximately 18–22 cm (7–9 inches).
Helpful Tips for Beginners
Don’t worry if your first crochet toy isn’t perfectly symmetrical. Handmade toys often have small differences that make them charming.
Use a stitch marker at the beginning of each round so you don’t lose your place. Keep your stitches relatively consistent, especially when working with increases and decreases.
If your toy looks too loose, try a slightly smaller crochet hook. Tighter stitches also help prevent stuffing from showing through.
When sewing the parts together, take your time and use several secure stitches rather than rushing the finishing stage.
Final Thoughts
This easy crochet sloth toy for kids is a wonderful beginner project because it combines simple crochet techniques with a fun finished result. Once you’ve made one, you can experiment with different colors, facial expressions, sizes, and accessories.
It can also make a thoughtful handmade birthday gift, nursery decoration, or cute addition to a child’s collection of soft toys.
If you’re new to crochet, this project is a great way to practice single crochet, increases, decreases, stuffing, shaping, and sewing crochet pieces together while creating something children can enjoy.
For more beginner-friendly crochet projects, keep experimenting with simple animals, mini toys, bags, hats, and other colorful handmade creations.
