
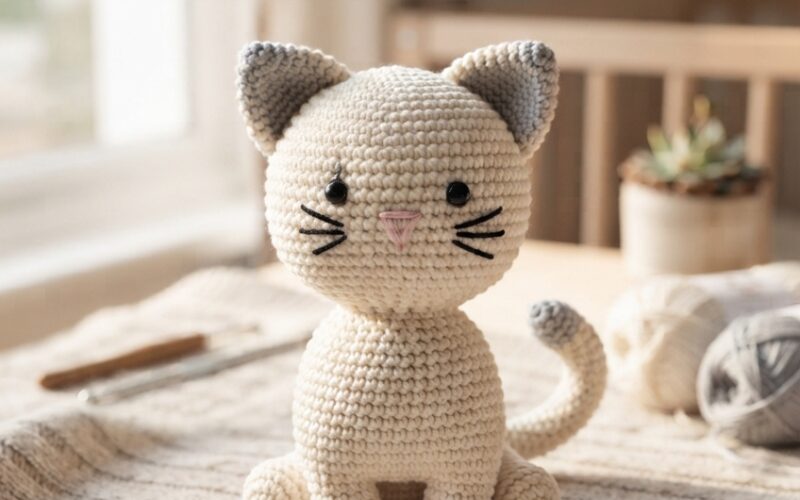
Crocheting a cute little cat can be a wonderful beginner-friendly project, especially when you want to make something sweet for a toddler. This Adorable Crochet Cat for Toddlers is small, cuddly, and simple enough for someone who is learning basic crochet techniques.
The finished cat can become a lovely handmade toy, nursery decoration, or thoughtful gift. For toddlers, keep the design simple and secure: embroidered eyes and details are preferable to small detachable plastic pieces.
Safety note: This pattern is intended for adult crocheters making a toy for toddlers. Securely embroider facial details, weave in ends carefully, and regularly inspect the finished toy for loose parts or damage.
What You’ll Need
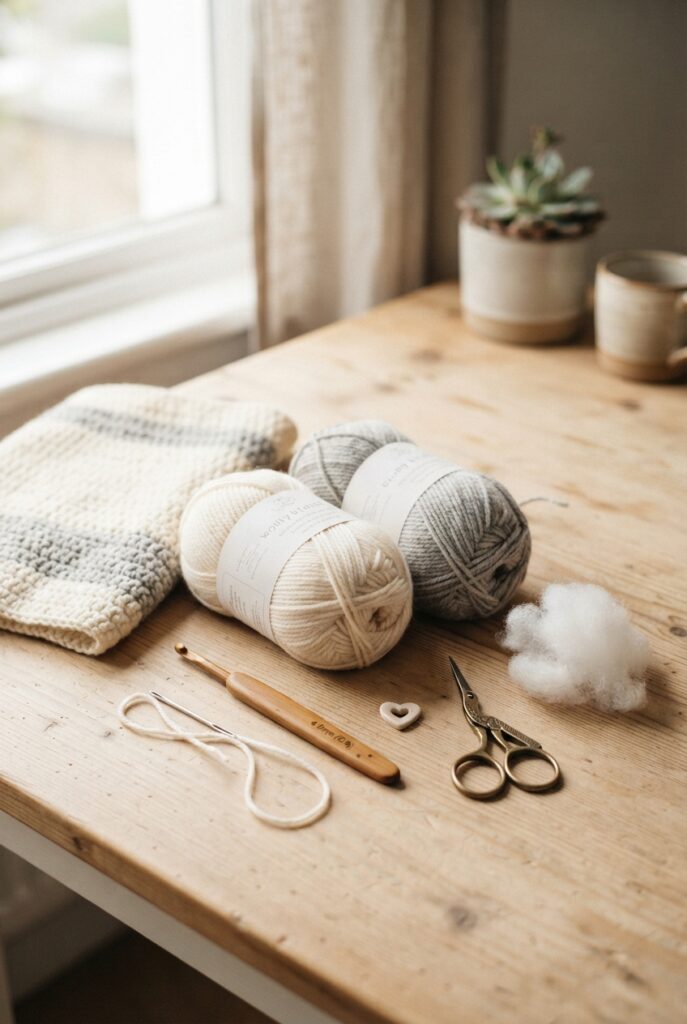
For this easy crochet cat pattern, gather:
- Medium-weight cotton or acrylic yarn
- Crochet hook appropriate for your yarn
- Polyester fiberfill
- Yarn needle
- Stitch marker
- Scissors
- Small amount of black yarn for embroidery
- Optional pink yarn for the nose
For a toddler-friendly version, avoid buttons, beads, safety eyes, bells, or other small pieces that could detach.
Suggested finished size
The cat can be approximately 15–18 cm (6–7 inches) tall, depending on your yarn and tension.
Crochet Cat – Easy Written Pattern
This pattern uses simple crochet stitches and can be customized with different colors.
Abbreviations
- MR – magic ring
- sc – single crochet
- inc – increase
- dec – decrease
- sl st – slip stitch
- ch – chain
- FO – fasten off
Work in continuous rounds unless otherwise stated.
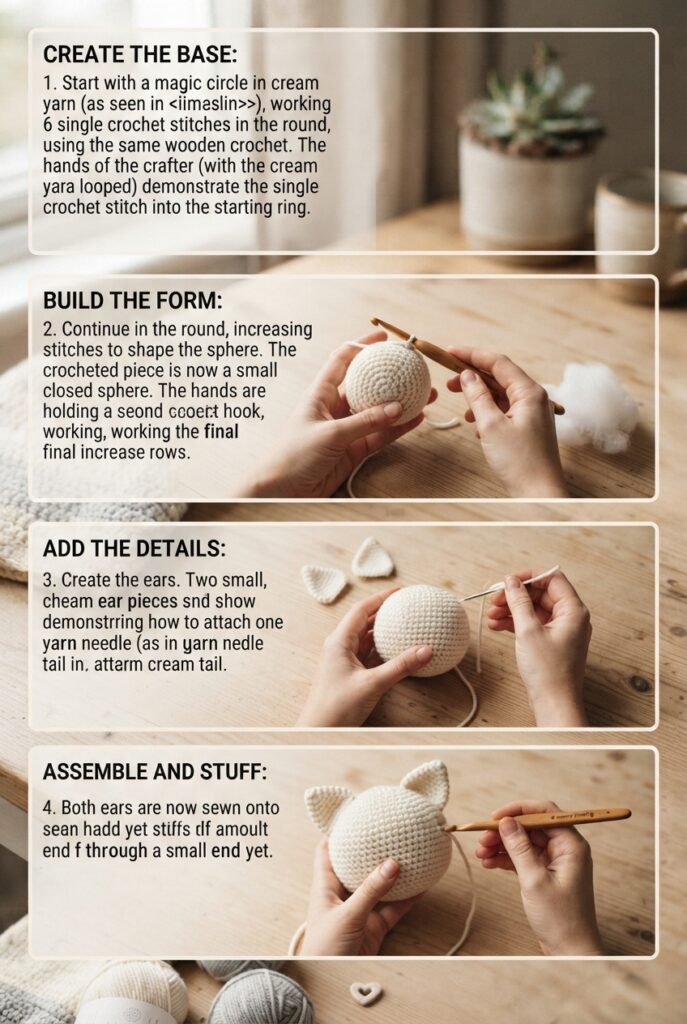
Step 1: Crochet the Head
Using your main yarn color:
Round 1: 6 sc into MR
Round 2: inc around – 12 sc
Round 3: (sc, inc) × 6 – 18 sc
Round 4: (2 sc, inc) × 6 – 24 sc
Round 5: (3 sc, inc) × 6 – 30 sc
Rounds 6–10: sc around – 30 sc each round
Begin adding a small amount of fiberfill as the head develops.
Round 11: (3 sc, dec) × 6 – 24 sc
Round 12: (2 sc, dec) × 6 – 18 sc
Round 13: (sc, dec) × 6 – 12 sc
Round 14: dec around – 6 sc
Add the final amount of stuffing before closing. FO and weave the yarn tail securely inside.
Make the ears
Make two small triangular ears.
Round 1: 4 sc into MR
Round 2: (sc, inc) × 2 – 6 sc
Round 3: sc around – 6 sc
Round 4: (2 sc, inc) × 2 – 8 sc
Flatten each ear and sew it securely to the top of the head.
Step 2: Crochet the Body
Using the same yarn:
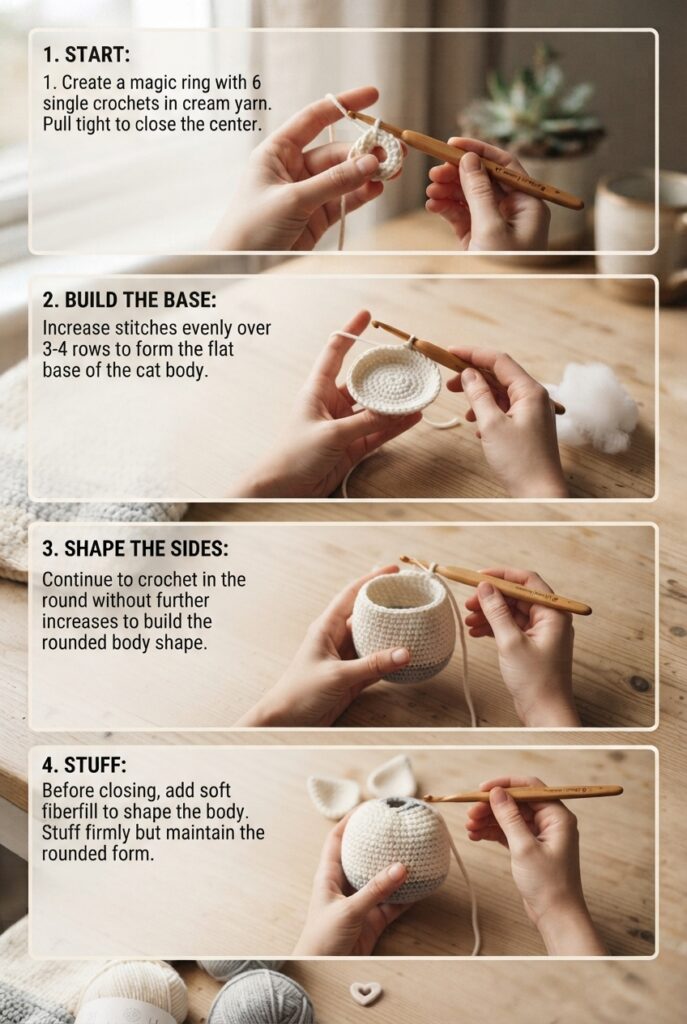
Round 1: 6 sc into MR
Round 2: inc around – 12 sc
Round 3: (sc, inc) × 6 – 18 sc
Round 4: (2 sc, inc) × 6 – 24 sc
Rounds 5–9: sc around – 24 sc
Start stuffing the body gradually.
Round 10: (2 sc, dec) × 6 – 18 sc
Round 11: sc around – 18 sc
Round 12: (sc, dec) × 6 – 12 sc
Round 13: dec around – 6 sc
Add enough stuffing to create a soft but firm shape. FO and close the opening.
Sew the head securely onto the body.
Step 3: Make the Legs
Make four small legs.
For each leg:
Round 1: 6 sc into MR
Round 2: inc around – 12 sc
Rounds 3–5: sc around – 12 sc
Round 6: (sc, dec) × 4 – 8 sc
Stuff lightly.
FO, leaving a long sewing tail. Sew two legs toward the front of the body and two toward the back.
Try to position them evenly so the finished cat can sit upright.
Step 4: Crochet the Tail
The tail is particularly cute and can be slightly curved.
Round 1: 6 sc into MR
Rounds 2–8: sc around – 6 sc
Do not overstuff the tail. A little stuffing is enough to help it keep its shape.
FO and leave a long tail for sewing.
Attach the tail to the back of the cat. You can position it upward, sideways, or curled around the body.
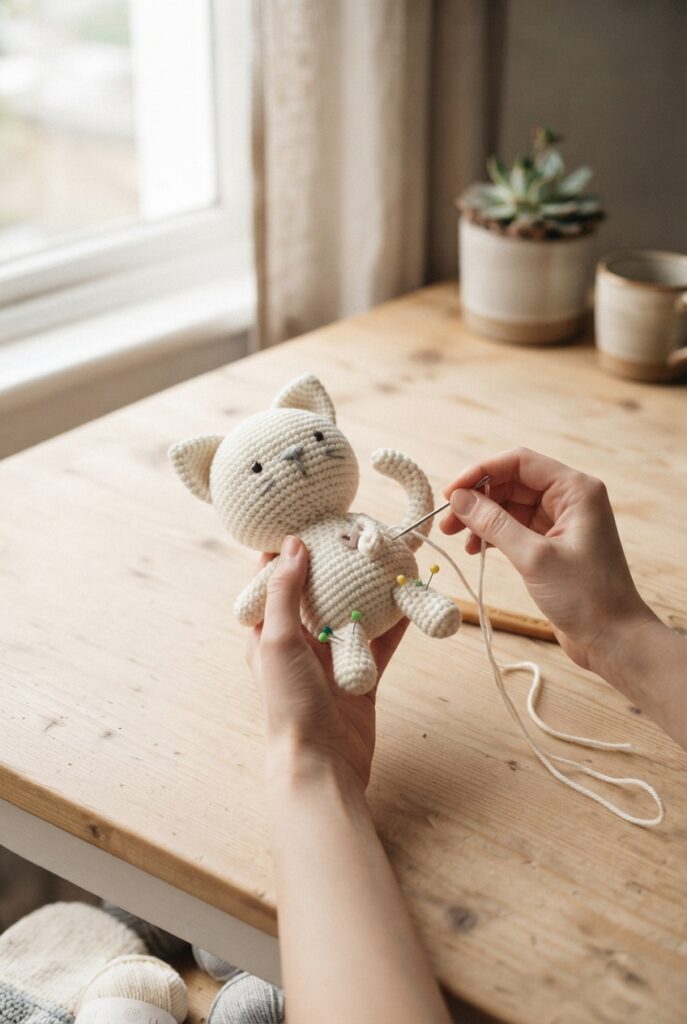
Step 5: Add the Sweet Face
Now comes the part that gives your crochet cat its personality.
Using black yarn, carefully embroider two small eyes. Add a tiny triangular nose with pink or black yarn and stitch a simple little mouth underneath.
You can also embroider three tiny whisker lines on each side.
For a toddler-safe toy, embroidered facial details are recommended instead of buttons or plastic eyes.
You could give your cat different expressions simply by changing the position and shape of the embroidered features.
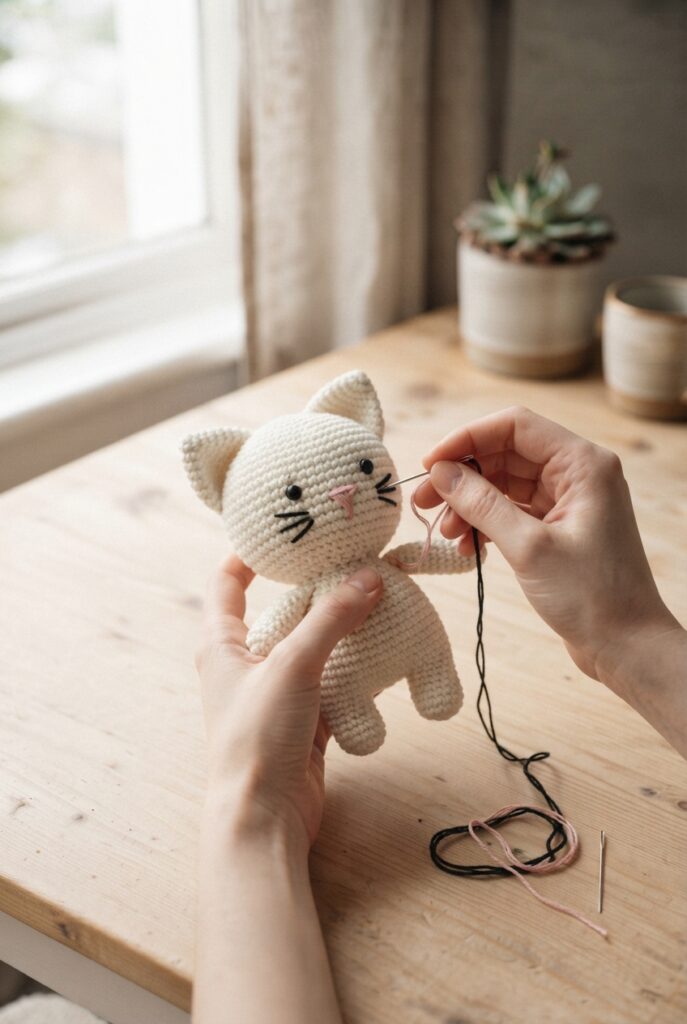
Step 6: Finishing Your Crochet Cat
Once all the pieces are attached, inspect every seam carefully.
Check that:
- The ears are firmly attached.
- The legs cannot easily pull away.
- The tail is securely sewn.
- All yarn ends are woven in.
- The stuffing is enclosed.
- The embroidered face is secure.
Give the finished cat a gentle squeeze to check its shape.
You can make several cats using different colors. Try cream, gray, brown, dusty pink, soft yellow, or even a striped design.
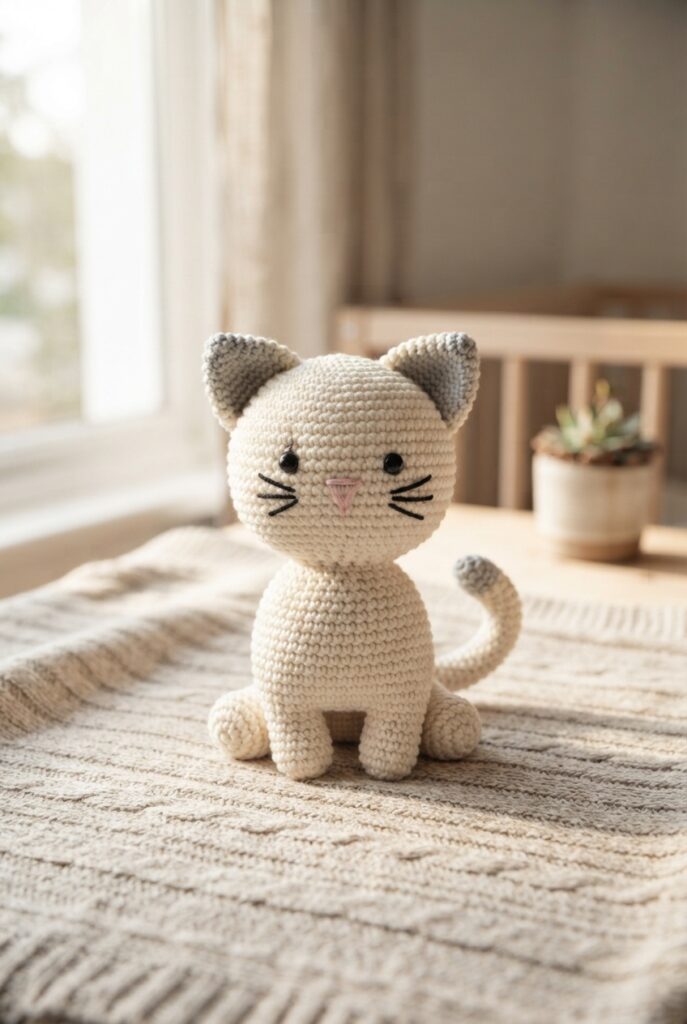
Easy Ways to Customize Your Crochet Cat
One of the best things about this pattern is how easy it is to personalize.
Try making:
- A fluffy-looking white cat using textured yarn.
- A gray tabby with embroidered stripes.
- A tiny orange cat inspired by classic ginger cats.
- A black-and-white cat with contrasting ears.
- A pastel cat for a soft nursery aesthetic.
You can also make a slightly larger version by using thicker yarn and a larger crochet hook.
Final Thoughts
This Adorable Crochet Cat for Toddlers – Easy Free Written Pattern is a charming little project for beginners who want to practice basic amigurumi techniques. The simple shapes make it approachable, while the embroidered details allow you to create a unique handmade toy.
Whether you’re making one for a toddler’s toy basket, a nursery shelf, or as a handmade gift, this little crochet cat is sure to add a cozy handmade touch.
For toddler use, always prioritize secure construction and embroidered details, and inspect handmade toys regularly for loose stitching or damaged parts.
