
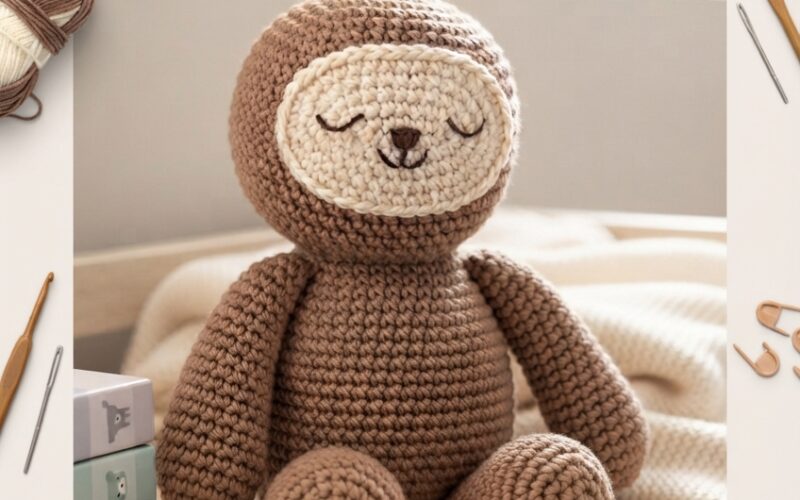
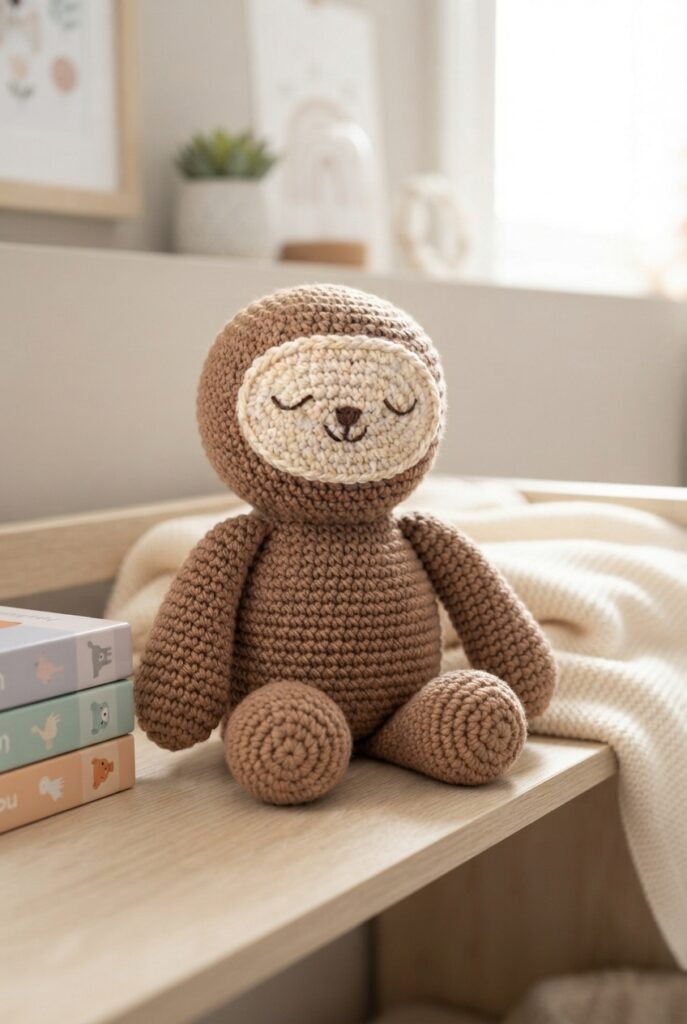
If you love making adorable handmade toys for little ones, this cute crochet sloth for babies and toddlers is a sweet project to add to your collection. With its soft rounded body, tiny arms, sleepy expression, and friendly face, this sloth makes a lovely handmade gift for a baby shower, birthday, nursery decoration, or toddler playroom.
This free written pattern is designed with simple crochet techniques in mind, making it a fun project for beginners who already know basic stitches. Choose soft, washable yarn in neutral colors to create a cuddly little friend that looks right at home in a toddler’s room.
Safety note: For babies and young toddlers, avoid loose buttons, plastic safety eyes, ribbons, or other detachable decorations. Embroider the facial features securely instead, and always supervise young children with handmade toys.
Finished Sloth Size
The finished toy will be approximately 7–9 inches (18–23 cm) tall, depending on your yarn, hook size, and crochet tension.
Materials
- Worsted-weight or soft DK yarn
- Light brown or beige yarn for the body
- Cream or off-white yarn for the face
- Dark brown or black yarn for embroidery
- Crochet hook suitable for your yarn
- Polyester toy stuffing
- Yarn needle
- Stitch marker
- Scissors
For babies and toddlers, select a soft, washable yarn and make sure every embroidered detail is firmly secured.
Crochet Abbreviations
- MR – Magic ring
- sc – Single crochet
- inc – Increase
- dec – Invisible decrease
- sl st – Slip stitch
- ch – Chain
- FO – Fasten off
This pattern is worked mainly in continuous rounds.
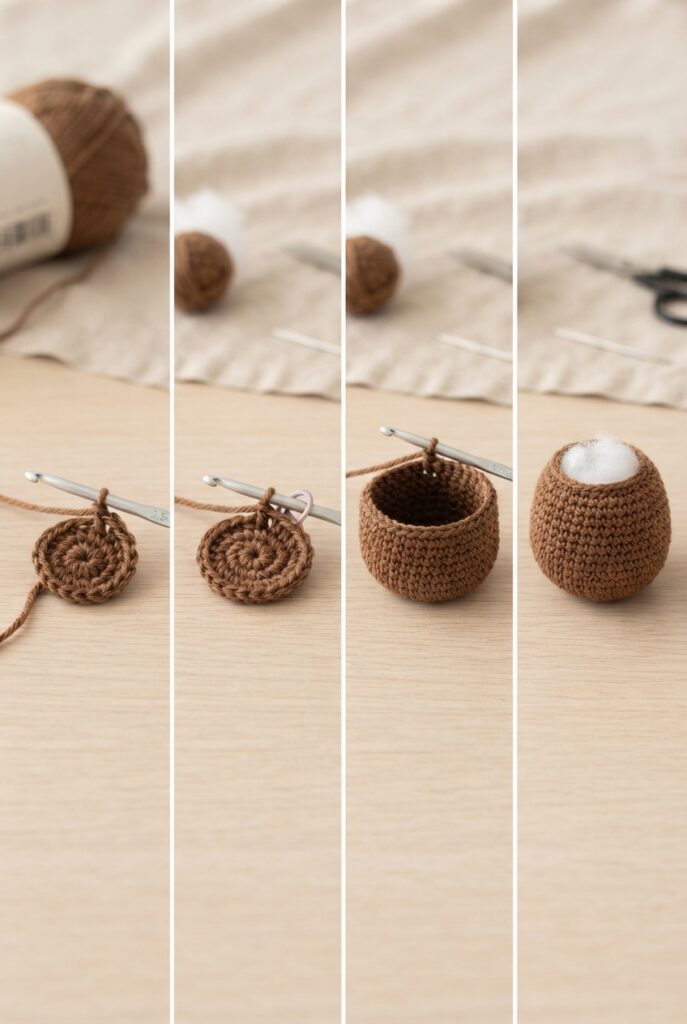
Step 1: Crochet the Sloth Body
Start with your brown yarn.
Round 1: Make a magic ring and crochet 6 sc into the ring.
Round 2: Inc in each stitch around — 12 sc.
Round 3: Sc 1, inc around — 18 sc.
Round 4: Sc 2, inc around — 24 sc.
Rounds 5–10: Sc around — 24 sc.
At this point, your little sloth should begin developing a rounded body shape.
Rounds 11–13: Sc 2, dec around — 18 sc.
Begin adding small amounts of stuffing as you continue.
Round 14: Sc 1, dec around — 12 sc.
Round 15: Dec around — 6 sc.
Add the final stuffing if needed, then fasten off and close the opening securely.
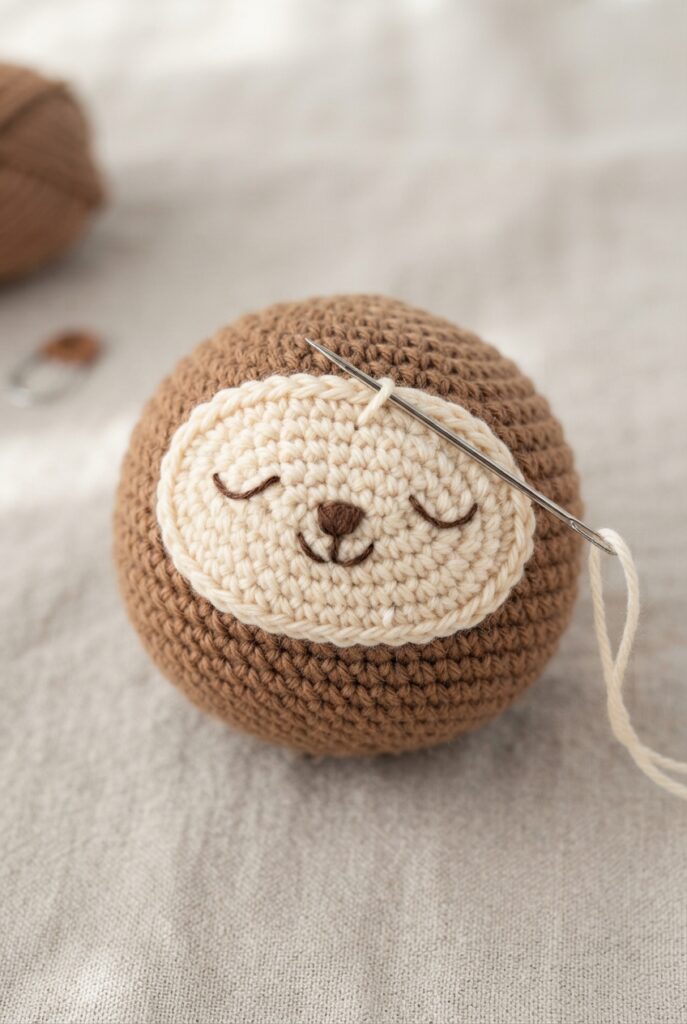
Step 2: Make the Sloth Face
The face gives this project its adorable sleepy personality.
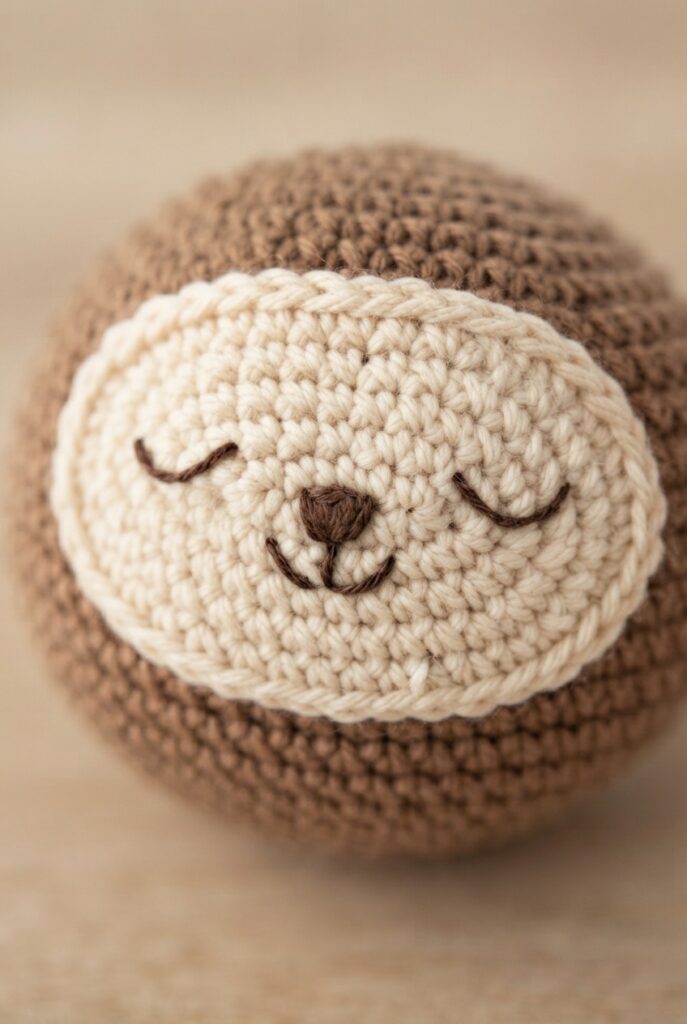
Using cream or off-white yarn, crochet a small oval or rounded face patch.
Round 1: Make a magic ring with 6 sc.
Round 2: Inc around — 12 sc.
Round 3: Sc 1, inc around — 18 sc.
Round 4: Sc around — 18 sc.
Fasten off, leaving a long yarn tail for sewing.
Place the face patch toward the upper front of the body and sew it securely into place.
For a baby-safe version, embroider two small sleepy eyes using dark yarn. Add a tiny embroidered nose and a simple curved mouth.
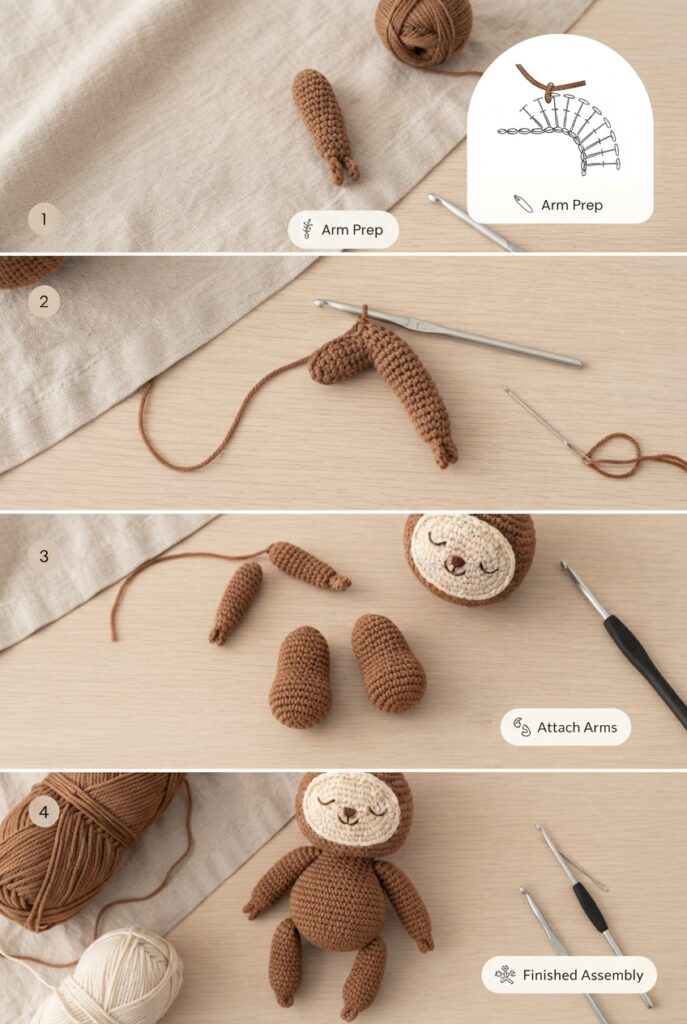
Step 3: Crochet the Arms
Make two small arms using brown yarn.
Round 1: Magic ring, 6 sc.
Rounds 2–5: Sc around — 6 sc.
Add only a tiny amount of stuffing, or leave them mostly soft and flexible.
Fasten off and leave a long tail for sewing.
Position the arms along the sides of the body and stitch them securely.
The arms can be slightly curved downward to give the sloth its relaxed appearance.
Step 4: Make the Legs
Create two small rounded legs.
Round 1: Magic ring with 6 sc.
Round 2: Inc around — 12 sc.
Rounds 3–4: Sc around — 12 sc.
Round 5: Sc 2, dec around — 9 sc.
Add a little stuffing before fastening off.
Sew the legs to the lower portion of the body. Position them evenly so the sloth can sit comfortably.
Step 5: Add the Sloth’s Sweet Details
Now comes the fun part!
Use dark brown or black embroidery yarn to create:
- Two small sleepy eyes
- A tiny rounded nose
- A simple smiling mouth
- Optional small curved eyebrow details
Keep the design simple and soft. For babies, avoid adding beads, buttons, plastic decorations, bells, or other pieces that could detach.
You can also add a small embroidered heart on the sloth’s tummy for an extra handmade touch.
Step 6: Assemble Your Crochet Sloth
Before sewing everything permanently, arrange the arms and legs to check the proportions.
Place the face slightly toward the upper front of the body. Sew the arms onto the sides and attach the legs near the bottom.
Make several secure stitches through the crocheted fabric and weave the yarn ends inside the toy.
Give your finished sloth a gentle squeeze to check that the stuffing is evenly distributed and that all attached parts are secure.
Easy Ways to Customize Your Sloth
One of the best things about making your own crochet toys is that you can personalize them.
Try:
- Cream and beige for a soft nursery look
- Gray and cream for a classic sloth
- Dusty blue and brown for a baby boy gift
- Soft pink and beige for a gentle pastel theme
- Natural brown and oatmeal for a woodland nursery
You can also make a slightly smaller version by using thinner yarn and a smaller crochet hook.
For a larger nursery decoration, use chunky yarn and adjust the pattern proportionally.
Final Thoughts
This cute crochet sloth for babies and toddlers is a charming handmade project that combines simple shapes with an adorable sleepy expression. Once you become comfortable with the basic pattern, you can experiment with different yarn colors, sizes, and embroidered details to create an entire family of crochet sloths.
Because this project is intended for babies and toddlers, remember to prioritize safety: use securely embroidered facial details, firmly attached limbs, washable materials, and avoid small detachable decorations.
Whether you’re making one as a baby shower gift, creating a nursery decoration, or simply adding another handmade animal to your crochet collection, this little sloth is sure to bring plenty of cozy woodland charm.
Happy crocheting!
