When rainy days keep you stuck inside or you just need 30 minutes of quiet, independent focus, nothing beats a stack of colorful construction paper.
Paper crafts are a powerhouse for toddler development. Cutting, tearing, scrunching, and gluing paper helps little hands build the essential fine motor control, hand-eye coordination, and spatial awareness needed for preschool—all while letting their creativity shine.
The secret to success with toddlers is keeping it low-mess, high-fun, and process-focused (where the fun is in the making, not a perfect final product!).
Here is a curated list of easy, budget-friendly construction paper crafts your toddler can make right at home.
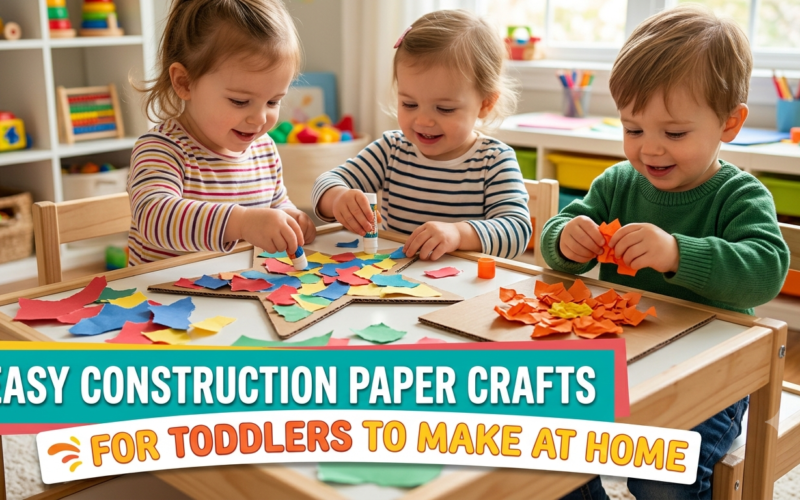
1. Mess-Free Paper Tear Mosaic
Tearing paper is deeply satisfying for a toddler and works those critical pincers muscles.
- What You Need: Multi-colored construction paper, a sheet of cardstock, and a child-safe glue stick.
- How to Do It:
- Let your toddler tear colorful construction paper strips into small, jagged pieces.
- Draw a simple shape (a heart, sun, or star) on the base paper with a marker.
- Show them how to rub glue inside the outline and stick down paper pieces to fill the shape.
- Developmental Benefit: Builds dual-hand coordination (one hand holds, the other pulls).
2. Classic Construction Paper Chain
Paper chains never get old, and toddlers love seeing their creations grow super long!
- What You Need: Construction paper cut into $2 \times 8 \text{ inch}$ strips, painter’s tape, or a glue stick.
- How to Do It:
- Bend one strip into a loop and secure the ends with glue or tape.
- Thread a second strip through the first loop, then secure its ends to start the chain.
- Repeat until your chain reaches across the living room!
- Toddler Hack: Use colorful painter’s tape instead of glue if your toddler gets frustrated waiting for glue to dry.
3. The Colorful Caterpillar
Transform colorful paper circles into a friendly, crawling creature.
- What You Need: Construction paper cut into 5-6 circles, googly eyes (or a black crayon), glue stick.
- How to Do It:
- Have your toddler glue the paper circles in an overlapping horizontal line across a sheet of paper to make the body.
- Glue googly eyes on the first circle (the head).
- Draw simple legs under each circle and two little antennae on top!
4. Giant Shape Monster
Turn simple geometric shapes into silly, non-scary monsters.
- What You Need: Construction paper in various bright colors, safety scissors (or pre-cut shapes).
- How to Do It:
- Cut out large base shapes (triangles, rectangles, circles) for monster bodies.
- Provide lots of smaller paper cutouts: tiny circles for eyes, jagged triangles for teeth, and long strips for arms and legs.
- Let your toddler glue as many eyes, teeth, and limbs onto their base shape as they want.
- Why Kids Love It: Monsters don’t have to look perfect—the sillier and messier, the better!
5. Scrunchy Paper Bouquet
Scrunching paper uses whole-hand grip strength, which helps toddlers build wrist control.
- What You Need: Colorful construction paper, green paper for stems, glue or tape.
- How to Do It:
- Cut construction paper into medium-sized squares.
- Show your toddler how to crush and scrunch the squares into tight, textured “flower ball” shapes.
- Glue green paper strips onto a base paper as stems, then glue the scrunched flowers right at the top!
6. Paper Strip Rainbow
A cheerful visual project that teaches color recognition and spatial awareness.
- What You Need: Paper strips in red, orange, yellow, green, blue, and purple; cotton balls; glue.
- How to Do It:
- Arrange the paper strips in rainbow order.
- Have your toddler glue the ends of the strips down onto a blue paper background to create a gently curved rainbow arch.
- Glue fluffy white cotton balls at the bottom of the rainbow to make puffy clouds.
7. Simple Handprint Paper Sun
A sweet keepsake craft that doubles as warm room decor!
- What You Need: Yellow/orange construction paper, pencil, scissors, glue stick.
- How to Do It:
- Trace your toddler’s hand multiple times on yellow paper and cut out the handprints.
- Cut out one medium yellow circle for the center of the sun.
- Help your toddler glue their paper handprints around the back edge of the circle so the fingers stick out like glowing sun rays.
8. Paper Plate & Construction Paper Turtle
Combine paper plates with paper squares for a fun 3D animal craft.
- What You Need: 1 paper plate, green construction paper cut into small squares, green paper legs/head.
- How to Do It:
- Flip a paper plate upside down (this is the shell).
- Let your toddler glue green construction paper squares all over the plate to cover the shell.
- Cut out 4 simple oval legs and a head, then glue them under the edge of the plate shell.
Tips for Stress-Free Paper Crafting with Toddlers
To keep craft time fun for everyone, keep these three rules in mind:
- Embrace the Process over Perfection: If their caterpillar has 12 eyes on its tail, that’s great! Art at this age is about sensory exploration, not making museum pieces.
- Prep Before You Start: Pre-cut shapes, strips, or paper pieces before inviting your child to the table. Toddlers have short patience spans when waiting for adult setup.
- Use Glue Sticks, Not Liquid Glue: For toddlers aged 2-3, glue sticks offer plenty of sticking power with far less mess and zero dry-time frustration.