
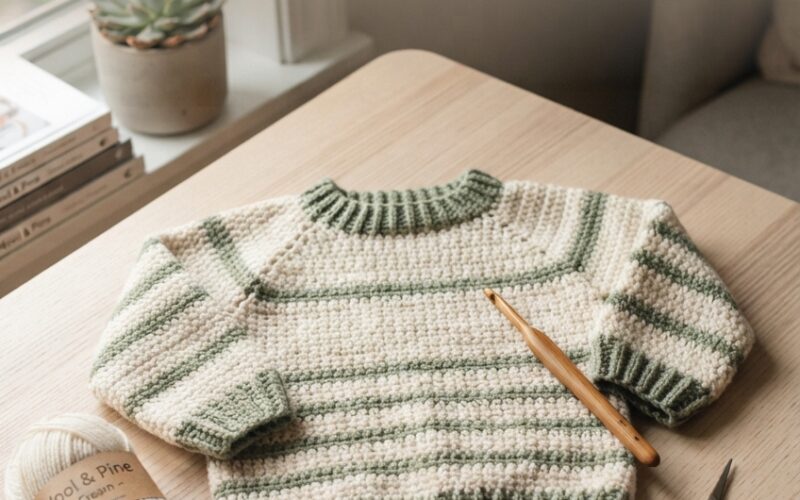
If you’re looking for a sweet, cozy crochet project for a little one, this crochet toddler sweater is a wonderful beginner-friendly choice. It has a simple construction, comfortable shape, and plenty of room for customization.
You don’t need advanced crochet skills to make this sweater. With basic stitches, a little patience, and some soft yarn, you can create a handmade sweater that is perfect for everyday wear, chilly mornings, or a thoughtful handmade gift.
This pattern is designed as a flexible guide, so you can adjust the length, sleeve size, and colors to suit the toddler you’re making it for.
Why You’ll Love This Crochet Toddler Sweater
This sweater is especially useful for beginners because it focuses on straightforward crochet techniques rather than complicated shaping.
You’ll love this project because it is:
- Beginner-friendly
- Comfortable for toddlers
- Easy to customize
- Great for handmade gifts
- Suitable for different yarn colors
- A practical everyday crochet project
- Easy to make with basic crochet skills
For a classic look, choose one neutral color such as cream, beige, oatmeal, or soft gray. You can also add colorful stripes for a playful toddler-friendly design.
Materials You’ll Need
Before starting, gather:
- Soft medium-weight yarn suitable for children
- Crochet hook recommended for your yarn
- Yarn needle
- Scissors
- Stitch markers
- Measuring tape
Choose a soft yarn that feels comfortable against a child’s skin. Avoid rough or scratchy fibers, especially for clothing worn directly over a shirt.
Step 1: Make a Gauge Swatch
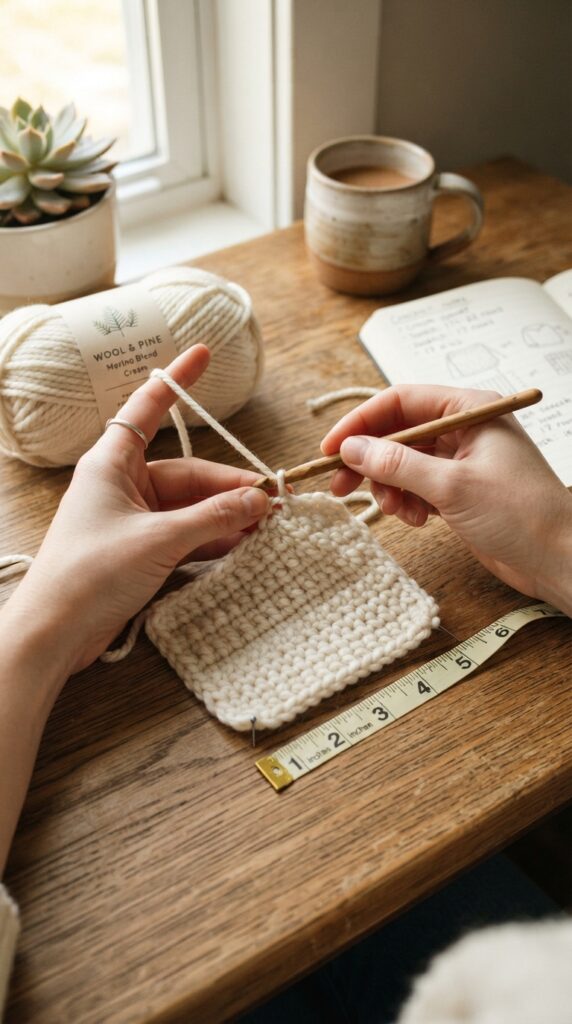
Before crocheting the sweater, make a small gauge swatch using your chosen yarn and hook.
This helps you determine whether your stitches are too tight or too loose. Since toddlers grow quickly and children’s clothing needs to be comfortable, getting the approximate size right is important.
Measure your swatch and compare it with the gauge recommended for your yarn.
Step 2: Crochet the Main Body
Start with the sweater body. A simple rectangular construction is ideal for beginners because it avoids complicated shaping.
Work your rows evenly, checking the width as you go. The finished piece should be wide enough to fit comfortably around the toddler’s body without being too tight.
Keep your tension consistent throughout the rows.
If you want a slightly oversized sweater, add a few extra stitches to the starting chain.
Step 3: Create the Second Body Panel
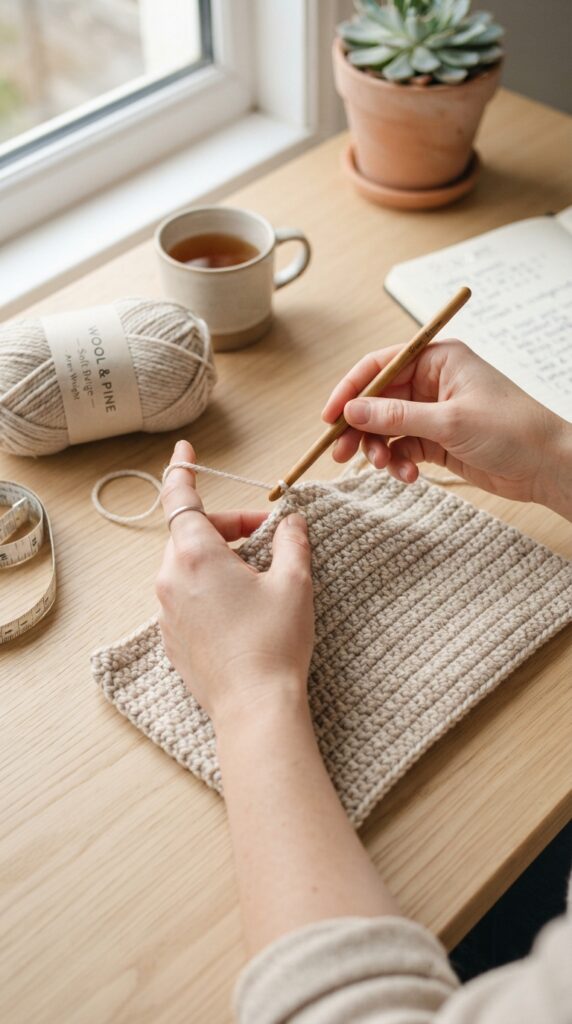
Repeat the same process to create the second body panel.
Try to make both panels the same size. Place them next to each other occasionally to compare their width and length.
This is one of the easiest ways to keep a handmade sweater looking neat and balanced.
If you want a striped sweater, this is also a good stage to introduce different colors.
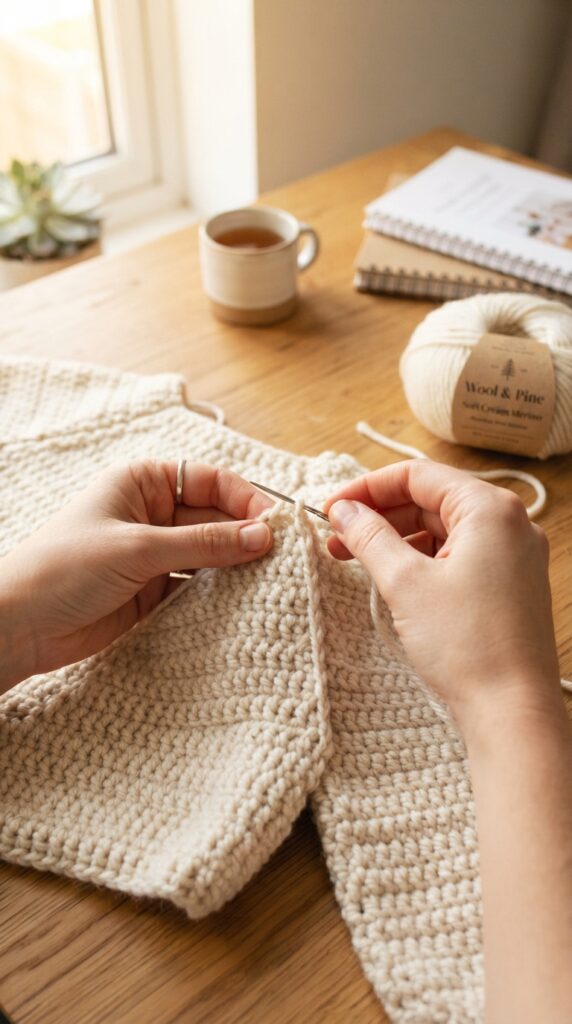
Step 4: Join the Shoulders
Place the two panels together with the correct sides facing each other.
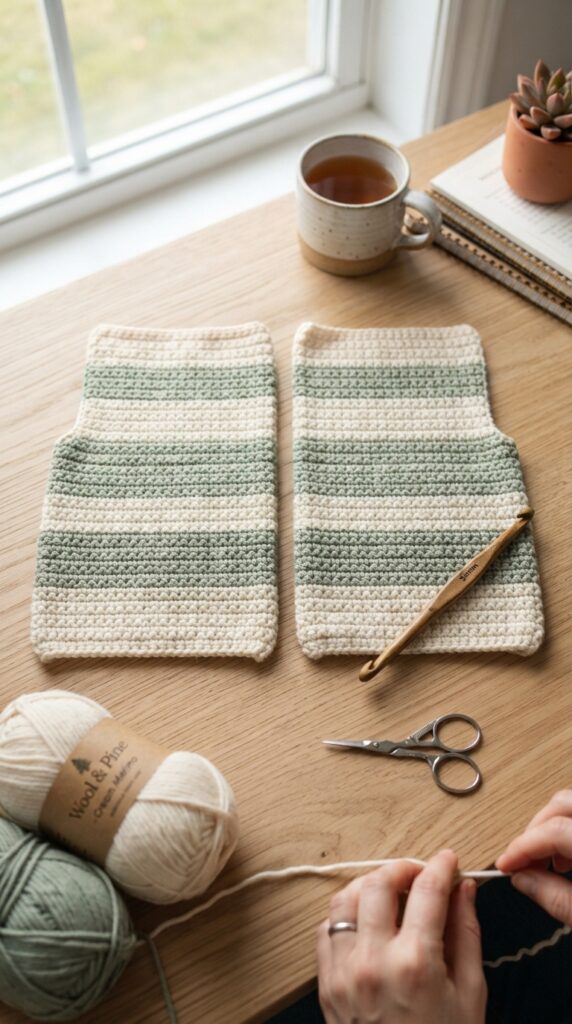
Join the shoulder sections using a simple crochet seam or yarn needle. Leave an opening in the center for the neckline.
Try the sweater around a similar-sized garment or measure the neckline before closing the shoulder seams.
The neckline should be comfortable and wide enough to make dressing easy.
Step 5: Add the Sleeves
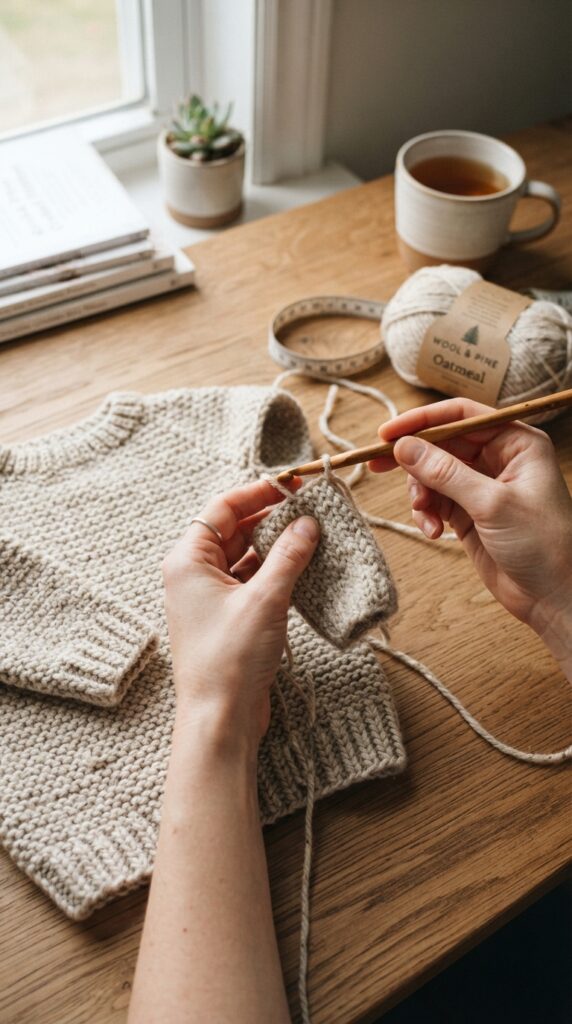
For simple beginner sleeves, crochet directly from the arm openings or create separate sleeve pieces and attach them afterward.
Keep the sleeve shape comfortable rather than overly fitted. Toddlers need plenty of freedom to move their arms while playing.
You can make the sleeves slightly shorter for a lightweight spring sweater or longer for a warmer winter design.
Step 6: Finish the Neckline
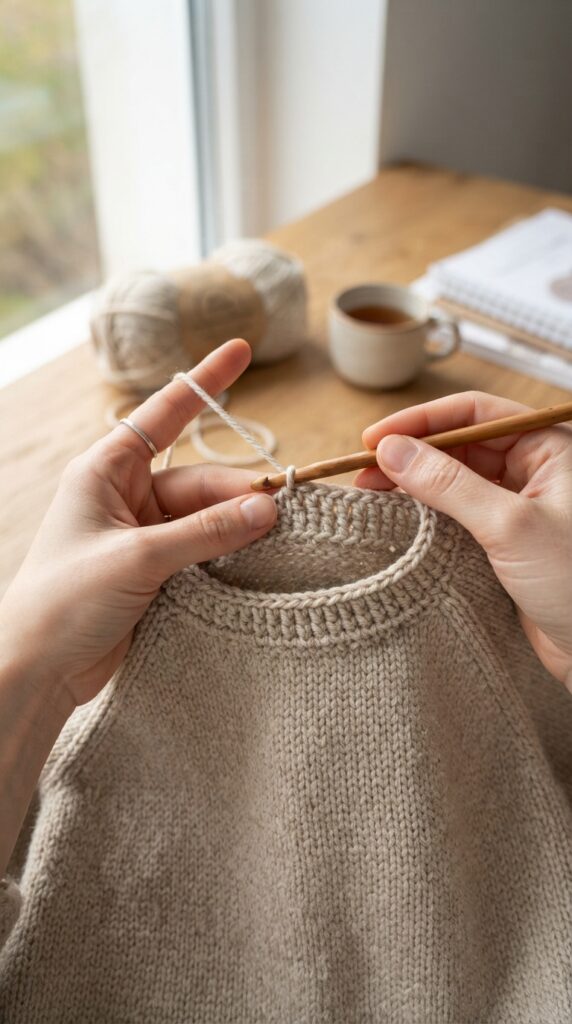
Once the body and sleeves are assembled, finish the neckline with a simple crochet border.
A few rounds of single crochet can create a clean and tidy edge.
For a slightly more decorative look, use a contrasting color around the neckline. Cream with sage, beige with dusty blue, or gray with soft yellow can create a beautiful toddler-friendly combination.
Avoid making the neckline too tight.
Step 7: Finish the Sleeves and Bottom Edge
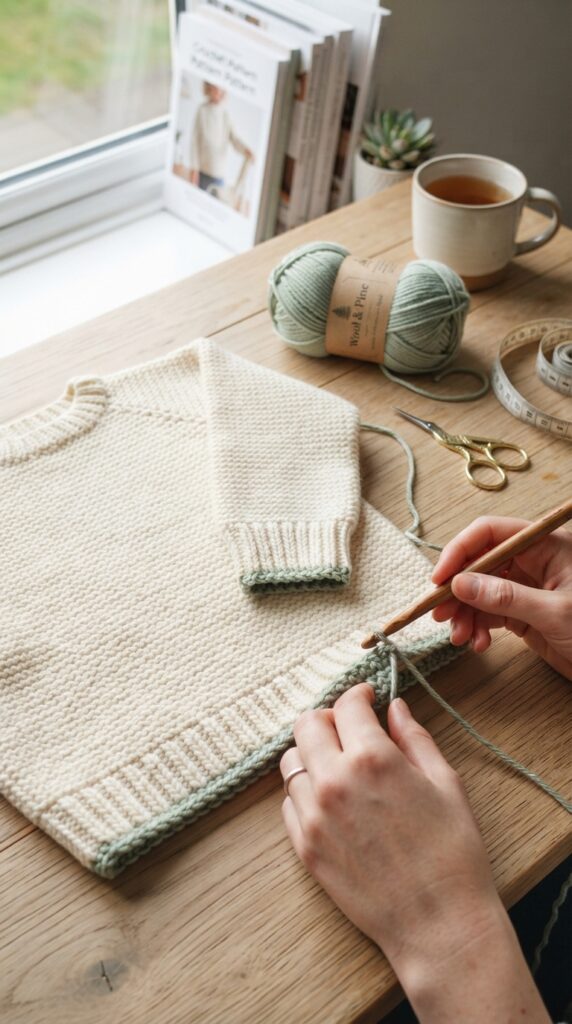
Add a simple border around the sleeve cuffs and bottom of the sweater.
A clean single-crochet border gives the sweater a finished appearance while helping the edges maintain their shape.
You can use the same yarn color for a classic look or choose a contrasting shade for a playful design.
Step 8: Weave in the Ends
Once all the crocheting is finished, carefully weave in every loose yarn end using a yarn needle.
Trim excess yarn neatly after securing it.
Take a few minutes to inspect the sweater for loose ends, uneven edges, or areas that need reinforcement.
For children’s clothing, make sure all finishing is secure before the sweater is worn.
Step 9: Final Fit and Finishing Touches
Lay the sweater flat and gently check the measurements.
Look at:
- Overall width
- Sweater length
- Sleeve length
- Neckline opening
- Cuff size
You can add a small decorative crochet detail, such as a simple stripe or embroidered motif, if desired.
For toddler clothing, keep decorations securely attached and avoid small detachable pieces.
Easy Ways to Customize Your Sweater
One of the best things about making a crochet toddler sweater yourself is that you can easily personalize it.
Try:
Neutral: Cream, oatmeal, beige, or light gray.
Playful: Combine two or three pastel colors.
Striped: Change colors every few rows.
Simple: Use one color and add a contrasting neckline.
Seasonal: Choose warm earthy colors for fall or soft pastel shades for spring.
You can also adjust the sweater length to create a cropped style or a longer cozy fit.
Helpful Beginner Tips
Keep your stitches relaxed. Crocheting too tightly can make the sweater stiff and uncomfortable.
Count your stitches regularly, especially during the first few rows.
Measure as you go instead of waiting until the sweater is finished.
If your sweater looks slightly different from the example, don’t worry. Handmade crochet projects have their own character, and small differences are completely normal.
Most importantly, choose soft, child-friendly yarn and make sure all loose ends are securely woven in.
Final Thoughts
This easy crochet toddler sweater is a practical project for beginners who want to create something handmade and useful. With basic crochet stitches and a simple construction, you can make a cozy sweater while experimenting with colors, sizes, and finishing details.
Whether you’re making one for your own toddler or creating a handmade gift, this project is a lovely way to turn a few skeins of yarn into something special.
Save this pattern idea for your next crochet project and experiment with different colors to create your own adorable version!
