
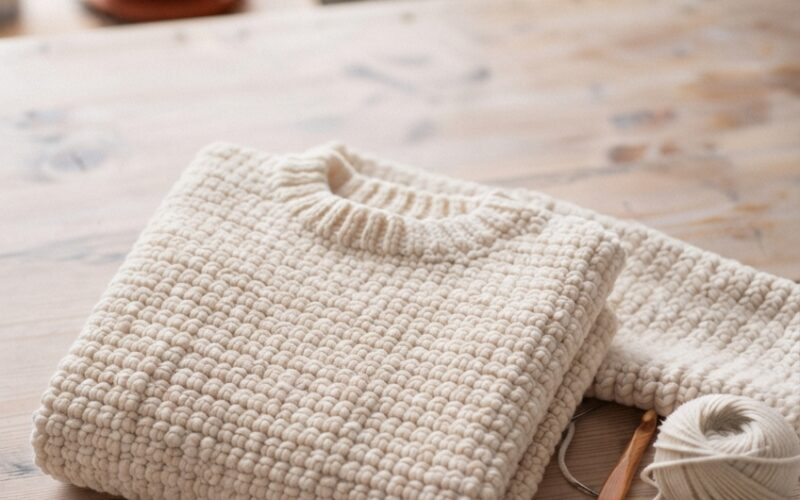
If you love making handmade clothes for little ones, this easy crochet sweater for toddlers is a lovely project to add to your collection. It has a simple shape, a cozy fit, and a beginner-friendly construction that makes it much less intimidating than complicated crochet garments.
This toddler crochet sweater is perfect for cooler days, family outings, daycare, or simply adding a handmade layer to your child’s wardrobe. You can make it in a soft neutral shade for an everyday look or choose a cheerful color that matches your toddler’s personality.
Why You’ll Love This Toddler Crochet Sweater
There are several reasons this project is worth trying. First, the sweater uses basic crochet techniques and simple construction. You don’t need an advanced understanding of crochet to get started.
It is also easy to customize. You can make the sleeves slightly longer, adjust the body length, or use different yarn colors to create stripes.
Most importantly, handmade toddler clothing makes a thoughtful gift. A crochet sweater can be made for a birthday, holiday, baby shower, or simply as a special handmade surprise.
Materials You’ll Need
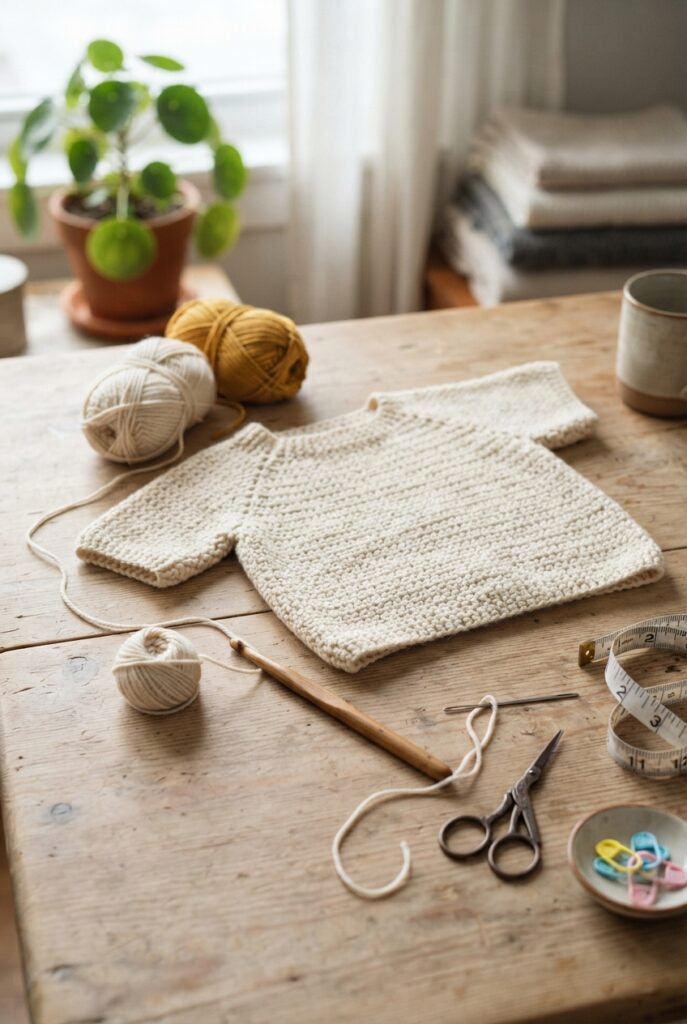
For this project, gather:
- Soft worsted-weight or DK yarn suitable for toddlers
- Crochet hook recommended for your yarn
- Yarn needle
- Scissors
- Measuring tape
- Stitch markers
- A few pins for joining pieces
Choose a soft, washable yarn because toddler clothing needs to be comfortable and easy to care for.
Step 1: Make the Sweater Body
Start by creating the foundation chain according to the desired toddler size. Work rows of your chosen basic stitch until the piece reaches the approximate width needed for the front or back of the sweater.
Keep your tension consistent throughout the project. If your stitches become tighter or looser as you work, the finished sweater may not have the intended measurements.
Before continuing, compare your crochet piece with a sweater that already fits your toddler. This is one of the easiest ways to make sure the finished garment will have a comfortable fit.
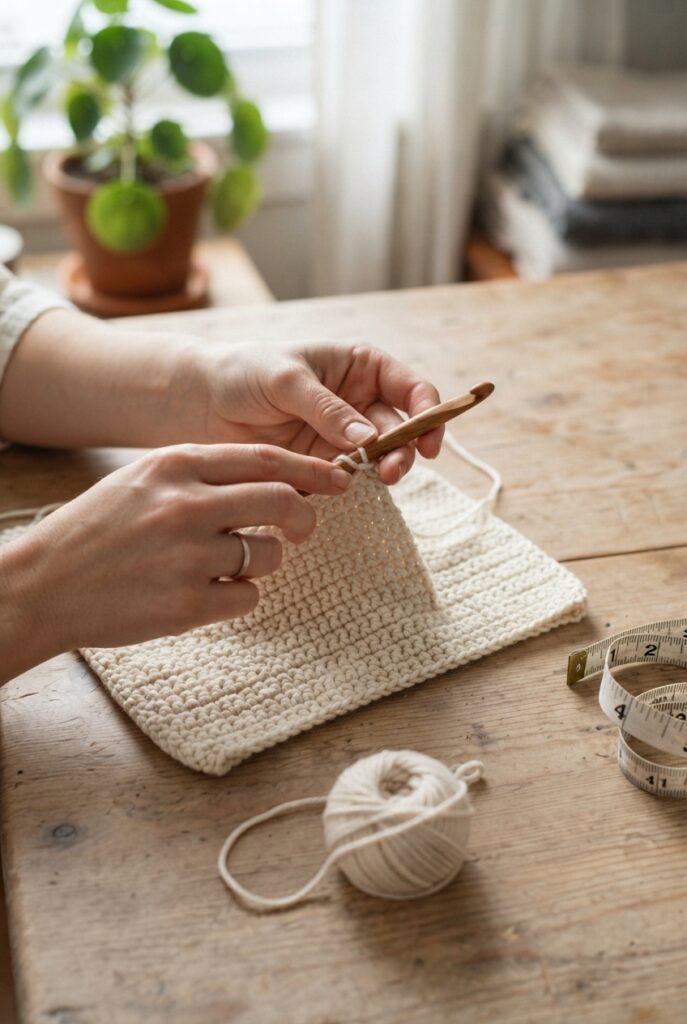
Step 2: Crochet the Second Body Panel
Repeat the same process to create the second body panel. Try to keep both pieces the same width and length.
Place the two panels beside each other and check that the rows line up evenly. Small differences can usually be corrected before assembly.
This simple two-panel construction is what makes this sweater especially approachable for beginners.
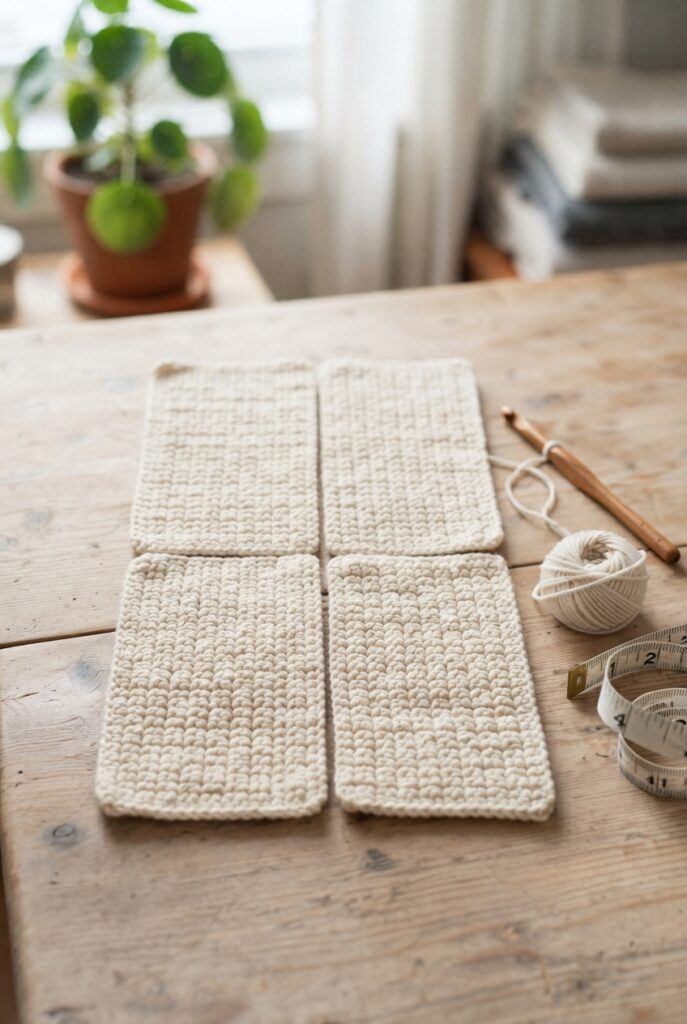
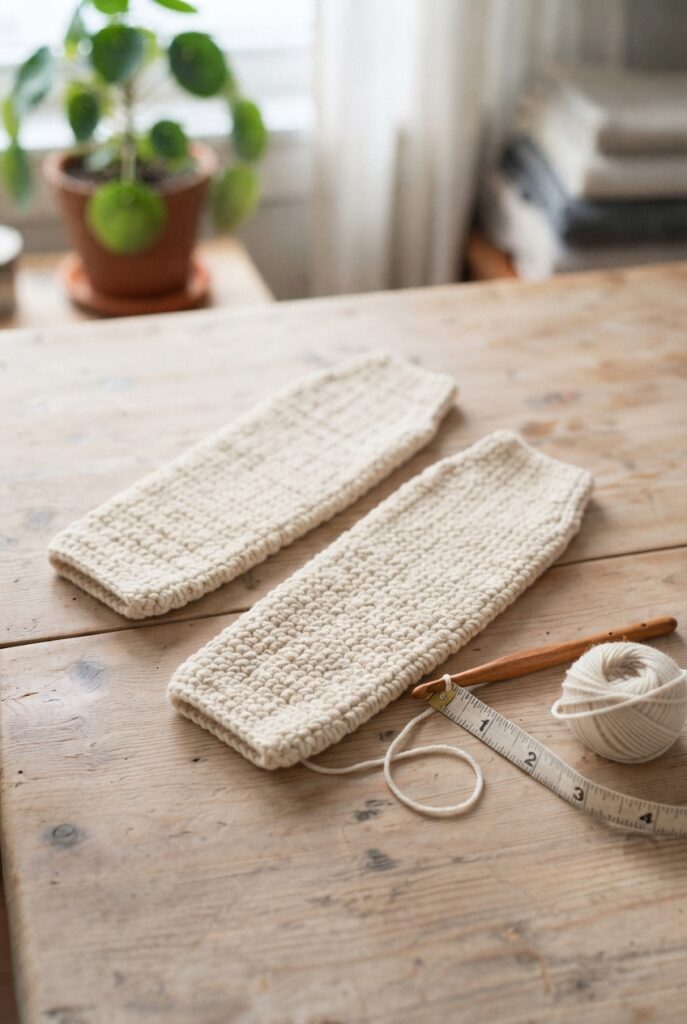
Step 3: Create the Sleeves
For the sleeves, crochet two matching pieces using the same yarn. You can make them straight for a simple classic style or gradually adjust the width for a slightly tapered sleeve.
Remember to check the sleeve length against your toddler’s arm measurements. A little extra length can be folded into a cuff for a cozy finish.
Step 4: Join the Shoulder Seams
Once the body panels are finished, place them together with the correct sides facing inward.
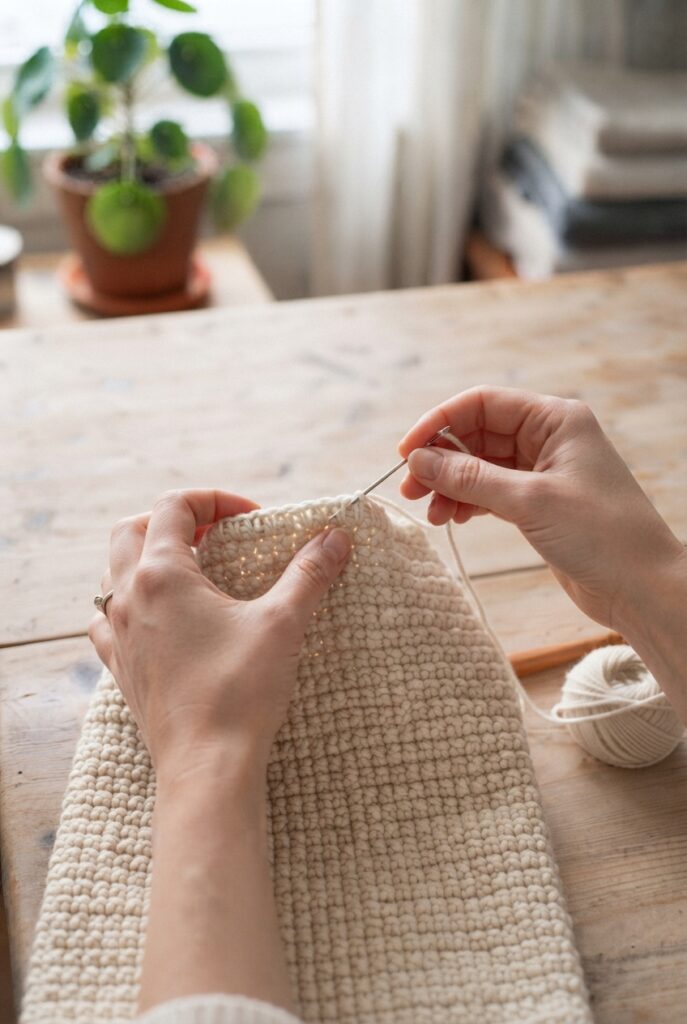
Join the shoulder sections while leaving enough space in the center for the neckline. You can use a simple slip stitch or sew the pieces together with a yarn needle.
Try the neckline opening against the child’s measurements before completely closing the seams.
Step 5: Attach the Sleeves
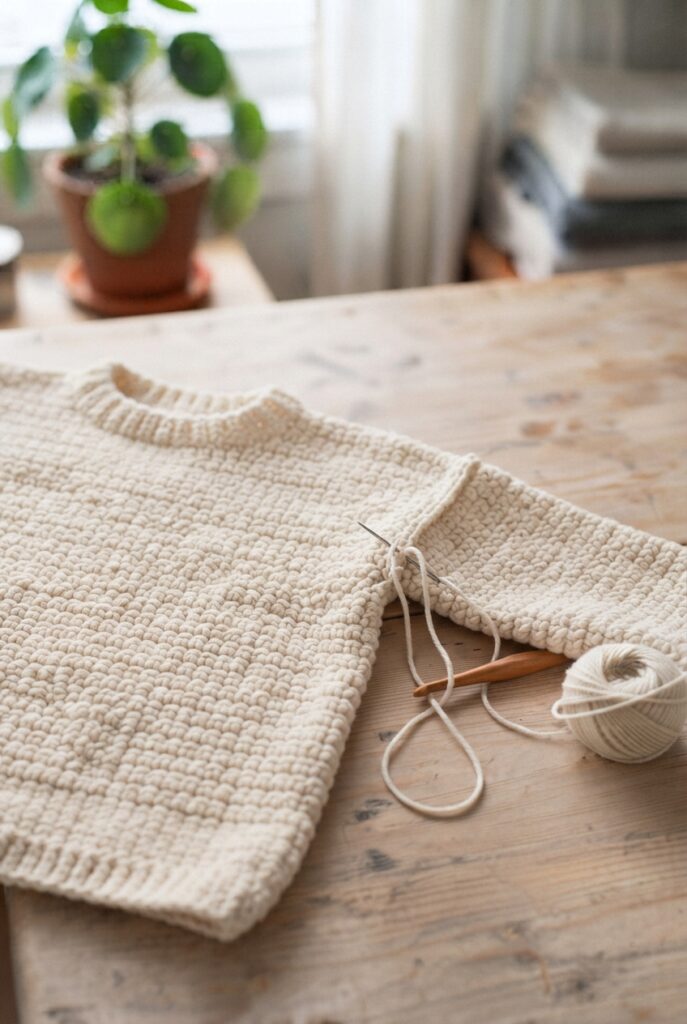
Lay the sweater flat and position each sleeve along the arm opening. Carefully attach the sleeves, making sure the center of each sleeve lines up with the shoulder area.
After attaching the sleeves, fold the sweater and join the side seams and sleeve seams.
Take your time during this step because neat seams can make a simple sweater look much more polished.
Step 6: Finish the Neckline and Cuffs
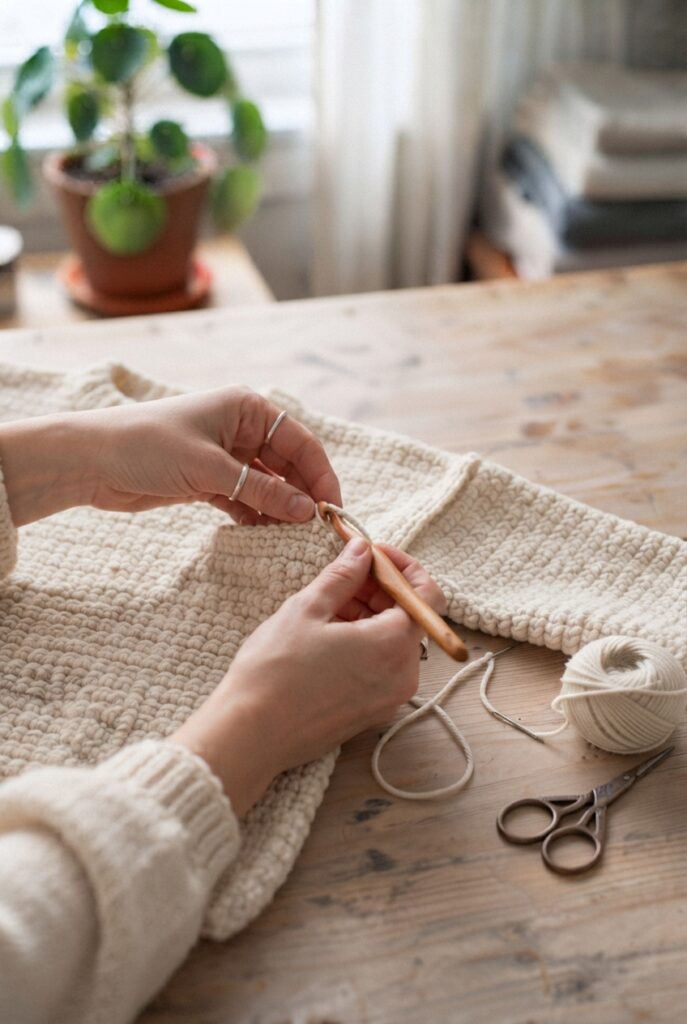
For the finishing touches, add a few rounds around the neckline, sleeve cuffs, and bottom edge.
A simple ribbed-looking border can give the sweater a clean finished appearance. You can also use a contrasting yarn color to make the edges stand out.
Weave in all loose ends carefully and trim any excess yarn.
Easy Ways to Customize Your Sweater
One of the best things about making a crochet sweater yourself is the ability to personalize it.
Try using two complementary colors for simple stripes. You can also make the cuffs and neckline in a contrasting shade for a more polished look.
For a cozy winter version, choose a warmer yarn. For a lightweight transitional sweater, choose a softer, lighter yarn.
You can also add a small embroidered crochet detail, such as a simple heart, star, flower, or initial.
Tips for a Better Fit
Always check your crochet gauge before beginning if the pattern includes specific measurements. Toddler sizes can vary considerably, so using measurements rather than relying only on age is helpful.
Measure the child’s chest, sweater length, sleeve length, and shoulder width when possible.
It is also a good idea to leave a little room for movement. Toddlers are constantly moving, so a sweater should feel comfortable rather than overly fitted.
Final Thoughts
This easy crochet sweater for toddlers is a practical and rewarding handmade project. Its simple construction makes it approachable for beginners, while the basic design gives you plenty of opportunities to customize colors, borders, and sizing.
Once you understand the basic construction, you can make several versions for different seasons and occasions. Keep one in a neutral color for everyday outfits and experiment with brighter shades for playful looks.
A handmade crochet sweater is more than just a piece of clothing—it is a thoughtful project made especially for a little one.
