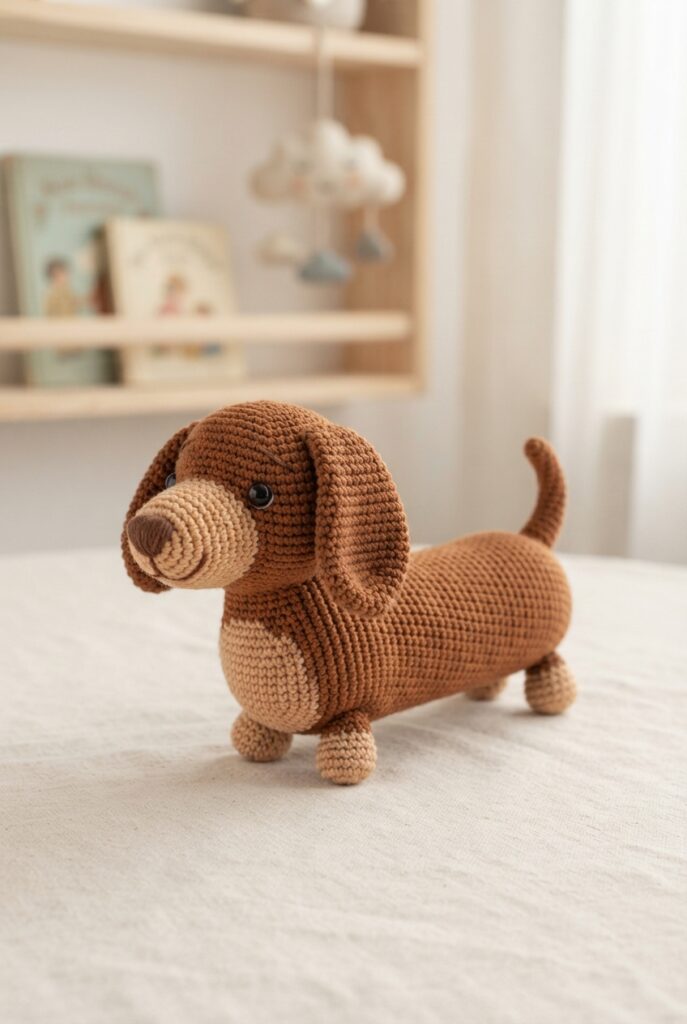
Crochet toys are a wonderful way to create something cute, soft, and personal for little ones. If you love making handmade projects, learning how to crochet Dachshund toys for toddlers can be a fun project to add to your collection. With their long bodies, floppy ears, and tiny legs, Dachshunds are especially adorable when turned into amigurumi-style crochet toys.
This project can be customized with different yarn colors and small details, making it easy to create a unique handmade toy. Whether you are making one for your toddler, preparing a handmade gift, or simply looking for a fun crochet project, a tiny crochet Dachshund is a charming choice.
What You Need to Crochet a Dachshund Toy
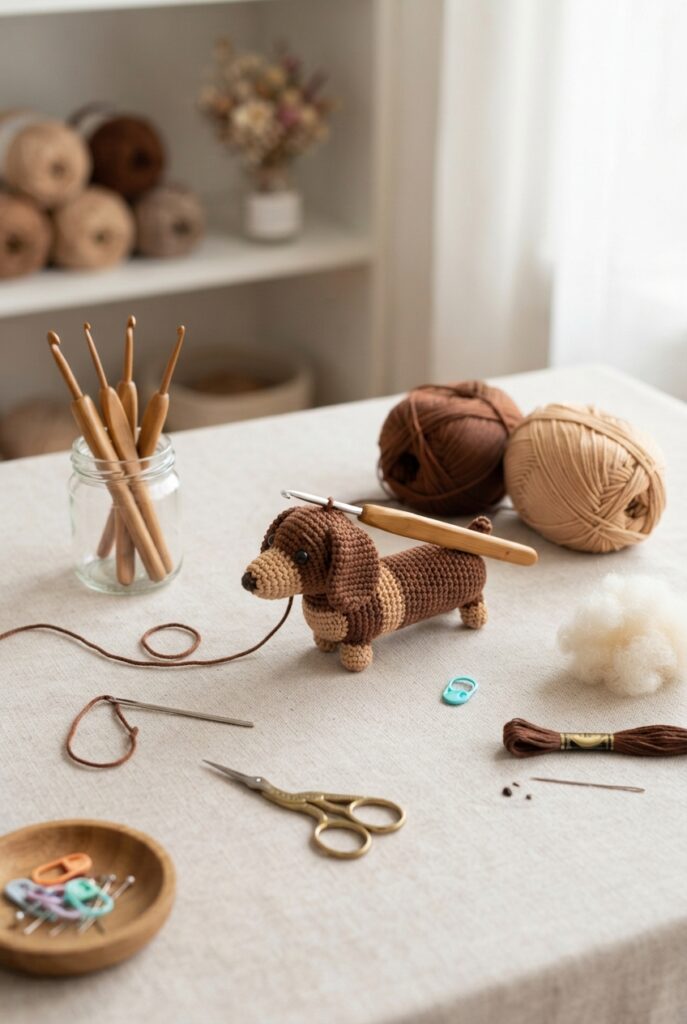
Before starting your crochet Dachshund, gather all the basic supplies you will need. Having everything ready makes the project much easier and keeps the process organized.
You will need:
- Medium-weight or soft acrylic yarn
- Brown, tan, cream, or black yarn
- A suitable crochet hook
- Soft toy stuffing
- Yarn needle
- Scissors
- Embroidery thread for simple facial details
- Stitch marker
- Optional safety eyes, if appropriate for the intended age
For toddlers, it is important to think carefully about the finishing details. Embroidered eyes and facial features can be a good alternative to small detachable pieces.
Step 1: Crochet the Dachshund Body
The body is the main part of your crochet Dachshund toy. Start with a basic amigurumi shape and crochet in continuous rounds.
Begin with a small magic ring and work several single crochet stitches into the ring. Continue crocheting in rounds, increasing gradually until you reach the desired width.
Once the body reaches the widest point, continue working even rounds without increases. This creates the long shape that gives the Dachshund its recognizable appearance.
When the body is long enough, begin decreasing the stitches gradually toward the opposite end. Add a small amount of stuffing as you work so the body stays soft but keeps its shape.
Avoid overfilling the toy because toddlers usually benefit from a soft, squeezable texture.
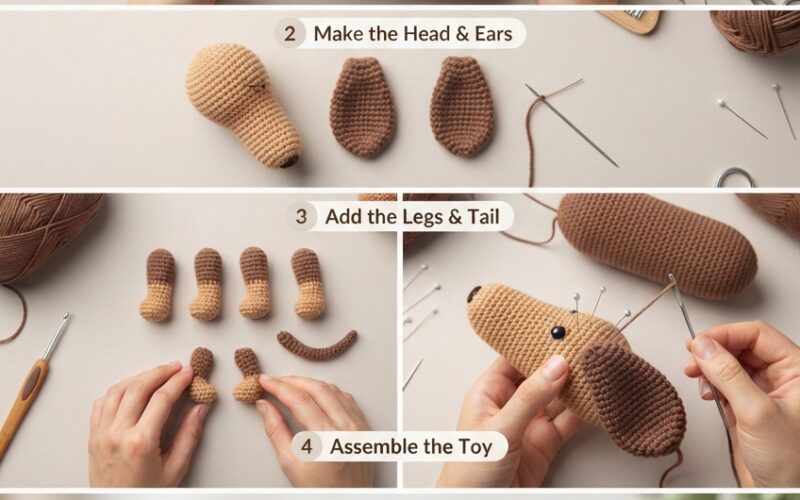
Step 2: Make the Dachshund Head and Floppy Ears
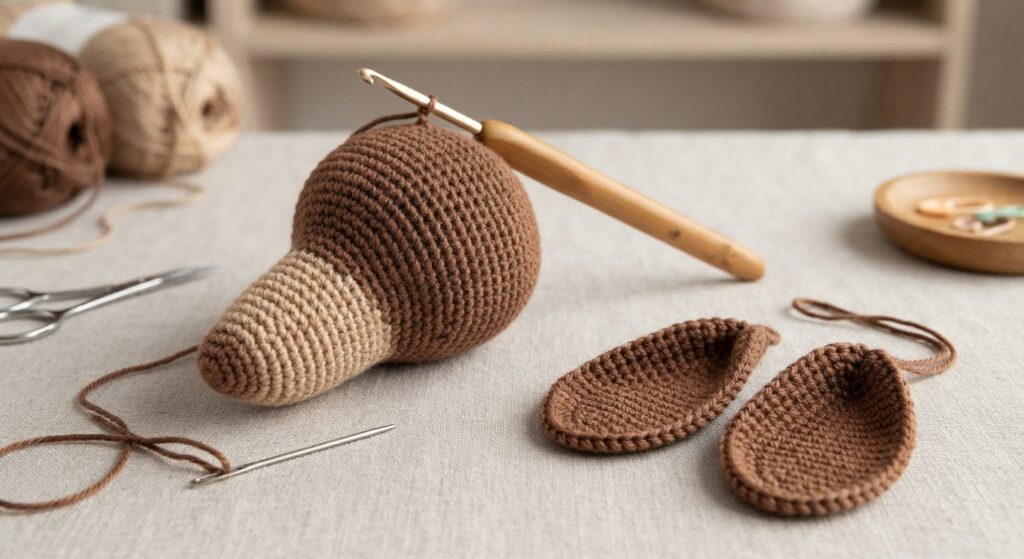
The head can be crocheted separately and attached to the body later. For a classic Dachshund appearance, make the head slightly elongated rather than completely round.
Start with a small crochet ring and gradually increase the stitches. Continue working several rounds before decreasing toward the top.
The floppy ears are one of the cutest features of a crochet Dachshund. Make two small ear pieces using the same yarn or a complementary color. They can be slightly wider at the top and narrower toward the bottom.
Once finished, position the ears carefully on both sides of the head.
Step 3: Crochet the Legs and Tail
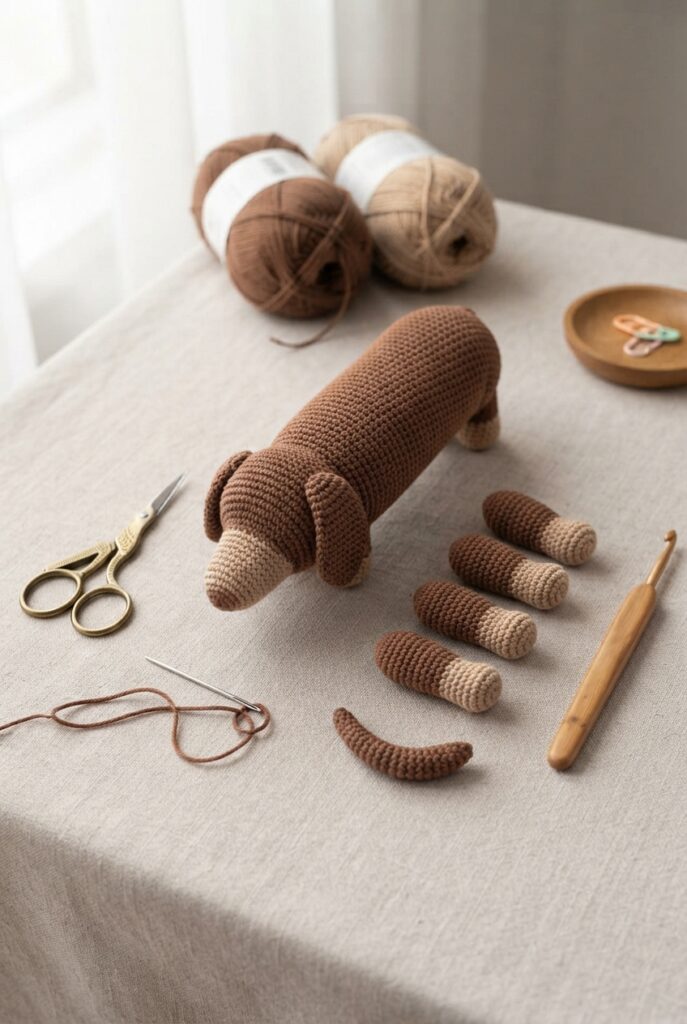
Next, create four small legs for your crochet Dachshund toy. Keep them simple and compact so they match the proportions of the long body.
Each leg can be crocheted as a small tube using single crochet stitches. Lightly stuff each leg before closing it.
For the tail, crochet a narrow, slightly curved piece. A small tail helps complete the classic Dachshund silhouette without making the toy too complicated.
Lay all the pieces beside the body before attaching them. This gives you an opportunity to check their size and position.
Step 4: Assemble Your Crochet Dachshund Toy
Now comes the most satisfying part: putting everything together.
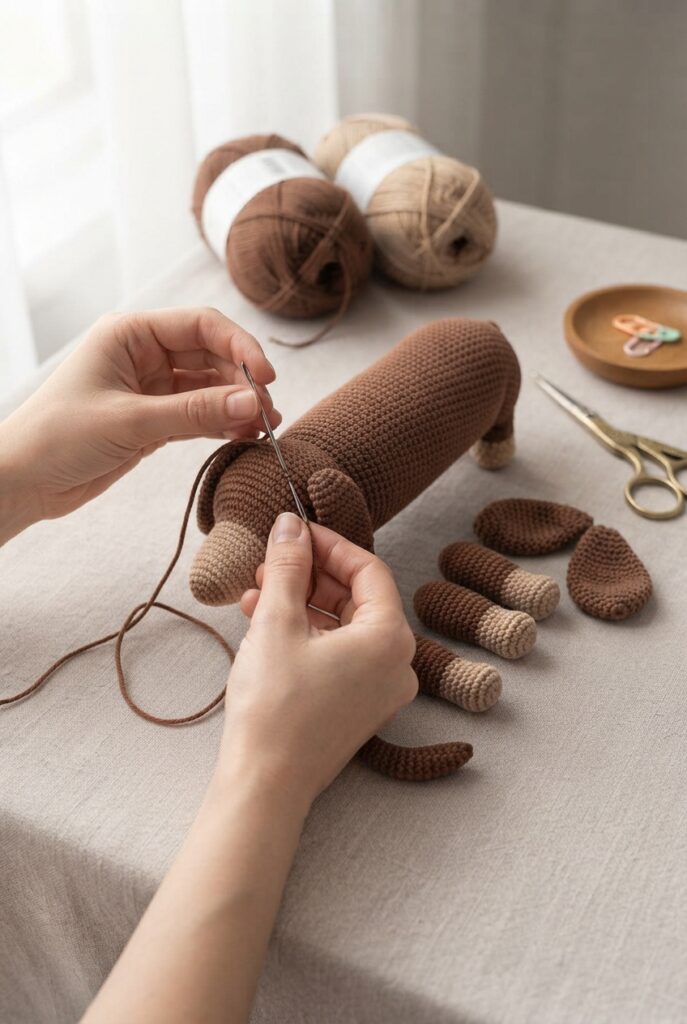
Use a yarn needle and matching yarn to attach the head securely to the body. Take your time to make sure the head is centered and firmly sewn.
Next, attach the floppy ears to both sides of the head. Position the legs evenly along the underside of the body and sew them securely in place.
Finally, attach the small tail to the back of the toy.
For a toddler-friendly version, embroidered eyes and a small embroidered nose can create a sweet face without relying on loose decorative pieces.
Choosing Colors for Your Crochet Dachshund
One of the best things about making crochet Dachshund toys is the ability to experiment with colors.
Traditional Dachshund-inspired combinations include chocolate brown, caramel, tan, black, and cream. You can also create a playful version using soft pastel colors for a nursery or toddler playroom.
For a classic appearance, use one main color for the body and a slightly lighter shade for the muzzle, paws, or ears.
Making the Toy Toddler-Friendly
When creating crochet toys for toddlers, safety should always be a priority. Avoid decorations that can easily detach or become loose.
Instead of plastic eyes, consider embroidering the eyes and nose with securely fastened yarn. Make sure every sewn component is firmly attached and check the finished toy regularly for loose threads or damaged seams.
Choose soft, washable yarn whenever possible, especially for toys that may become part of everyday play.
Why Handmade Crochet Toys Make Great Gifts
A handmade Dachshund toy can be much more than a simple crochet project. It can become a special keepsake, nursery decoration, travel companion, or thoughtful handmade gift.
You can personalize the toy by choosing the child’s favorite colors or adding a small crochet accessory such as a bow, scarf, or simple collar.
Crochet amigurumi projects are also a great way to practice basic crochet techniques while creating something useful and adorable.
Final Thoughts
Learning how to crochet Dachshund toys for toddlers is a fun project for both beginner and experienced crocheters. The long body, floppy ears, tiny legs, and curved tail create an instantly recognizable shape while giving you plenty of opportunities to practice basic amigurumi techniques.
With soft yarn, simple crochet stitches, careful assembly, and toddler-friendly finishing details, you can create an adorable handmade Dachshund toy that is perfect for little hands.