
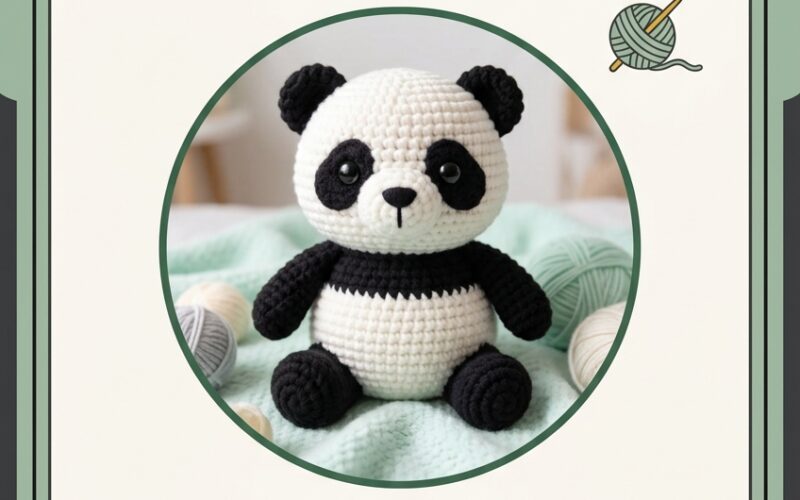
Are you searching for a super fun, adorable, and quick crochet project? Look no further! This Chubby Panda Bear No-Sew Amigurumi is designed specifically with beginners and kids in mind. The best part? There is absolutely no sewing required! Every limb, ear, and body part is crocheted directly into the main body as you go, saving you from tedious assembly and pesky loose threads.
Whether you are teaching young crafters their first plushie project or looking for a fast, satisfying weekend craft, this rotund little panda is guaranteed to steal your heart.
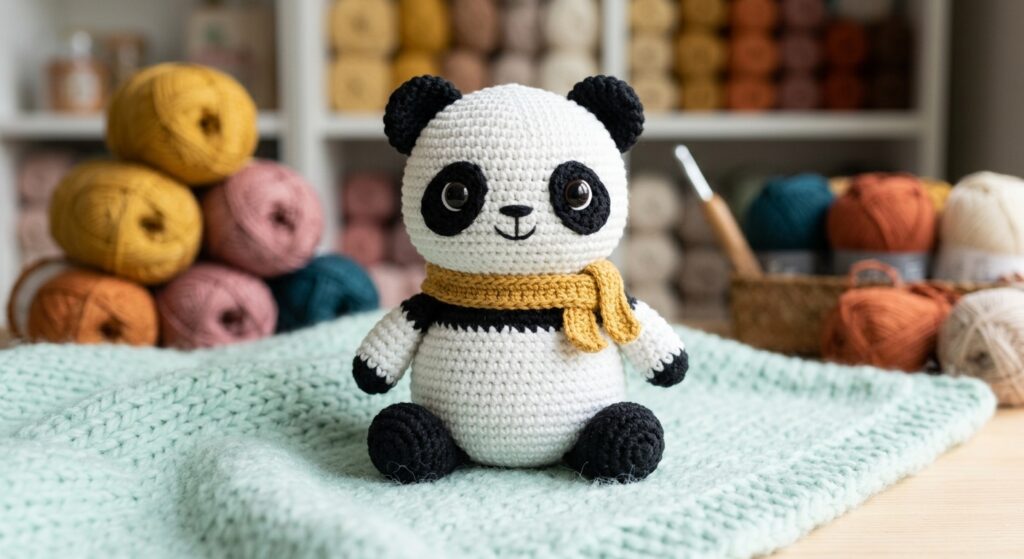
Why You Will Love This No-Sew Amigurumi Pattern
- Zero Sewing Required: Ears, arms, and legs are worked straight into the stitches.
- Quick & Satisfying: Takes less than an hour to complete from start to finish.
- Child-Friendly Craft: Great practice for young crafters building confidence with basic stitches.
- Super Squishy: Made with chunky plush yarn, making it ultra-huggable and soft.
Materials & Tools Needed
Before jumping into the pattern, gather these essential crafting supplies:
- Super Bulky Plush Yarn (Category 6):
- White: ~35 yards (head & main body)
- Black: ~25 yards (ears, eye patches, arms & legs)
- Crochet Hook: Size 5.0 mm (H/8) or 6.0 mm (J/10) depending on yarn weight
- Safety Eyes: 10 mm or 12 mm plastic safety eyes (with backings)
- Fiberfill Stuffing: Premium polyester stuffing for extra squishiness
- Notions: Yarn needle, stitch marker, and sharp scissors
Crochet Abbreviations (US Terms)
- MR: Magic Ring
- sc: Single Crochet
- inc: Increase (2 single crochet in same stitch)
- dec: Invisible Decrease (single crochet 2 together)
- bobble: 4-dc Bobble Stitch (used for limbs)
- st / sts: Stitch / Stitches
- [ ]: Total stitch count at the end of the round
💡 Pro-Tip for Beginners: When working with plush yarn, stitches can sometimes be tricky to see. Use a stitch marker in the first stitch of every round to keep track easily!
Step-by-Step Chubby Panda Crochet Pattern
Phase 1: Starting the Top of the Head (White Yarn)
We begin from the top of the panda’s head working downward in continuous spiral rounds.
- Round 1: With White Yarn, make 6 sc into a MR.
[6] - Round 2: Work 1 inc in each st around.
[12] - Round 3:
[1 sc, inc]x 6 times.[18] - Round 4:
[2 sc, inc]x 6 times.[24]
Phase 2: Attaching the Ears Seamlessly (White & Black Yarn)
Instead of sewing ears on later, we construct ears on Round 5 using popcorn/picot-style loops directly into the round using black yarn!
- Round 5: Work 5 sc in white, switch to Black: work 3 dc into next st, drop loop, reinsert through 1st dc to form a pop-ear, switch to White: 10 sc, switch to Black: work 2nd pop-ear in next st, switch to White: 7 sc.
[24] - Rounds 6–8: Sc in each st around in White.
[24]
Phase 3: Attaching Safety Eyes & Face Features
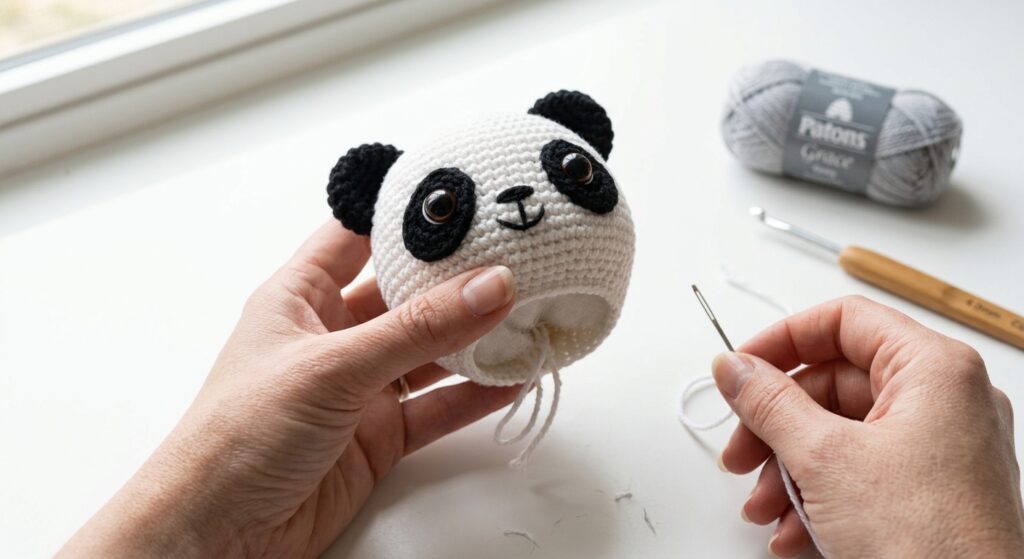
Before closing up the body, let’s fix the panda’s adorable face!
- Cut two small oval patches out of black felt (or crochet tiny black oval patches).
- Snip a tiny slit in the center of each black felt eye patch.
- Insert your 12mm Safety Eyes through the felt patches.
- Push the safety eye posts into the panda’s head between Rounds 6 and 7, approximately 4 stitches apart. Secure with backings firmly inside.
- Using black yarn and your tapestry needle, embroider a cute small inverted ‘V’ nose right between the eyes.
Phase 4: Creating the Body & Integrated Arms (Switching Colors)
- Round 9 (Color Switch): Switch to Black Yarn.
[3 sc, inc]x 6 times.[30] - Round 10 (Arms Round): 6 sc, Arm 1: (Bobble st), 12 sc, Arm 2: (Bobble st), 10 sc.
[30] - Round 11: Switch back to White Yarn. Sc in each st around.
[30] - Rounds 12–13: Sc in each st around in White.
[30]
🎨 IMAGE PROMPT 3 (Adding Stuffing):
Top-down view of a chubby white and black crocheted panda body being stuffed with fluffy polyester fiberfill stuffing, showing texture and shape, overhead craft lighting.
Phase 5: Bottom, Integrated Legs & Closing (White & Black)
- Round 14 (Legs Round):
[3 sc, dec]x 6 times, replacing sc with Black Bobble stitches at stitch positions 8 and 18 for legs.[24] - Stuff the panda firmly with fiberfill! Focus on creating a round, chubby tummy shape.
- Round 15:
[2 sc, dec]x 6 times in White.[18] - Round 16:
[1 sc, dec]x 6 times.[12] - Round 17: Dec 6 times.
[6]
Fasten off, leaving a 6-inch tail. Weave the tail through the front loops of the remaining 6 stitches, pull tight to close the hole, hide the yarn tail inside the body, and snip!
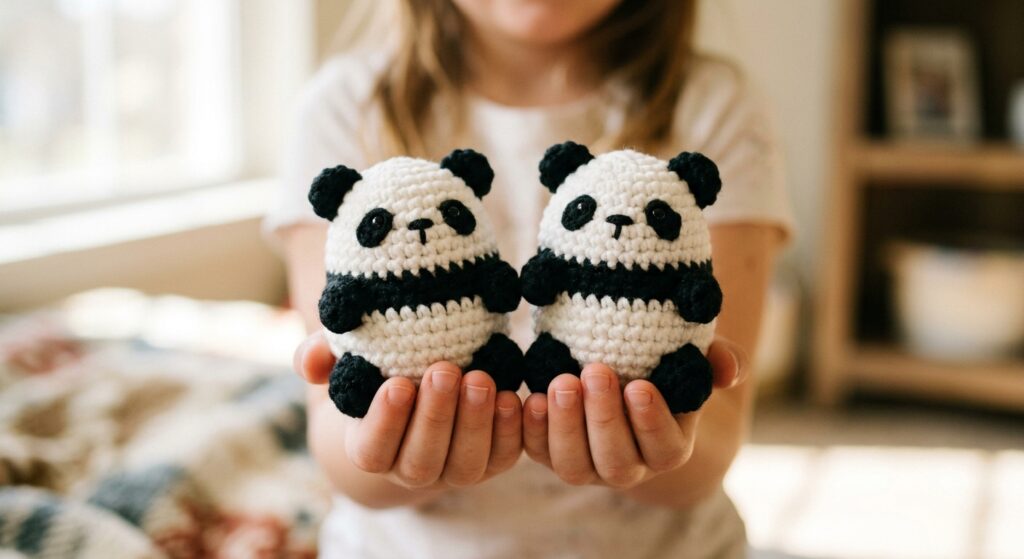
Top Tips for Amigurumi Success with Kids
- Patience with Color Changes: Changing colors smoothly can be tricky for kids. Remind them to pull the new color through on the last loop of the previous stitch.
- Stuffing Balance: Don’t overstuff! You want the panda soft and squishy, not rock hard.
- Safety First: If making this panda for children under 3 years old, swap plastic safety eyes for embroidered yarn eyes to avoid choking hazards.
Conclusion
And there you have it — your very own Chubby Panda Bear Amigurumi, completed effortlessly without a single needle stitch! This fast, charming pattern is ideal for market vendors, kid crafters, and plushie lovers alike.
Did you try this pattern? Share your creations with us using #ChubbyPandaCrochet!
