
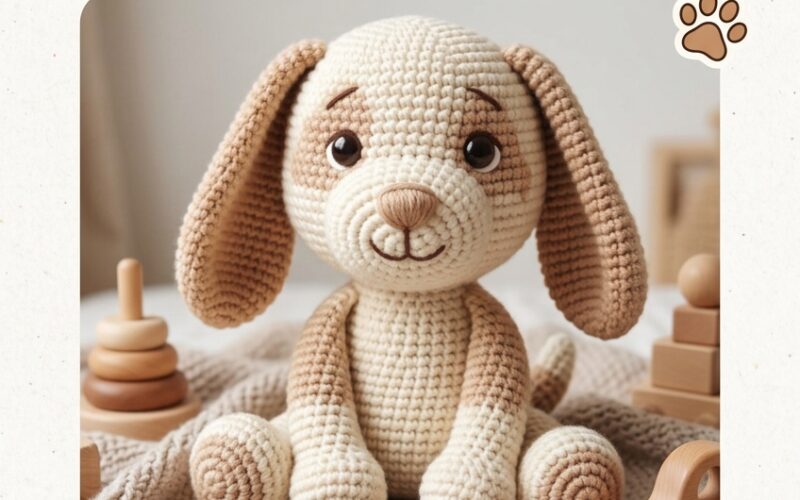
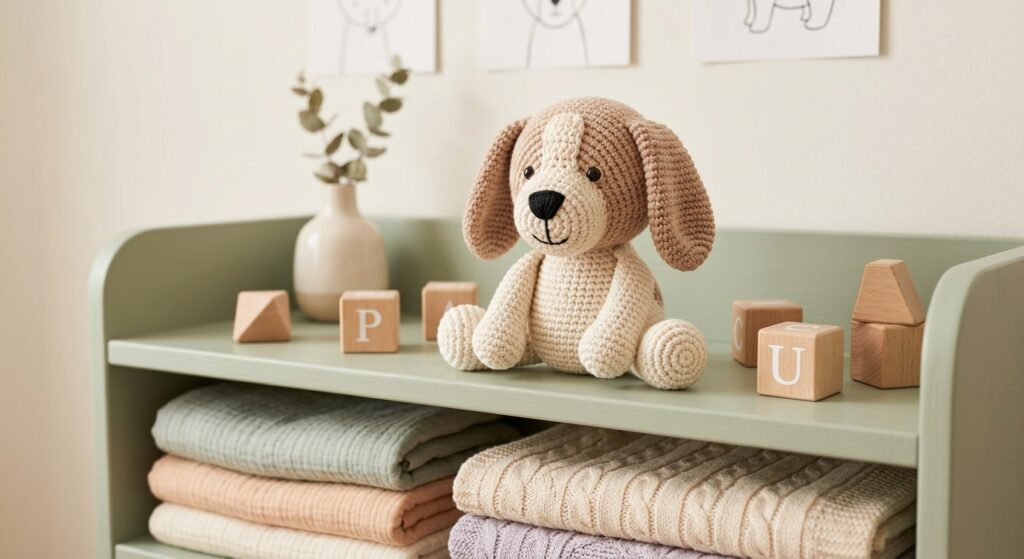
Looking for the ultimate handmade gift for a little one? Crafting a floppy-eared puppy is one of the most rewarding, beginner-friendly crochet projects you can take on. However, when making plush toys for babies and toddlers, safety must always come first.
In this guide, you’ll learn how to make a sweet, cuddly crochet dog tailored specifically for toddler safety—featuring 100% embroidered details, reinforced stitching, and no hard plastic pieces.
Why Toddler Safety Matters in Amigurumi
Standard amigurumi patterns frequently call for plastic safety eyes, snap-on noses, or internal wire armatures. While these work well for older kids and decorative items, they are major choking hazards for toddlers under age three. Toddlers love to explore with their mouths and hands—meaning plastic safety eyes can easily be chewed off or yanked loose.
To keep this pattern 100% toddler-friendly:
- No Plastic Hardware: We replace safety eyes/noses with embroidered features using cotton embroidery thread or yarn.
- Seamless Head & Body: The head and body are worked in a continuous piece to eliminate weak neck seams.
- Washable Materials: We use durable 100% cotton or cotton-blend yarn and machine-washable fiberfill.
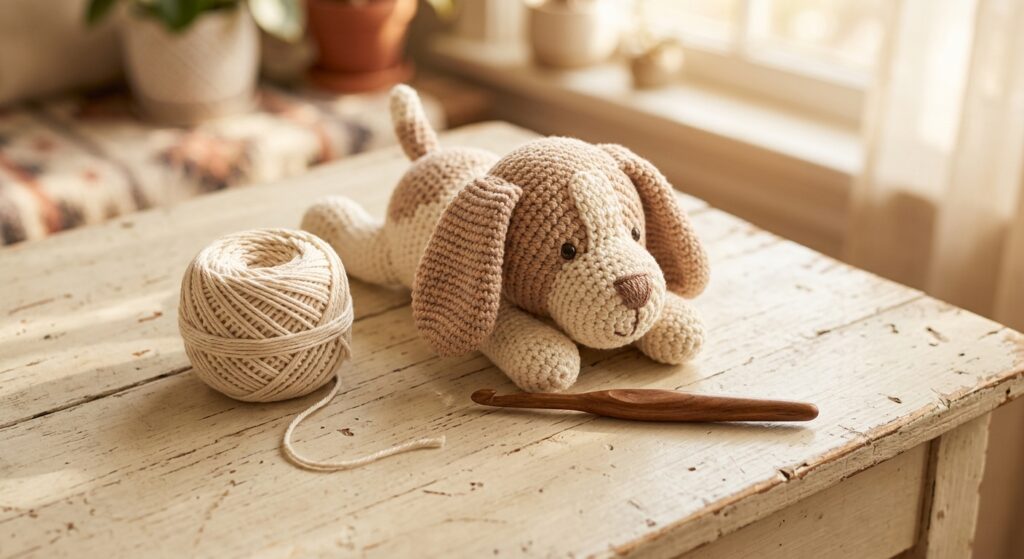
Materials & Crafting Checklist
Before beginning, gather your toddler-safe materials:
- Yarn: Worsted or DK weight 100% Cotton or Cotton-Acrylic blend (1 ball Cream/Main Color, 1 ball Light Brown/Accent Color).
- Crochet Hook: 3.25 mm (D/3) or 3.5 mm (E/4) hook (a slightly smaller hook creates tight stitches so stuffing won’t poke through).
- Embroidery Floss: Dark brown or black thread for facial details.
- Stuffing: Washable, hypoallergenic polyester fiberfill.
- Notions: Tapestry needle, stitch markers, and scissors.
Standard US Abbreviations
- MR: Magic Ring
- sc: Single Crochet
- inc: Increase (2 sc in same stitch)
- dec: Invisible Decrease
- st(s): Stitch(es)
- FO: Fasten Off
Step-by-Step Instructions: Floppy-Eared Puppy
Step 1: Head & Body (Worked in One Piece)
Using Main Color (Cream):
- R1: 6 sc into MR (6 sts)
- R2: inc in each st around (12 sts)
- R3: [1 sc, inc] × 6 (18 sts)
- R4: [2 sc, inc] × 6 (24 sts)
- R5–R10: sc in each st around (24 sts for 6 rounds)
- R11: [2 sc, dec] × 6 (18 sts)
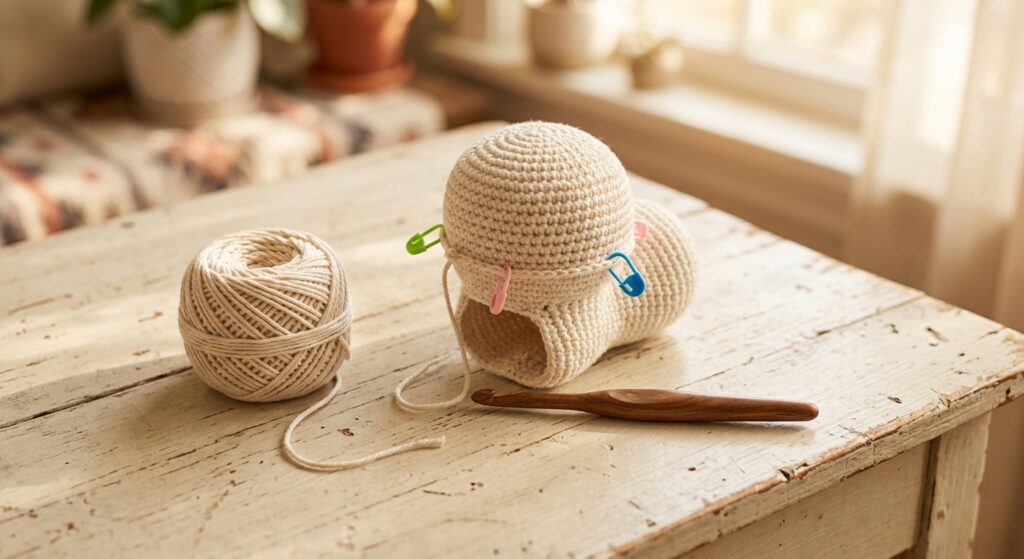
- R12: [1 sc, dec] × 6 (12 sts) — Stuff head firmly with fiberfill.
- R13 (Neck to Body Transition): [1 sc, inc] × 6 (18 sts)
- R14–R18: sc in each st around (18 sts for 5 rounds)
- R19: [1 sc, dec] × 6 (12 sts)
- R20: dec × 6 (6 sts) — Stuff body firmly.
- Fasten off, weave tail through remaining 6 stitches, pull tight, and hide yarn end.
Step 2: Long Floppy Ears (Make 2)
Using Accent Color (Light Brown):
- R1: 6 sc into MR (6 sts)
- R2: [1 sc, inc] × 3 (9 sts)
- R3–R8: sc in each st around (9 sts for 6 rounds)
- R9: [1 sc, dec] × 3 (6 sts)
- Flatten the top edge of the ear and sc across the opening to seal it closed.
- Fasten off, leaving a long tail for sewing.
- Note: Do not stuff the ears! Unstuffed ears fall flat and create that cute floppy look.
Step 3: Snout & Embroidered Facial Details
Using Main Color (Cream):
- R1: 6 sc into MR (6 sts)
- R2: inc in each st around (12 sts)
- R3: sc in each st around (12 sts)
- Fasten off, leaving a long sewing tail.
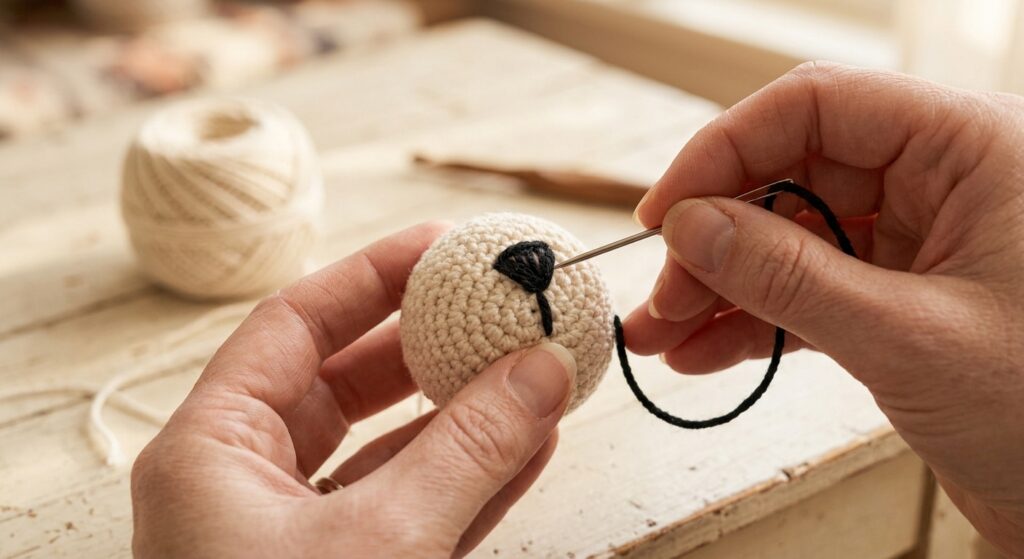
🔒 Safe Embroidery Instructions:
- Using black or dark brown embroidery thread, stitch a small inverted triangle for the nose onto the top center of the snout.
- Using a tapestry needle, embroider two small arc lines (sleeping eyes) or French knots directly onto the upper head at R7–R8.
- Safety Tip: Knot thread securely inside the head structure before filling.
Step 4: Arms & Legs (Make 4)
Using Main Color or Accent Color:
- R1: 6 sc into MR (6 sts)
- R2–R6: sc in each st around (6 sts for 5 rounds)
- Lightly stuff the bottom paws only. Flatten the top and sc across to seal. Fasten off with a tail.
Assembly & Final Safety Check
- Attach Snout: Center the snout between rounds 8–11 of the head. Lightly stuff before sewing shut with double stitches.
- Attach Ears: Place ears near Round 4 on the top sides of the head. Sew securely across the top seam.
- Attach Arms & Legs: Sew two legs to the bottom of the body so the puppy sits upright, and attach arms on either side of Round 14.
- Tug Test: Firmly pull each attached limb and ear in all directions. If anything shifts or stretches, add reinforced anchor stitches.
Care & Maintenance Instructions
Because toddlers take their favorite plushies everywhere, washing is inevitable!
- Machine wash inside a mesh laundry bag on a gentle, cold cycle.
- Air-dry flat to preserve shape and stitch integrity.
Enjoy crafting your floppy-eared crochet puppy! Whether it’s a baby shower gift, a first birthday present, or a cozy weekend project, this toddler-safe puppy is sure to be loved for years.
