
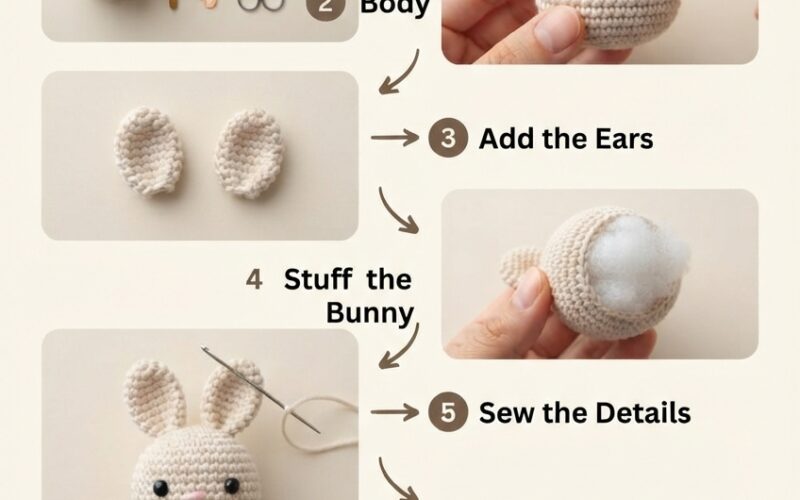
A tiny crochet bunny keychain is a fun project for beginners because it uses simple amigurumi techniques while creating something practical and adorable. You can make one for your keys, backpack, purse, pencil case, or even give it as a handmade gift.
This project doesn’t require complicated stitches or advanced shaping. Once you understand how to crochet in the round, increase, decrease, stuff the piece, and sew a few details, you can create your own little bunny in no time.
You can also customize the colors to match your style. Try classic white, soft pink, beige, gray, lavender, or even bright colors for a playful look.
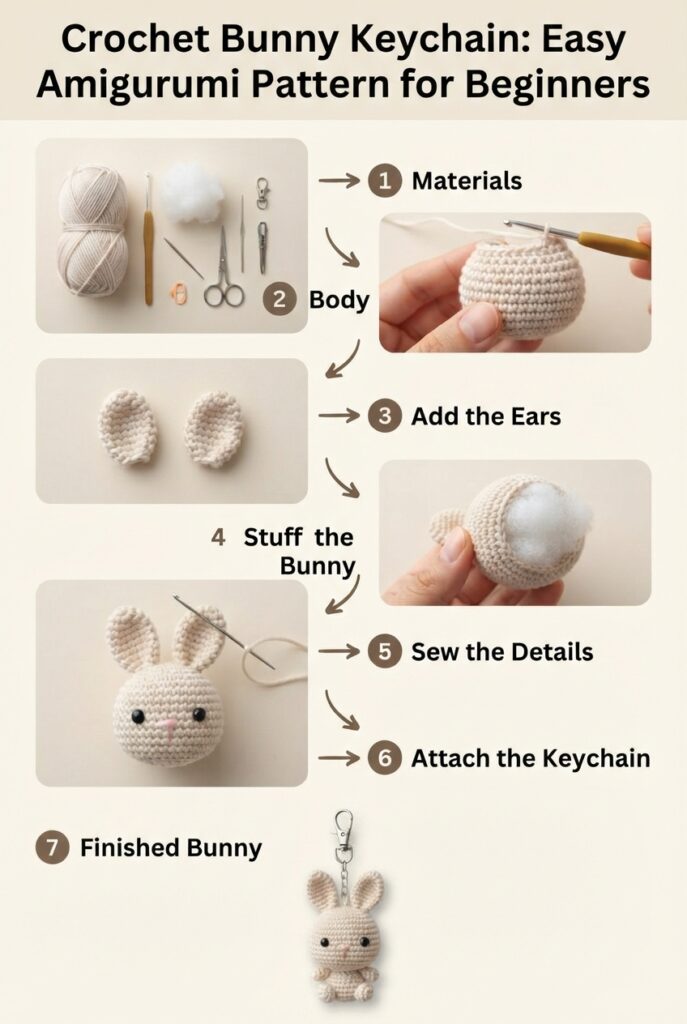
Materials You’ll Need
For one small bunny keychain, gather:
- Cotton or acrylic yarn
- A crochet hook suitable for your yarn
- Small amount of polyester fiberfill
- Tapestry needle
- Embroidery thread
- Scissors
- Stitch marker
- Small keychain clasp or lobster clasp
For a child-friendly version, embroidered facial details are preferable to loose buttons, beads, or plastic decorations.
Step 1: Crochet the Bunny Body
Begin with a magic ring and crochet several single crochet stitches into the ring. Pull the ring closed and continue working in continuous rounds.
In the following rounds, increase evenly to create a small circle. Continue crocheting around the piece until the sides begin to curve upward.
Once the body reaches your desired height, start decreasing gradually.
The goal is to create a small rounded shape rather than a long or narrow body. Since this is a keychain, keeping the bunny compact will make it easier to carry and less likely to lose its shape.
Remember to use a stitch marker to identify the beginning of each round. This simple trick can make counting much easier, especially if you’re new to amigurumi.
Step 2: Add the Stuffing
Before completely closing the body, add a small amount of fiberfill.
Don’t overstuff the bunny. A little filling is enough to give it a soft, rounded appearance while keeping the stitches neat.
Use the end of your crochet hook or a blunt tool to gently push the stuffing into the corners.
Continue crocheting the final decreases until the opening becomes small. Add a little more stuffing if necessary, then close the remaining opening.
Weave the yarn tail securely through the stitches and hide the excess inside the bunny.
Step 3: Make the Bunny Ears
The ears are one of the easiest ways to give your crochet project its bunny shape.
Make two matching ears using simple rows or small crocheted shapes. Keep them relatively narrow so they look proportional to the tiny body.
You can make the ears completely solid or create a slightly longer shape for a classic bunny appearance.
Once both ears are finished, leave a yarn tail on each one. These tails will be used to sew the ears onto the top of the bunny.
Place them symmetrically and stitch them securely into position.
Step 4: Embroider the Face
Now it’s time to give your bunny some personality.
Using embroidery thread and a tapestry needle, carefully add two small eyes. Then embroider a tiny nose and, if desired, a simple mouth.
For a minimalist design, you can keep the face extremely simple.
You could also add tiny embroidered cheeks using a contrasting yarn color.
Avoid making the facial details too large because the bunny is designed to be a miniature keychain.
Step 5: Attach the Keychain
To transform your crochet bunny into a keychain, attach a small metal clasp securely to the top.
One simple method is to create a small crochet loop at the top of the bunny and connect the clasp through it.
Another option is to sew a sturdy loop of yarn directly onto the bunny and attach the metal clasp to that loop.
Make several secure stitches because the keychain will experience pulling and movement when attached to a bag or set of keys.
Check the connection by gently pulling the clasp before using the finished project.
Step 6: Finishing Touches
Take a moment to inspect your bunny.
Trim any loose yarn ends and make sure all seams are secure. Adjust the ears if necessary so they sit evenly.
You can also personalize the bunny with a tiny crocheted bow, scarf, flower, or miniature accessory.
For a simple beginner project, however, the basic bunny shape already looks charming on its own.
Easy Ways to Customize Your Bunny
Once you’ve made one bunny, you can experiment with different versions.
Try making:
- A white bunny with pink ears
- A beige bunny with brown embroidery
- A pastel purple bunny
- A gray bunny with a tiny bow
- A rainbow-colored bunny
- Matching bunny keychains for friends
You can also experiment with yarn thickness. Thicker yarn creates a larger bunny, while finer yarn produces a smaller and more delicate keychain.
Final Thoughts
This crochet bunny keychain is a quick and enjoyable project for beginners who want to practice basic amigurumi techniques. The pattern combines simple crochet rounds, basic shaping, stuffing, sewing, and embroidery without requiring complicated stitches.
Once you become comfortable with the basic design, you can easily create a whole collection of tiny bunny keychains in different colors and styles.
Whether you keep one for yourself, attach it to your favorite bag, or give it as a handmade gift, this little crochet bunny is a fun way to turn a few simple supplies into something cute and useful.
