
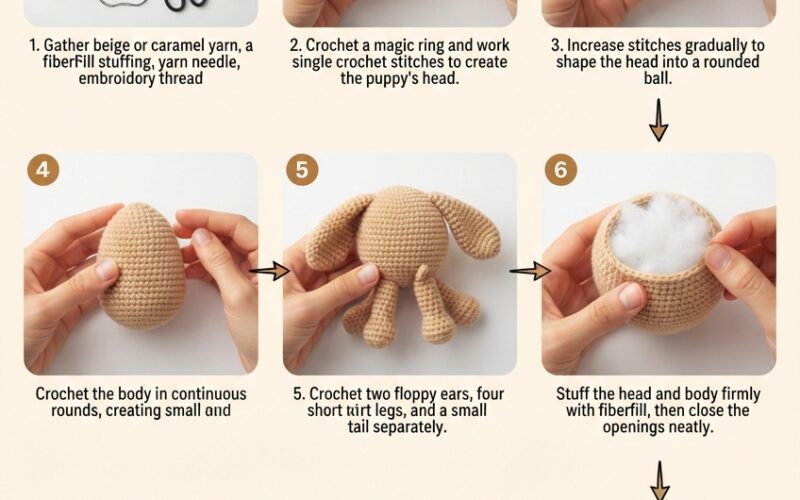
If you love handmade toys and want to try your first amigurumi project, this crochet dog pattern is a wonderful place to start. With its floppy ears, tiny paws, rounded body, and sweet little face, this adorable puppy makes a charming handmade gift for birthdays, baby showers, or anyone who loves dogs.
You don’t need advanced crochet skills to make this cute puppy. By using basic stitches, simple shaping, and a little patience, you can create a soft, cuddly dog that looks lovely on a shelf or as part of a handmade toy collection.
In this beginner-friendly tutorial, you’ll learn what materials to prepare, how to crochet each part, and how to assemble your puppy neatly. You can also customize the colors to make your own unique amigurumi dog.
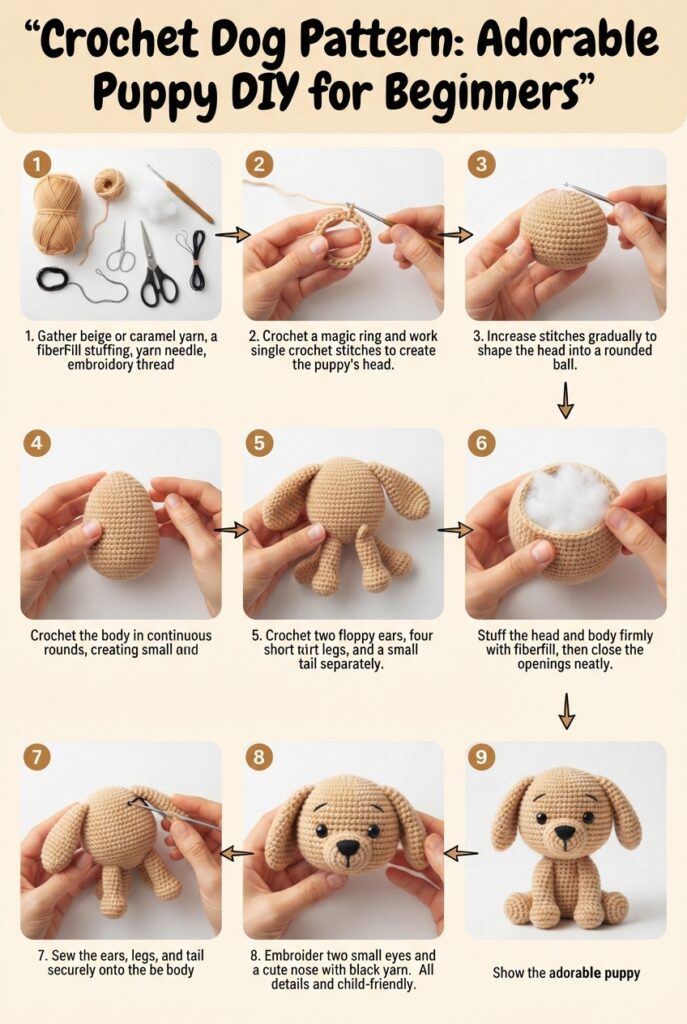
Materials You’ll Need
Before you begin, gather the following supplies:
- Yarn: Soft medium-weight yarn in beige, cream, brown, or your favorite puppy colors.
- Crochet hook: A 2.5–3.5 mm hook, depending on your yarn and preferred stitch tension.
- Stuffing: Polyester fiberfill for the head, body, and legs.
- Yarn needle: For sewing the pieces together and weaving in the ends.
- Scissors: For trimming yarn.
- Black embroidery thread: For stitching the eyes, nose, and mouth.
- Stitch marker: Helpful when working in continuous rounds.
Choose a hook that produces tight stitches so the stuffing doesn’t show through the fabric. If the finished toy is intended for a young child, embroider all facial details securely and check every seam carefully.
Basic Crochet Stitches for Beginners
This puppy pattern uses a few simple techniques that are useful for many amigurumi projects.
- Magic ring (MR): Creates a small, closed starting circle.
- Single crochet (sc): The main stitch used to create the puppy’s body.
- Increase (inc): Work two single crochet stitches into the same stitch to widen your piece.
- Decrease (dec): Combine two stitches into one to narrow the shape.
- Slip stitch (sl st): Used to join or finish a round when required.
Most amigurumi patterns are worked in continuous rounds rather than joined rounds. Place a stitch marker in the first stitch of each round so you can keep track of your progress.
How to Crochet an Adorable Puppy
Step 1: Crochet the Head
Start with your chosen yarn and make a magic ring. Work six single crochet stitches into the ring, then pull the yarn tail to close the center.
In the following rounds, increase evenly to create a rounded shape. Continue working single crochet stitches around, adding increases where needed until the head reaches your desired size.
Work several rounds without increases to build the height of the head. Then begin decreasing gradually to shape the lower part.
Before closing the head, add a little fiberfill stuffing. Keep the shape rounded and smooth without making it too firm. Leave an opening if you prefer to sew the head to the body later.
Step 2: Make the Puppy’s Body
Using the same yarn or a complementary color, crochet a second magic ring with six single crochet stitches.
Increase gradually to form an oval or rounded body. Once the body reaches the desired width, crochet several even rounds to create its height.
Begin decreasing toward the top or neck area, depending on the shape you want. Stuff the body with fiberfill before closing it.
For an especially cute puppy, make the body slightly smaller than the head. This creates a playful, cuddly appearance that works well for beginner amigurumi designs.
Step 3: Crochet Two Floppy Ears
The ears are one of the most recognizable features of an adorable crochet dog.
Make two matching ear pieces using brown, caramel, cream, or a contrasting shade. You can crochet each ear as a small oval worked in rows or rounds.
Keep the stitches even and the shape slightly elongated. You don’t need to stuff the ears heavily; leaving them soft helps them hang naturally beside the puppy’s face.
Compare both ears before finishing to ensure they are approximately the same size.
Step 4: Make Four Tiny Legs and a Tail
Crochet four short legs using the same basic single crochet technique. Begin with a small ring, increase slightly if necessary, and work several rounds to create short cylindrical shapes.
Add a small amount of stuffing to each leg if desired. Keep the legs compact so your puppy can sit upright.
For the tail, crochet a short, narrow piece. You can make it straight, slightly curved, or a little fluffy-looking by adjusting the shape.
These small parts are ideal for practicing single crochet stitches and working in tight rounds.
Step 5: Assemble the Puppy
Lay out all the finished pieces before sewing them together. Position the head above the body, place the legs evenly underneath, and arrange the ears on either side of the head.
Use a yarn needle and matching yarn to attach each part securely. Sew around the edges rather than relying on a few stitches in the center.
Check the puppy from the front and sides as you work. Small adjustments to the ears or legs can make a big difference to its final appearance.
Step 6: Embroider the Face
The face gives your handmade puppy its personality.
Use black embroidery thread to stitch two small eyes, a nose, and a simple curved mouth. You can make the eyes close together for a baby-like look or position them slightly farther apart for a playful expression.
Keep the facial details symmetrical, and secure the embroidery ends inside the head. For toys intended for babies or toddlers, embroidered features are preferable to loose plastic parts.
Step 7: Finish and Shape Your Crochet Dog
Once all the pieces are attached, inspect your puppy for gaps, loose yarn ends, or uneven seams.
Use your fingers to gently shape the head, body, ears, and paws. Add a little more stuffing through any remaining opening if necessary, then close it neatly.
Your adorable crochet puppy is now complete! You can leave it in a classic caramel shade or experiment with cream, chocolate brown, gray, or a combination of colors.
Tips for Making Your Puppy Look Even Better
Keep these beginner tips in mind as you crochet:
- Maintain consistent tension. Even stitches help the stuffing stay hidden and create a smooth finish.
- Use a stitch marker. This makes continuous rounds much easier to follow.
- Stuff gradually. Add small amounts of fiberfill at a time to avoid lumps.
- Pin pieces in place first. Check the puppy’s proportions before sewing everything permanently.
- Choose complementary colors. A cream muzzle with a caramel head can create a lovely puppy-inspired design.
- Prioritize secure construction. Carefully sewn seams and embroidered details are especially important for toys intended for children.
Don’t worry if your first puppy isn’t perfectly symmetrical. Handmade crochet toys often have their own character, and each new project helps you improve.
Conclusion
This crochet dog pattern for beginners is a fun way to practice basic amigurumi techniques while creating an adorable handmade puppy. From the rounded head and soft body to the floppy ears and embroidered face, every step helps you build confidence with your crochet hook.
Once you’ve completed your first puppy, try changing the yarn colors, adjusting the ear shapes, or making a slightly larger version. You can even create a whole collection of crochet dogs in different styles.
Gather your yarn, follow the steps, and enjoy making a little handmade companion that’s full of charm.
