
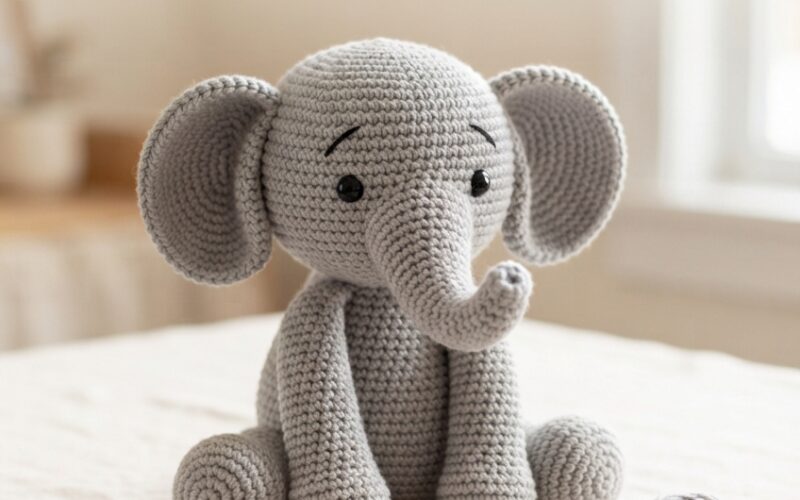
Looking for a cute crochet project that is simple enough for beginners and adorable enough for a toddler? This cute crochet elephant is a fun little amigurumi project that makes a wonderful handmade toy, nursery decoration, or thoughtful gift.
With its round body, floppy ears, tiny trunk, and friendly expression, this crochet elephant has a sweet, playful look that toddlers will love. The pattern uses basic crochet techniques, making it a great project for crocheters who want to create something special without tackling a complicated design.
For a toddler-safe version, keep the finished toy simple and secure. Instead of loose buttons or beads, use embroidered eyes and details.
What You’ll Need
Before starting your crochet elephant, gather:
- Medium-weight cotton or soft acrylic yarn
- Crochet hook suitable for your yarn
- Fiberfill stuffing
- Yarn needle
- Stitch marker
- Scissors
- Small amount of contrasting yarn for details
- Black embroidery thread or yarn for the eyes
Choose a soft gray, cream, beige, dusty blue, or pastel shade for a classic elephant look. You can also use two colors to make the ears or feet stand out.
Crochet Skills You’ll Use
This project is beginner-friendly if you know a few basic crochet stitches:
- Magic ring
- Single crochet (sc)
- Increase (inc)
- Invisible decrease (dec)
- Slip stitch (sl st)
- Chain stitch (ch)
The exact size of your elephant will depend on your yarn, hook, and tension.
Step 1: Crochet the Elephant’s Body
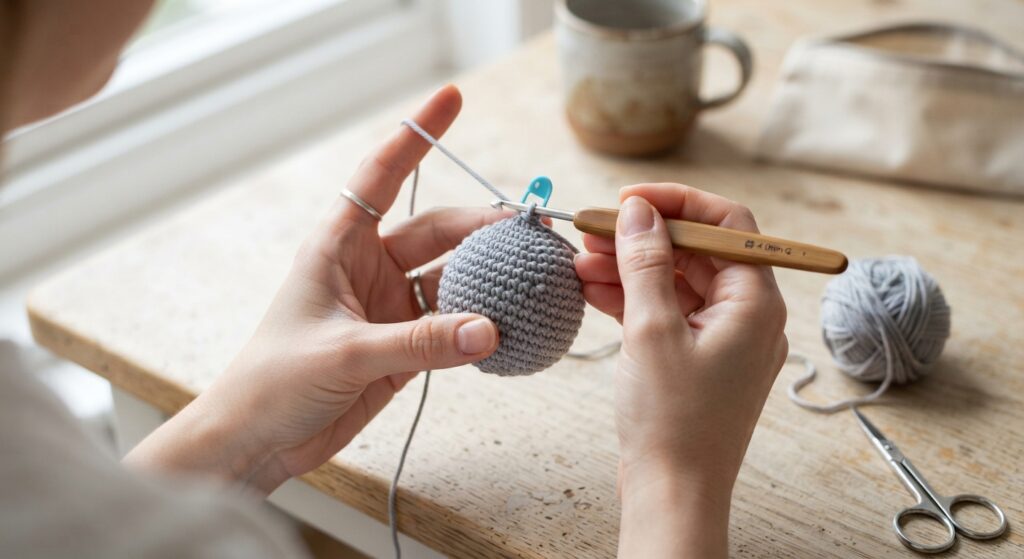
Start with a magic ring and work single crochet stitches into the center. Continue crocheting in rounds, adding increases during the first few rounds to create a rounded shape.
Once the body reaches its widest point, continue with several rounds of single crochet without increasing. This gives the elephant its soft, rounded shape.
Begin decreasing toward the top, but leave a small opening for stuffing.
Step 2: Add the Stuffing
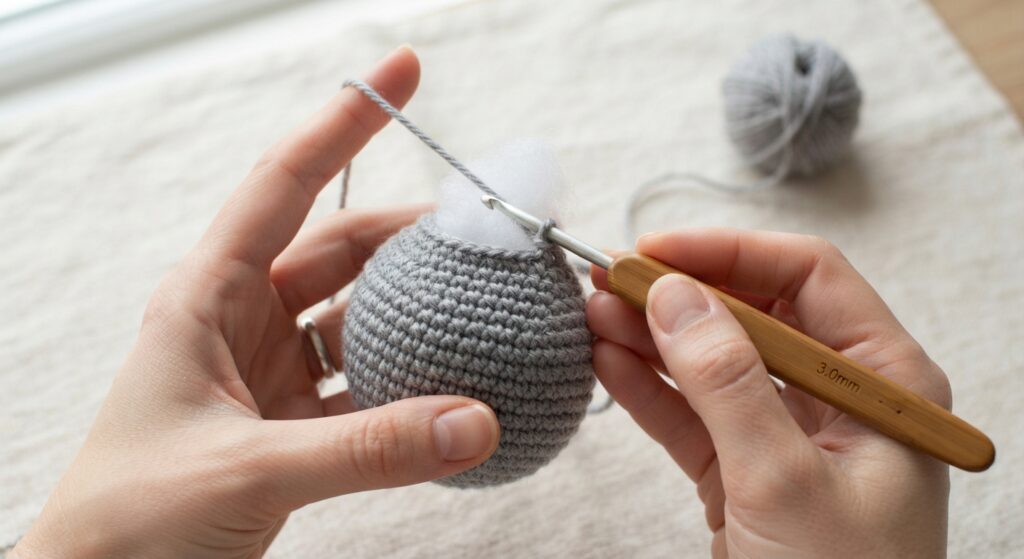
Before completely closing the body, gently fill it with fiberfill.
Add small amounts at a time rather than filling everything at once. Make sure the stuffing reaches the bottom and sides evenly.
The body should feel firm enough to hold its shape but still remain soft and cuddly.
Once you’re happy with the shape, finish the decreases and close the opening securely.
Step 3: Make the Elephant’s Head
For the head, crochet another rounded piece using the same basic technique.
You can make the head slightly smaller than the body for a cute toddler-friendly appearance.
Add stuffing gradually as you crochet the final rounds. Once the head is full and nicely rounded, close it securely and leave a yarn tail for sewing.
Step 4: Crochet the Big Elephant Ears
The ears are one of the cutest parts of this project.
Crochet two flat, rounded ear pieces. They can be made in the same gray yarn or in a slightly lighter contrasting shade.
Keep the ears relatively large compared with the head to create that classic adorable elephant look.
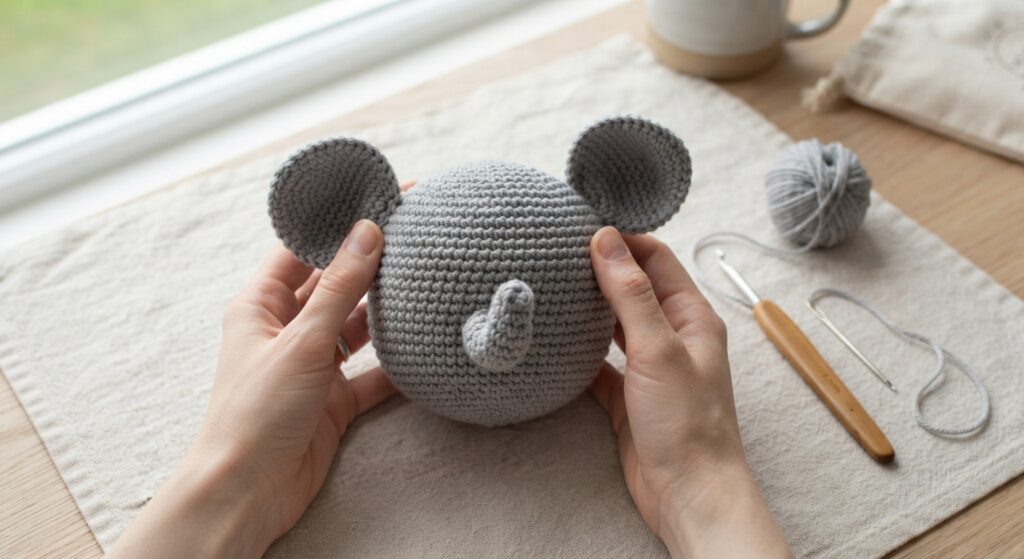
Once both ears are finished, position them on the sides of the head. Sew them securely with matching yarn.
For an extra cute look, gently fold the lower part of each ear forward before sewing.
Step 5: Make the Trunk
The trunk can be crocheted as a small tube using single crochet stitches.
Begin with a small round and continue working in circles until the trunk reaches your preferred length. Add a little stuffing if desired, but avoid making it too firm.
Sew the trunk onto the front of the elephant’s head, positioning it slightly below the eyes.
Step 6: Attach the Legs
Crochet four small rounded legs using the same yarn as the body.
Stuff each leg lightly and sew them securely to the bottom of the elephant.
Try to position the legs evenly so the finished elephant can sit upright.
You can also make the front legs slightly shorter for a playful sitting pose.
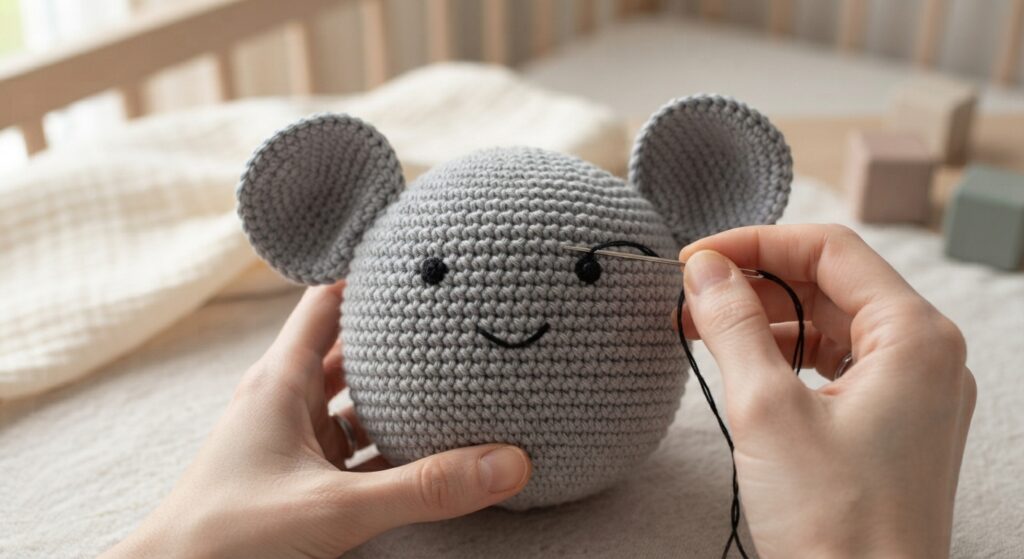
Step 7: Add the Eyes and Details
For a toddler-friendly toy, embroidered eyes are a simple choice.
Using black embroidery thread or yarn, carefully stitch two small eyes onto the face. You can add a tiny embroidered smile underneath the trunk for an extra sweet expression.
Avoid attaching small plastic eyes, beads, buttons, or other loose pieces if the toy is intended for a young child.
Finishing Your Crochet Elephant
After sewing all the pieces together, carefully weave in and trim the yarn ends.
Give the elephant a gentle squeeze to check its shape and make sure the ears, trunk, legs, and head are securely attached.
You can personalize your elephant with different yarn colors, a tiny crocheted scarf, or a contrasting inner-ear color.
Easy Crochet Elephant Variations
Once you’ve made one elephant, it’s easy to create several different versions.
Try:
- Classic Gray Elephant: Use light or medium gray yarn for a traditional look.
- Pastel Elephant: Try soft blue, cream, pink, or lavender.
- Two-Tone Elephant: Use one color for the body and another for the ears.
- Mini Elephant: Use thinner yarn and a smaller hook for a tiny version.
- Nursery Elephant: Match the yarn colors to a child’s nursery theme.
Final Thoughts
This cute crochet elephant is a simple and charming project for anyone who enjoys handmade toys. The basic rounded shapes make it approachable for beginners, while the large floppy ears and tiny trunk give it plenty of personality.
Whether you’re making it as a toddler gift, nursery decoration, or simply a fun weekend crochet project, this little elephant is sure to become a memorable handmade creation.
For toddler toys, always make sure every sewn component is securely attached and choose age-appropriate materials. Adult supervision is recommended when handmade toys are used by young children.
