
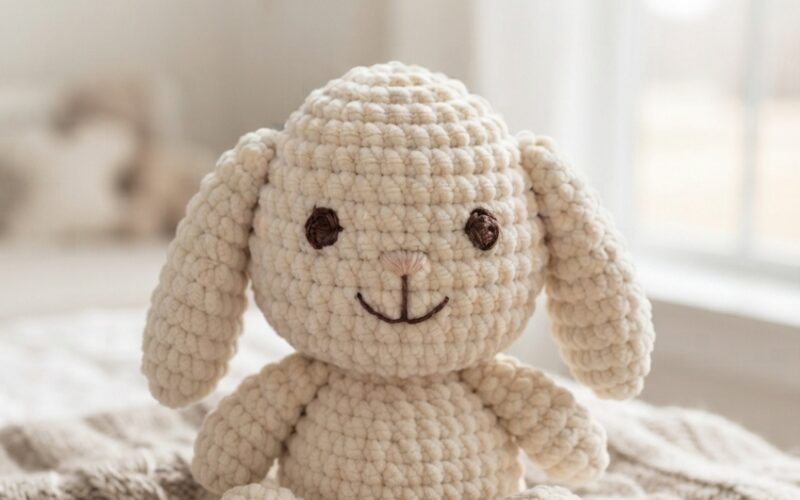
Looking for a cute crochet project that is soft, cuddly, and perfect for little hands? This Plush Crochet Bunny is a sweet amigurumi project designed with toddlers in mind. Its simple shape, floppy ears, and soft texture make it a lovely handmade toy for playtime, birthdays, Easter baskets, or a thoughtful homemade gift.
This free crochet bunny pattern is suitable for crocheters who already know basic crochet stitches. You can also customize the colors to create a whole collection of adorable bunny friends.
Why Crochet a Plush Bunny for a Toddler?
A handmade crochet toy has a special charm that makes it different from mass-produced toys. You can choose the yarn color, size, and little details to create something completely unique.
For a toddler-friendly version, keep the design simple and avoid small detachable decorations. Instead of plastic eyes, beads, or buttons, consider using embroidered eyes and facial details securely stitched into the bunny.
The finished bunny can be made with soft, washable yarn and lightly stuffed to give it a cuddly shape.
Materials You’ll Need
- Soft plush or chenille yarn
- Crochet hook recommended for your yarn
- Polyester fiberfill
- Yarn needle
- Stitch marker
- Scissors
- Small amount of contrasting yarn for embroidery
Choose a yarn that feels soft against a child’s skin. Light beige, cream, white, dusty pink, light brown, and soft gray all work beautifully for a classic bunny look.
Basic Crochet Skills
This project works best if you are comfortable with:
- Magic ring
- Single crochet
- Increase
- Decrease
- Slip stitch
- Working in continuous rounds
- Basic sewing and embroidery
The pattern below uses common US crochet terminology.
Step 1: Crochet the Bunny Head
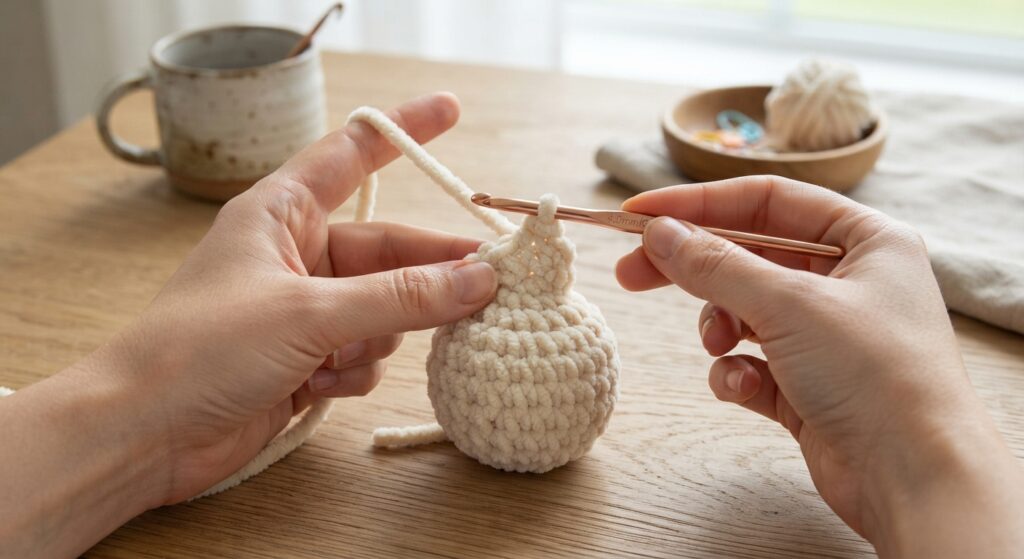
Begin with a magic ring and work single crochet stitches into the ring.
Continue crocheting in rounds, increasing gradually to create a rounded head. Once the widest point is reached, work several rounds without increases.
Then begin decreasing gradually toward the bottom of the head.
Add a small amount of stuffing as you work. Avoid packing the fiberfill too tightly because a slightly soft head gives the finished bunny a more cuddly appearance.
Step 2: Make the Bunny Body
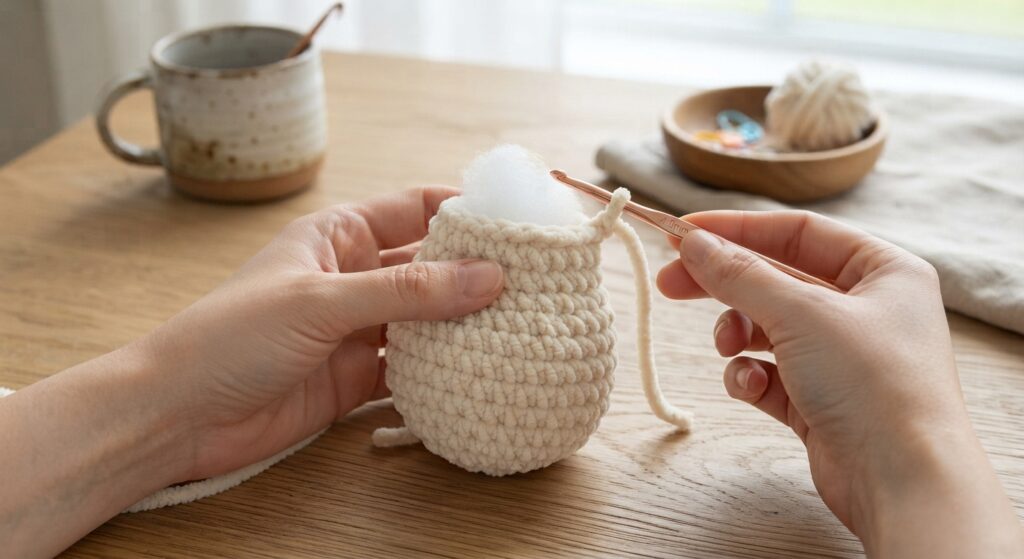
The body can be crocheted in a simple rounded shape.
Start from the bottom and increase around the base before continuing upward. Work several rounds evenly, then begin decreasing toward the shoulders.
Stuff the body gradually while crocheting. The amount of stuffing will determine how firm or squishy your bunny feels.
For a toddler toy, make sure the stitches are tight enough that the stuffing cannot easily escape.
Once the body is finished, leave a long yarn tail for sewing.
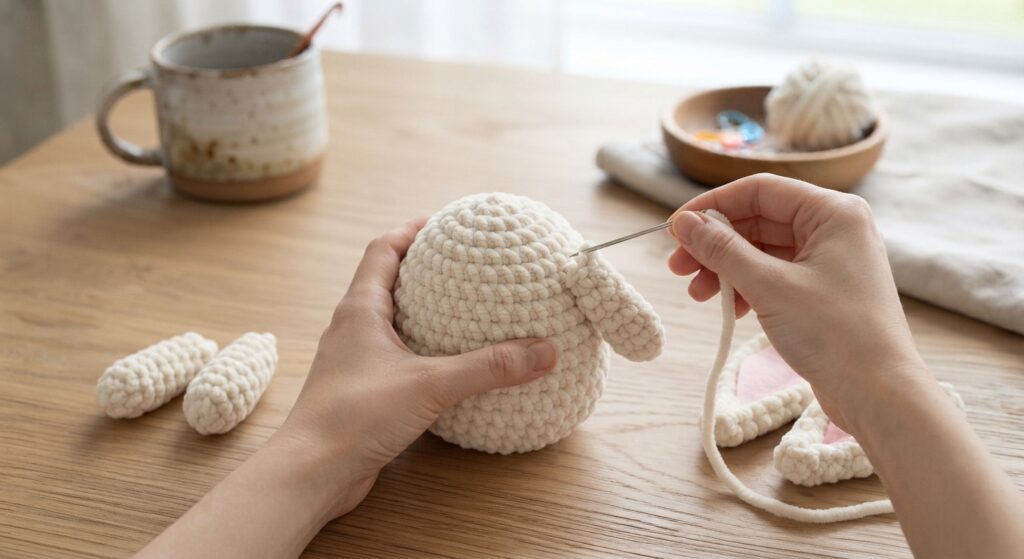
Step 3: Crochet the Floppy Ears
The ears are one of the cutest parts of this bunny.
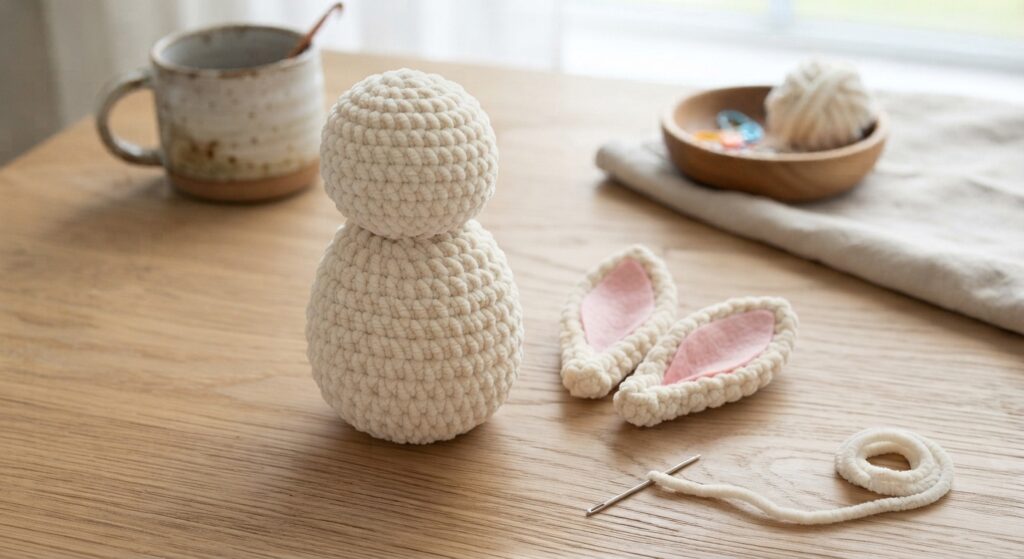
Crochet two long oval-shaped ears using the same plush yarn. You can make them slightly wider at the bottom and narrower toward the top.
For extra personality, use a second yarn color for the inner ear. A soft pink, beige, or slightly darker shade works beautifully.
Keep the ears flexible rather than heavily stuffed so they can naturally flop forward or sideways.
Sew each ear securely to the top of the bunny’s head.
Step 4: Add the Arms and Feet
For the arms, crochet two small rounded pieces and lightly stuff them.
The feet can be slightly larger than the arms to give the bunny a cute seated shape.
Attach the arms along the sides of the body and sew the feet securely near the bottom.
Take your time when sewing the pieces together. Check that each piece is firmly attached before giving the finished toy to a child.
Step 5: Create the Face
Now comes the fun part: giving your bunny a sweet expression.
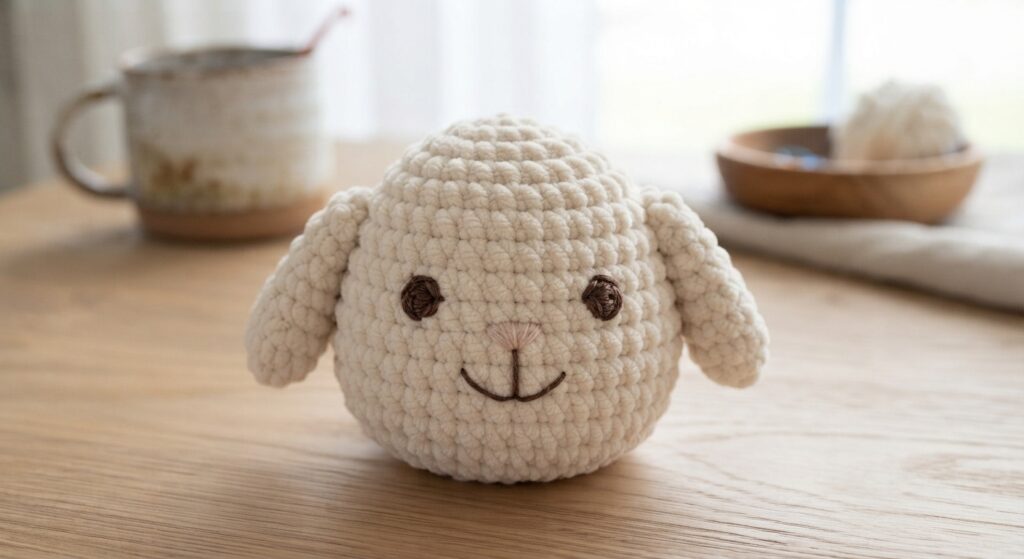
For a toddler-friendly design, embroider the eyes using black or dark brown yarn. Add a tiny embroidered nose and a simple curved mouth.
You can also add small embroidered pink cheeks for an extra adorable finish.
Avoid loose buttons, beads, or plastic pieces that could detach.
Keep the face simple. A few carefully embroidered details are enough to make the bunny look expressive.
Finishing Your Plush Crochet Bunny
Once all of the pieces are attached, check the entire bunny carefully.
Make sure:
- The ears are securely sewn.
- The arms and feet are firmly attached.
- The embroidered facial details are secure.
- There are no loose strands.
- The stuffing is fully enclosed.
- The crochet fabric has no large openings.
Give the bunny a gentle squeeze to check its shape. You can adjust the stuffing before closing any remaining openings.
For a toddler toy, always inspect handmade toys regularly for loose yarn, seams, or decorations.
Easy Ways to Customize Your Bunny
One of the best things about making your own crochet bunny is how easy it is to personalize.
Try making:
- A classic cream bunny
- A soft gray bunny
- A warm beige bunny
- A pastel pink bunny
- A chocolate-brown bunny
- A white bunny with pink ears
You can also create different personalities by changing the ear position. One bunny can have upright ears while another has long floppy ears.
For an adorable gift set, crochet several small bunnies in different colors.
Final Thoughts
This Plush Crochet Bunny is a simple and charming handmade project for anyone who loves creating soft crochet toys for toddlers. With its rounded body, floppy ears, embroidered face, and cuddly texture, it makes a wonderful handmade companion.
Whether you’re making it for your own little one, preparing a birthday gift, or building a collection of crochet animals, this bunny is an easy design to customize.
The most important part is to keep the finished toy secure and toddler-friendly by using embroidered details instead of small detachable pieces.
Happy crocheting!
