
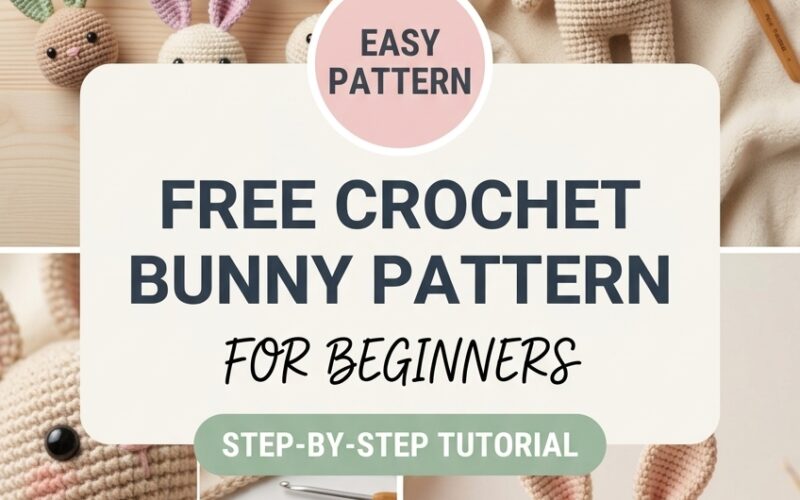
Looking for a simple and enjoyable crochet project? This free crochet bunny pattern for beginners is a wonderful way to create a soft handmade bunny using basic crochet stitches and a small amount of yarn. Whether you want to make a thoughtful baby shower gift, a handmade birthday present, or a sweet addition to a toddler’s toy collection, this beginner-friendly amigurumi bunny is a lovely project to try.
The pattern uses simple shapes, easy-to-follow instructions, and minimal sewing. You can customize your bunny with different yarn colors, embroidered facial features, and floppy ears to create a unique handmade toy.
In this tutorial, you will learn how to crochet the bunny’s head, body, ears, arms, and legs, then assemble everything into one finished project.
Why You’ll Love This Free Crochet Bunny Pattern
This easy crochet bunny pattern is designed for beginners who want to learn amigurumi without complicated techniques. The project is small enough to complete over a weekend and makes excellent use of leftover yarn.
Here are a few reasons to try it:
- Beginner-friendly instructions: Learn basic stitches and simple shaping.
- Minimal materials: You only need yarn, a crochet hook, stuffing, and a yarn needle.
- Customizable design: Choose neutral, pastel, or bright yarn colors.
- Handmade gift idea: Create a personalized bunny for birthdays, baby showers, or Easter.
- Simple construction: Crochet individual pieces and sew them together.
Materials You’ll Need
Before starting this beginner crochet bunny, gather the following supplies:
- Medium-weight yarn in your preferred color, approximately 50–100 grams.
- A 3.0–3.5 mm crochet hook, depending on your yarn and tension.
- Polyester fiberfill stuffing.
- A yarn needle for sewing the pieces together.
- Stitch marker to identify the beginning of each round.
- Scissors.
- A small amount of black or dark-colored embroidery yarn for the face.
Safety tip: If the bunny is intended for a baby or toddler, use securely embroidered facial features instead of plastic safety eyes, buttons, beads, or other detachable pieces. Check the finished toy for loose stitches and exposed stuffing. Handmade toys should be age-appropriate and inspected regularly.
Crochet Abbreviations
This pattern uses US crochet terminology.
- MR: Magic ring
- sc: Single crochet
- inc: Increase (work two single crochet stitches into one stitch)
- dec: Decrease (combine two stitches into one)
- sl st: Slip stitch
- ch: Chain
- st(s): Stitch or stitches
- Rnd: Round
Work in continuous rounds unless the instructions say otherwise. Place a stitch marker in the first stitch of each round to keep track of your progress.
Free Crochet Bunny Pattern: Step-by-Step Instructions
Step 1: Crochet the Bunny’s Head
Use your main yarn color to create the bunny’s rounded head.
Round 1: Make a magic ring and crochet 6 sc into the ring. (6 stitches)
Round 2: Work 2 sc in each stitch around. (12 stitches)
Round 3: Repeat 1 sc, inc around. (18 stitches)
Round 4: Repeat 2 sc, inc around. (24 stitches)
Rounds 5–8: Crochet 1 sc in each stitch around. (24 stitches)
Round 9: Repeat 2 sc, dec around. (18 stitches)
Round 10: Repeat 1 sc, dec around. (12 stitches)
Lightly stuff the head with fiberfill, keeping the shape round and even.
Round 11: Decrease around until the opening is nearly closed. Fasten off, leaving a long yarn tail for sewing.
Adjust the stuffing before closing the head completely. The finished head should be rounded rather than overly firm.
Step 2: Crochet the Bunny’s Body
Using the same yarn or a complementary color, crochet the body from the bottom upward.
Round 1: Make a magic ring and work 6 sc into it. (6 stitches)
Round 2: Increase in every stitch. (12 stitches)
Round 3: Repeat 1 sc, inc around. (18 stitches)
Rounds 4–7: Work 1 sc in each stitch around. (18 stitches)
Round 8: Repeat 1 sc, dec around. (12 stitches)
Stuff the body firmly enough to hold its shape without stretching the stitches. Fasten off, leaving a long tail for attaching the head.
If you prefer a taller bunny, add one or two extra rounds before decreasing.
Step 3: Make Two Long Bunny Ears
The ears give your crochet bunny its recognizable appearance. Make two identical ears using the main yarn.
Round 1: Make a magic ring and work 6 sc into it. (6 stitches)
Round 2: Repeat 2 sc, inc around. (8 stitches)
Rounds 3–9: Work 1 sc in each stitch around. (8 stitches)
Fasten off, leaving a long tail for sewing.
Do not stuff the ears heavily. Keeping them soft allows you to shape them into upright or floppy ears. For a longer-eared bunny, add two or three rounds before fastening off.
Step 4: Crochet the Arms
Make two small arms.
Round 1: Make a magic ring and crochet 6 sc into it. (6 stitches)
Rounds 2–5: Work 1 sc in each stitch around. (6 stitches)
Fasten off, leaving a long tail. Add a tiny amount of stuffing if desired, or leave the arms unstuffed for a softer appearance.
Step 5: Crochet the Legs
Make two legs following these instructions.
Round 1: Make a magic ring and crochet 6 sc into it. (6 stitches)
Round 2: Increase in every stitch. (12 stitches)
Rounds 3–4: Work 1 sc in each stitch around. (12 stitches)
Fasten off, leaving a long sewing tail. Lightly stuff the legs so they maintain their shape.
Step 6: Assemble Your Amigurumi Bunny
Once all the crochet pieces are complete, arrange them before sewing.
- Attach the head: Position the head on top of the body and sew around the opening using the yarn tail.
- Sew on the ears: Place the ears on the upper part of the head, leaving a small gap between them.
- Attach the arms: Sew one arm to each side of the body, slightly below the head.
- Attach the legs: Position the legs at the bottom of the body so the bunny can sit comfortably.
- Embroider the face: Use dark embroidery yarn to create two small eyes, a tiny nose, and a simple mouth.
Take your time with assembly. Check that the head is centered and both arms and legs are positioned evenly. Secure the yarn ends carefully and trim any excess.
Tips for Making a Beautiful Crochet Bunny
Keep your stitches tight. Amigurumi looks best when the stuffing cannot easily show through the fabric. If your stitches are loose, try a smaller hook.
Count your stitches. Increasing or decreasing in the wrong place can change the shape of the head and body. Use a stitch marker and check your stitch count at the end of each round.
Choose soft yarn. A smooth, washable yarn makes the bunny easier to maintain and gives it a neat finish.
Customize the design. Make a cream bunny with pink inner ears, a brown bunny with a white belly, or a pastel bunny for a spring-themed gift.
Practice before assembling. Lay out all the pieces before sewing to make sure the proportions look balanced.
Frequently Asked Questions
Is this crochet bunny pattern suitable for beginners?
Yes. The pattern uses basic stitches, simple increases and decreases, and continuous rounds. Beginners should be comfortable with single crochet and the magic ring, or practice these techniques before starting.
How much yarn do I need for a crochet bunny?
Approximately 50–100 grams of medium-weight yarn should be enough for a small bunny, although the amount depends on your yarn, hook size, and finished dimensions.
Can I make the bunny without a magic ring?
Yes. You can chain 2 and work the required starting stitches into the second chain from the hook. The center may be slightly less adjustable, but this is a useful alternative for beginners.
Can I make this bunny for a toddler?
You can make a handmade bunny intended for a toddler, but construction and materials matter. Embroider the face, avoid detachable decorations, secure all seams, and inspect the toy frequently. This pattern is not a certified toy-safety design, so it should not automatically be considered suitable for unsupervised infant use.
Final Thoughts
This free crochet bunny pattern for beginners is a rewarding way to practice amigurumi while creating a handmade toy with a personal touch. By following the step-by-step instructions, you can crochet each piece, assemble the bunny, and customize its appearance with your favorite yarn colors.
Once you are comfortable with the basic pattern, experiment with longer ears, different body colors, or a small crocheted bow that is securely attached. Your finished bunny can become a thoughtful handmade gift or the beginning of a collection of crochet animals.
Gather your yarn and hook, follow the rounds carefully, and enjoy creating your own little crochet bunny!
