
Crocheting a toddler sweater is a wonderful way to create a cozy, handmade garment for your little one. Whether you’re a beginner or already familiar with basic crochet stitches, this project is a practical way to practice your skills while making something useful for everyday wear.
This easy toddler sweater pattern uses simple stitches, basic shaping, and a comfortable fit. You can customize the colors, sleeve length, and neckline to suit your child’s style. With soft yarn and a little patience, you’ll have a lovely handmade sweater perfect for cooler days, family outings, or a thoughtful gift.
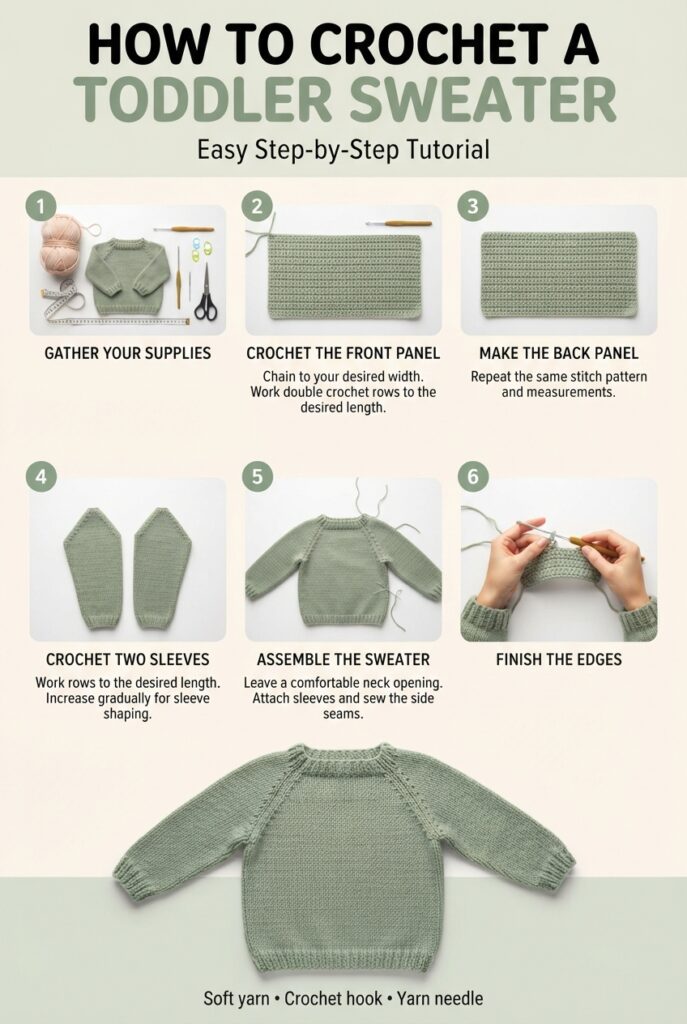
In this tutorial, you’ll learn how to choose your materials, create the sweater panels, crochet the sleeves, and assemble everything neatly.
Materials You’ll Need
Before starting, gather the following supplies:
- Soft, washable worsted-weight yarn suitable for toddler clothing
- A crochet hook recommended on the yarn label, usually around 5 mm
- Scissors
- Yarn needle for sewing the pieces together
- Stitch markers
- Measuring tape
- Optional: a few extra colors for stripes or decorative details
Choose a soft yarn that feels comfortable against sensitive skin. Machine-washable yarn is especially practical for toddler clothing because it is easier to maintain.
Step 1: Take Your Toddler’s Measurements
Measure your toddler’s chest, desired sweater length, arm length, and shoulder width. Compare these measurements with a sweater that already fits comfortably.
Make a small crochet swatch using your chosen yarn and hook. Measure how many stitches and rows fit into a 10 cm square. This helps you estimate the number of stitches needed for your desired size.
Beginner tip: Crochet a slightly relaxed fit rather than making the sweater too tight. Leave enough room for comfortable movement and layering.
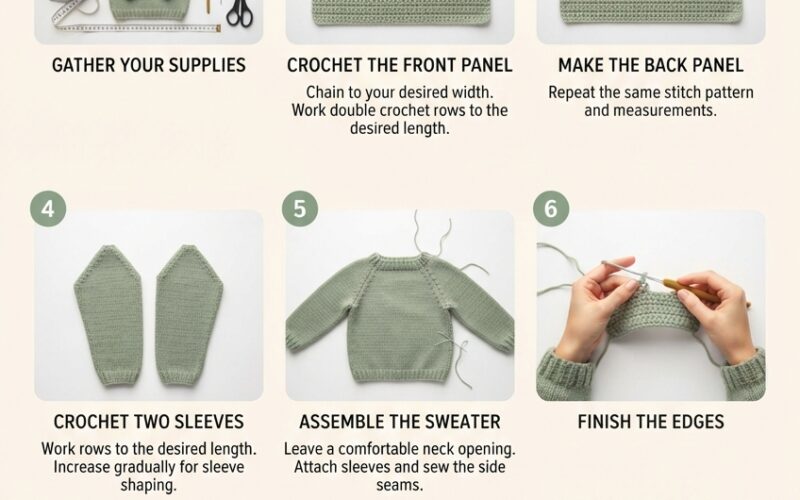
Step 2: Crochet the Front Panel
Start by making a foundation chain long enough to match approximately half the desired sweater width, adjusted for your stitch gauge and pattern construction.
For a simple design, work rows of double crochet stitches:
- Make a foundation chain.
- Crochet double crochet stitches across the row, beginning in the appropriate chain according to your stitch pattern.
- Chain two or three to turn, depending on your stitch pattern.
- Continue crocheting rows until the panel reaches the desired length.
- Fasten off and leave a long yarn tail for sewing.
Keep the edges as straight as possible. Count your stitches regularly to avoid accidentally increasing or decreasing the panel width.
Step 3: Make the Back Panel
Repeat the same process to crochet the back panel. Keep its width and length consistent with the front panel for a balanced fit.
For a colorful sweater, alternate yarn colors every few rows. You can also use one solid color for a classic, easy-to-match design.
Remember to weave in loose ends carefully. Avoid leaving long yarn strands inside the garment where little fingers might catch them.
Step 4: Crochet the Sleeves
Make two matching sleeves.
- Create a foundation chain that fits the desired wrist or cuff circumference.
- Work rows of double crochet stitches, increasing gradually where necessary to create a wider sleeve.
- Continue until the sleeve reaches the measured arm length.
- Repeat the process for the second sleeve, checking that both pieces match.
For a simple cuff, finish the sleeve with a few rows of single crochet. For a ribbed effect, work alternating front-post and back-post double crochet stitches if you’re comfortable with those techniques.
The sleeve should allow easy movement without being excessively loose.
Step 5: Join the Sweater Pieces
Lay the front and back panels flat with their right sides facing each other.
Use a yarn needle or slip stitches to join the shoulder edges, leaving an opening for the head. Next, attach each sleeve to the arm opening, aligning the center of the sleeve with the shoulder seam.
Fold the sweater so the front and back panels line up. Sew the side seams and the underside of each sleeve, working from the hem toward the cuff.
Turn the sweater right side out and check that the seams are comfortable and secure.
Step 6: Finish the Neckline and Hem
Attach yarn around the neckline and crochet one or two rounds of single crochet stitches. This creates a neat edge and helps the opening keep its shape.
You can finish the bottom hem and sleeve cuffs in the same way. For a more textured finish, add ribbing using post stitches.
Keep the neckline wide enough for comfortable dressing. Avoid small detachable buttons, beads, or other loose decorations that could pose a choking hazard.
Step 7: Check the Fit and Finish
Before your toddler wears the sweater, inspect every seam and weave in all loose ends securely. Check for rough yarn, gaps, or loose embellishments.
Compare the finished sweater with your original measurements. If it seems too short or tight, adjust future rows or use a larger hook and check your gauge before making the panels.
Wash and dry the sweater according to the yarn label instructions. Let it dry fully before use.
Easy Ways to Customize Your Toddler Sweater
Once you’ve mastered the basic construction, try these simple variations:
- Striped sweater: Change colors every two or four rows.
- Neutral sweater: Use cream, beige, sage green, or soft brown.
- Colorful cuffs: Use a contrasting shade for the sleeves and hem.
- Textured design: Alternate single crochet and double crochet rows.
- Personalized gift: Choose colors that coordinate with the child’s favorite outfits.
Keep the design simple if this is your first garment. A clean shape and comfortable fit can look just as lovely as a complicated stitch pattern.
Final Thoughts
Learning how to crochet a toddler sweater is an enjoyable project that combines creativity with practical crochet skills. By measuring carefully, making matching panels, shaping the sleeves, and joining the pieces securely, you can create a comfortable handmade garment for your child.
Start with a simple stitch pattern and soft, washable yarn. Once you’re confident with the construction, experiment with stripes, textured cuffs, or different color combinations. Your finished sweater can become a treasured handmade gift and a useful addition to a toddler’s wardrobe.
Important: This is a basic construction tutorial rather than a tested, size-specific crochet pattern. Stitch counts and row counts will depend on your yarn, hook, gauge, and the toddler’s measurements.
