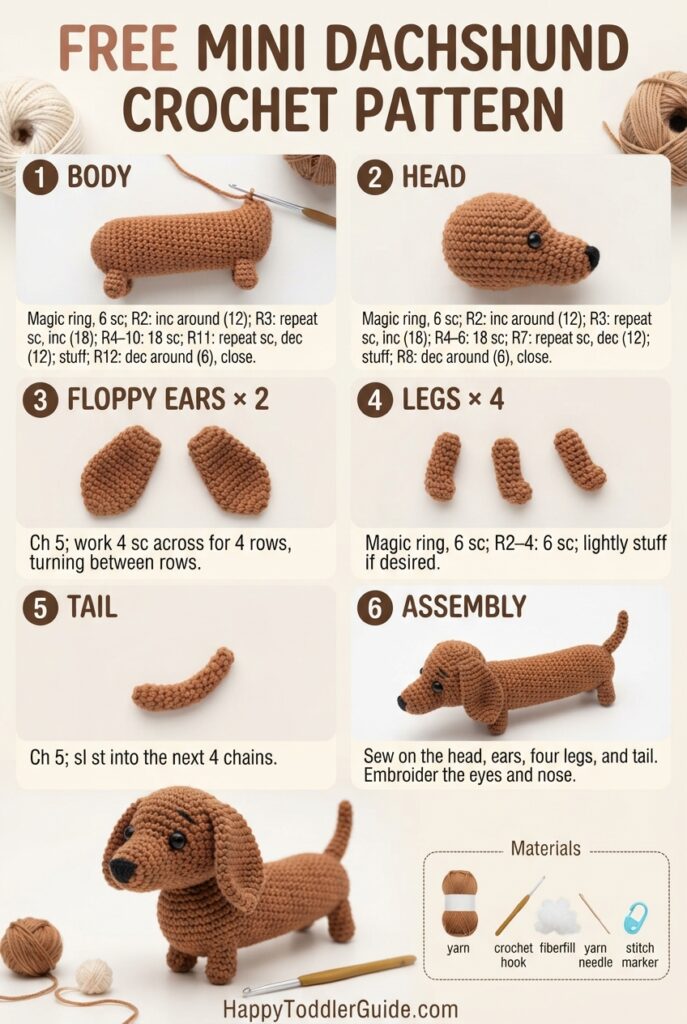
Looking for a small crochet project that is fun, beginner-friendly, and perfect for handmade gifts? This free mini dachshund crochet pattern is a wonderful way to create an adorable little sausage dog using basic amigurumi techniques. With its long body, floppy ears, short legs, and tiny tail, this miniature dachshund makes a lovely addition to a crochet collection.
This pattern uses simple stitches and small, easy-to-follow steps. You can make your dachshund in classic brown, black, tan, or a combination of your favorite yarn colors. It is also a great project for using leftover yarn from previous crochet creations.
Materials You Will Need
Before starting, gather these supplies:
- Worsted-weight yarn in brown, tan, or your preferred dog color
- A 2.5–3 mm crochet hook, depending on your yarn
- Polyester fiberfill stuffing
- Yarn needle for sewing the pieces together
- Stitch marker
- Scissors
- Black embroidery thread for the nose and eyes
For a toddler-friendly toy, use embroidered facial features instead of plastic safety eyes or buttons. Make sure all sewn parts are secure and inspect the finished toy regularly.
Abbreviations
This pattern uses US crochet terminology.
- MR: Magic ring
- sc: Single crochet
- inc: Increase (work 2 single crochets into one stitch)
- dec: Decrease (combine 2 stitches into 1)
- sl st: Slip stitch
- ch: Chain
- FO: Fasten off
Work in continuous rounds unless otherwise stated. Place a stitch marker in the first stitch of each round to keep track of your progress.
Step 1: Crochet the Long Dachshund Body
The dachshund’s long body is the main part of this project. Use brown or tan yarn and crochet tightly enough to prevent the stuffing from showing.
Round 1: Make a magic ring and crochet 6 sc into it. (6)
Round 2: Inc in every stitch. (12)
Round 3: Repeat 1 sc, inc around. (18)
Rounds 4–10: Sc in every stitch. (18)
Round 11: Repeat 1 sc, dec around. (12)
Lightly stuff the body with fiberfill. Do not overstuff it, as the body should remain soft and slightly elongated.
Round 12: Dec around. (6)
Fasten off, leaving a long yarn tail. Close the opening and weave in the end. The finished body should resemble a small, rounded sausage shape.
Step 2: Make the Dachshund’s Head
Use the same yarn color or choose a contrasting shade for the muzzle.
Round 1: Make a magic ring and crochet 6 sc into it. (6)
Round 2: Inc in every stitch. (12)
Round 3: Repeat 1 sc, inc around. (18)
Rounds 4–6: Sc in every stitch. (18)
Round 7: Repeat 1 sc, dec around. (12)
Lightly stuff the head, leaving enough room to shape it neatly.
Round 8: Dec around. (6)
Fasten off, leaving a long tail for sewing. Position the head at one end of the body and stitch it securely in place.
To create a longer dachshund muzzle, use a small amount of matching yarn to embroider a short oval nose area. Add a black embroidered nose and two small eyes.
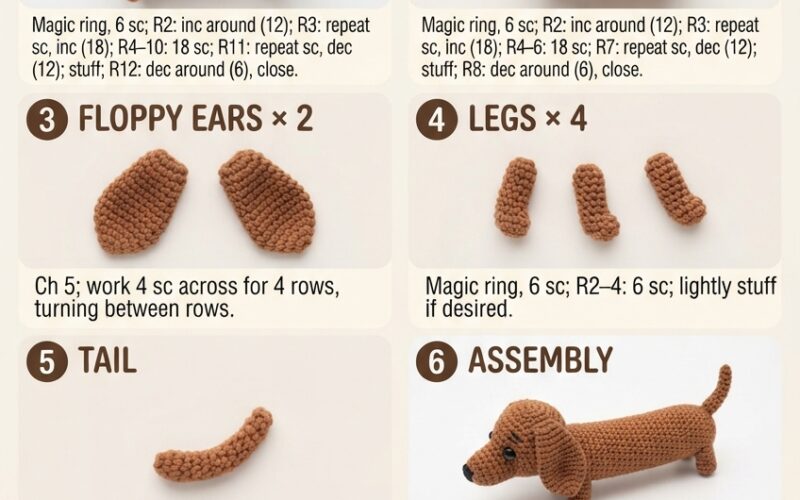
Step 3: Crochet Two Floppy Ears
Make two ears using brown, tan, or a darker shade.
Row 1: Ch 5.
Row 2: Starting in the second chain from the hook, sc across. (4)
Rows 3–5: Ch 1, turn, and sc across. (4)
Fasten off, leaving a sewing tail. Gently flatten each ear and sew one to either side of the head. Let the ears hang down to give the dachshund its recognizable appearance.
For a softer look, use a slightly lighter yarn color on the inside of each ear by embroidering a small line or adding a small matching crochet panel.
Step 4: Make Four Short Legs
Create four small legs using your chosen body color.
Round 1: Make a magic ring and crochet 6 sc into it. (6)
Rounds 2–4: Sc in every stitch. (6)
Fasten off, leaving a long sewing tail. Add a tiny amount of stuffing if desired.
Repeat until you have four legs. Sew two legs underneath the front half of the body and two underneath the back half. Keep them evenly spaced so the dachshund can sit or stand with support.
Step 5: Crochet a Tiny Tail
The tail is a simple finishing detail.
Row 1: Ch 5.
Row 2: Starting in the second chain from the hook, sl st in the next 4 chains.
Fasten off and leave a sewing tail. Attach the tail to the back of the body, positioning it slightly upward or to one side.
Step 6: Assemble and Finish Your Mini Dachshund
Now it is time to bring all the pieces together.
- Sew the head firmly to the front of the body.
- Attach the two floppy ears symmetrically.
- Sew the four short legs underneath the body.
- Attach the tail at the back.
- Embroider the nose, eyes, and any extra facial details.
- Check every seam and weave in all loose yarn ends.
Adjust the placement of the legs and ears before securing the final stitches. Small changes can give your dachshund its own personality.
Tips for the Best Results
Choose the right hook size. A smaller hook helps create tight stitches that keep the stuffing inside the toy.
Use stitch markers. Beginners can easily lose track of rounds when working in continuous spirals.
Stuff gradually. Add small amounts of fiberfill instead of filling the body all at once. This makes shaping easier.
Keep the proportions consistent. A slightly larger head, long body, short legs, and floppy ears help create the classic dachshund silhouette.
Personalize your creation. Try chocolate brown, caramel, cream, or black yarn. You can also add embroidered spots or a simple crocheted collar.
Final Thoughts
This free mini dachshund crochet pattern is a rewarding project for beginners who want to practice amigurumi shaping, increases, decreases, and sewing pieces together. The small size makes it a convenient handmade gift, desk companion, or decorative addition to a crochet animal collection.
Once you have mastered the basic pattern, experiment with different colors and facial expressions to create a whole family of miniature dachshunds. Take your time with assembly, keep your stitches consistent, and enjoy making your own little crochet sausage dog!
Pattern note: The stitch counts above describe a basic beginner design. Finished dimensions will vary with yarn, hook size, and individual tension. Always check the stitch counts as you work.