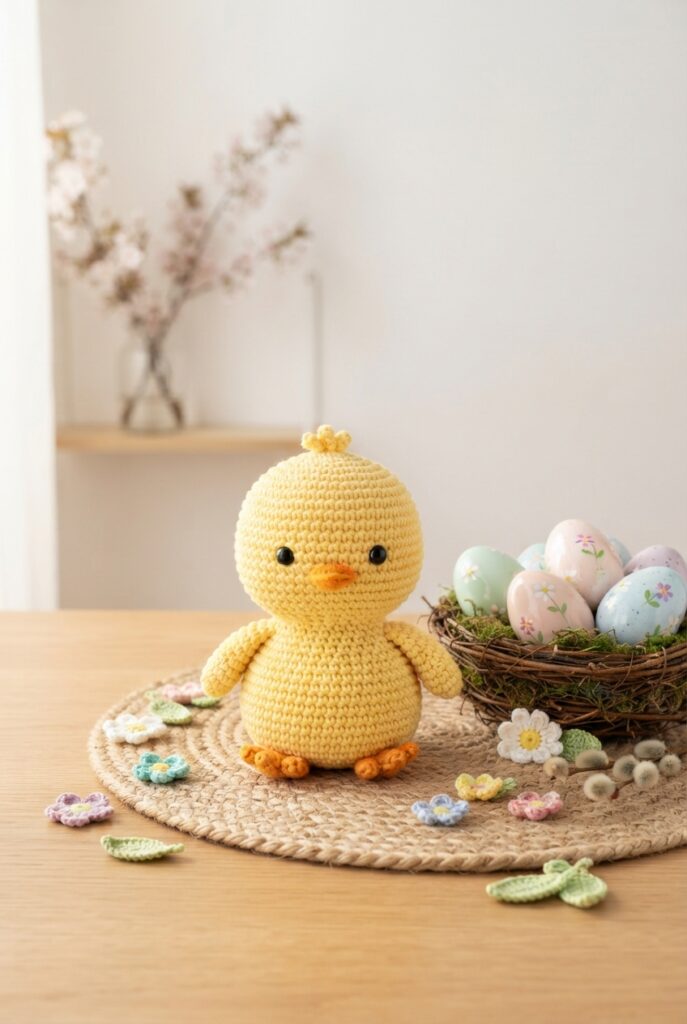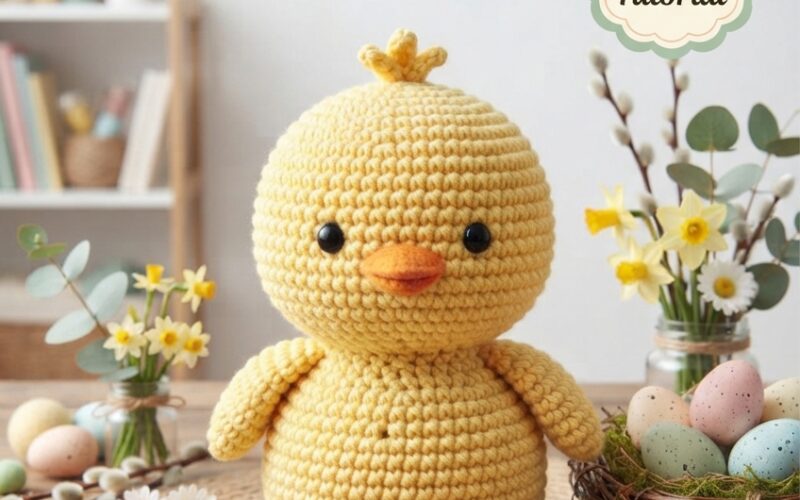
Easter is a wonderful time to make something special by hand, and a cute crochet chick toy is a fun project for anyone who enjoys simple crochet crafts. This little yellow chick can become a sweet Easter decoration, a handmade gift, or a soft toy for toddlers.
If you are looking for an easy crochet Easter project for kids, this adorable chick is a great choice. With basic crochet stitches, soft yarn, and a little creativity, you can make a cheerful Easter chick that is perfect for little hands.
Safety note: If the finished chick is intended for a toddler, avoid small detachable parts such as plastic safety eyes, beads, buttons, or loose decorations. Embroidered facial details are a safer option when age-appropriate supervision is provided.
Why Make a Crochet Easter Chick?
Crochet Easter chicks are small, colorful, and easy to customize. They are also a lovely way to introduce handmade crafts into your family’s Easter traditions.
You can make one chick for a toddler’s Easter basket or create several in different shades of yellow. Smaller versions can also be used as decorations around the home, while a larger chick can become a cuddly handmade toy.
This project is especially suitable for beginners because it uses simple shapes and doesn’t require complicated colorwork.
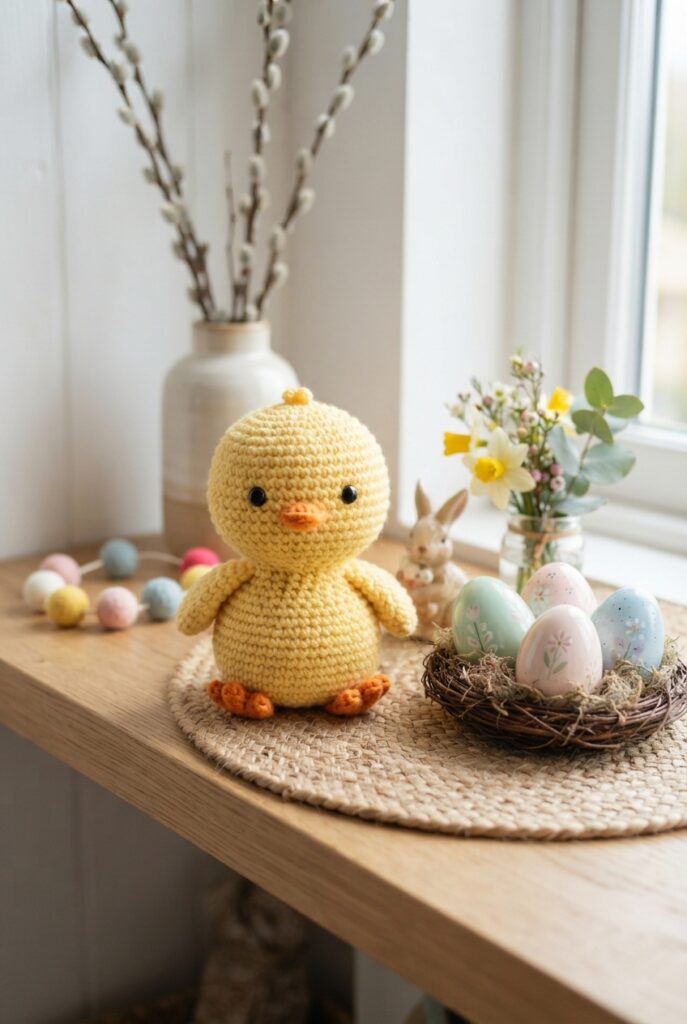
Materials You Will Need
Before beginning your crochet Easter chick, gather your supplies:
- Yellow medium-weight yarn
- Small amount of orange yarn
- Crochet hook suitable for your yarn
- Fiberfill stuffing
- Yarn needle
- Stitch marker
- Scissors
- Black yarn for embroidered eyes
- Optional pink or peach yarn for small details
Choose a soft, washable yarn if the finished toy will be handled frequently by children. Bright yellow creates the classic Easter chick appearance, but pale yellow, cream, or even soft pastel shades can make beautiful alternatives.
Basic Crochet Stitches
You don’t need advanced crochet skills for this project. The main stitches you may use include:
- Magic ring
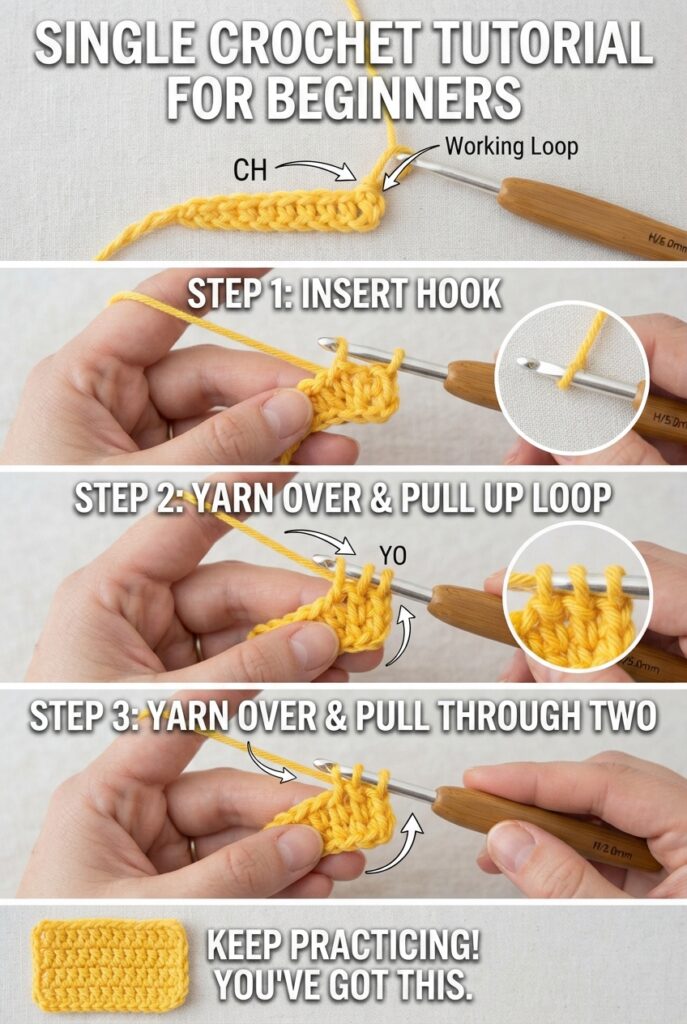
- Single crochet
- Increase
- Decrease
- Slip stitch
- Chain stitch
If you’re a beginner, take your time with the first few rounds. Keeping your stitches consistent will help your chick maintain a neat, rounded shape.
Step 1: Crochet the Chick’s Body
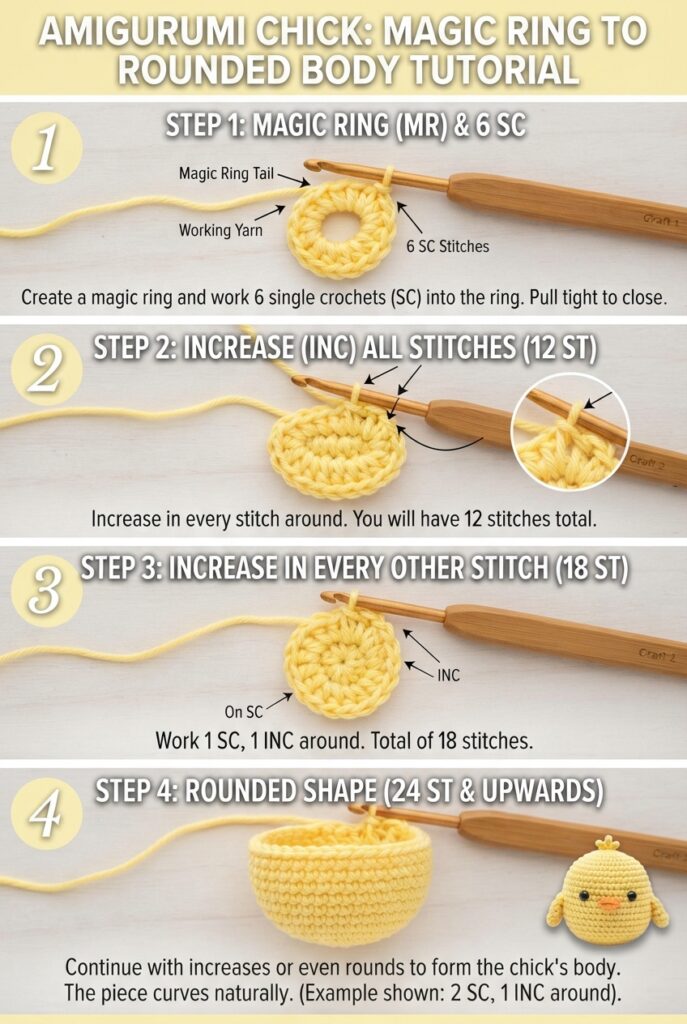
Start by creating a magic ring with your yellow yarn. Work several single crochet stitches into the ring and gently pull the yarn to close the center.
Continue crocheting in rounds, adding increases during the early rounds so the piece gradually becomes wider. Once you reach the desired width, continue with regular single crochet rounds without increasing.
The body should begin forming a rounded, egg-like shape.
Keep checking your work as you crochet. If the stitches become too tight, the shape may become difficult to stuff later.
Step 2: Add the Stuffing
When the chick’s body is large enough, gently add small amounts of fiberfill.
Avoid packing the stuffing too tightly. You want the finished chick to feel soft while still keeping its shape.
Add a little stuffing at a time and use your fingers or the blunt end of your crochet hook to carefully distribute it inside the body.
Continue crocheting the final rounds while adding more stuffing if necessary. Once the body is completely closed, secure the yarn and weave the end inside.
Step 3: Crochet the Wings
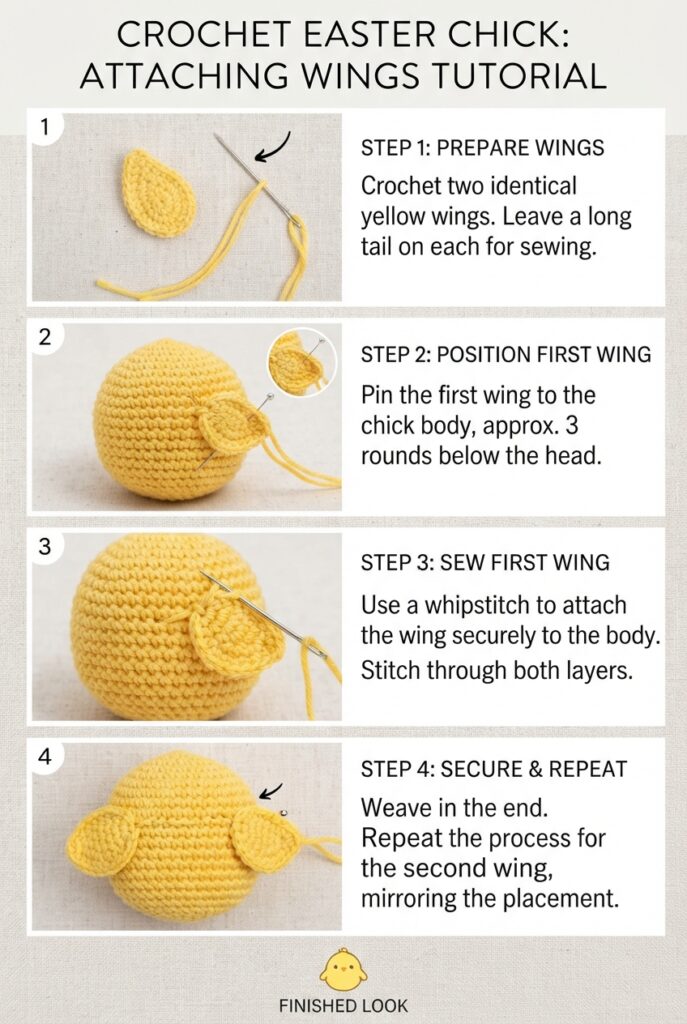
For the wings, crochet two small matching pieces using yellow yarn.
A simple wing can be made from a small oval or rounded shape. You can use increases to create the wider portion and then finish with a few regular stitches.
Once both wings are finished, sew them securely onto the sides of the chick.
Step 4: Make the Beak
The orange beak is what gives your crochet chick its cheerful Easter look.
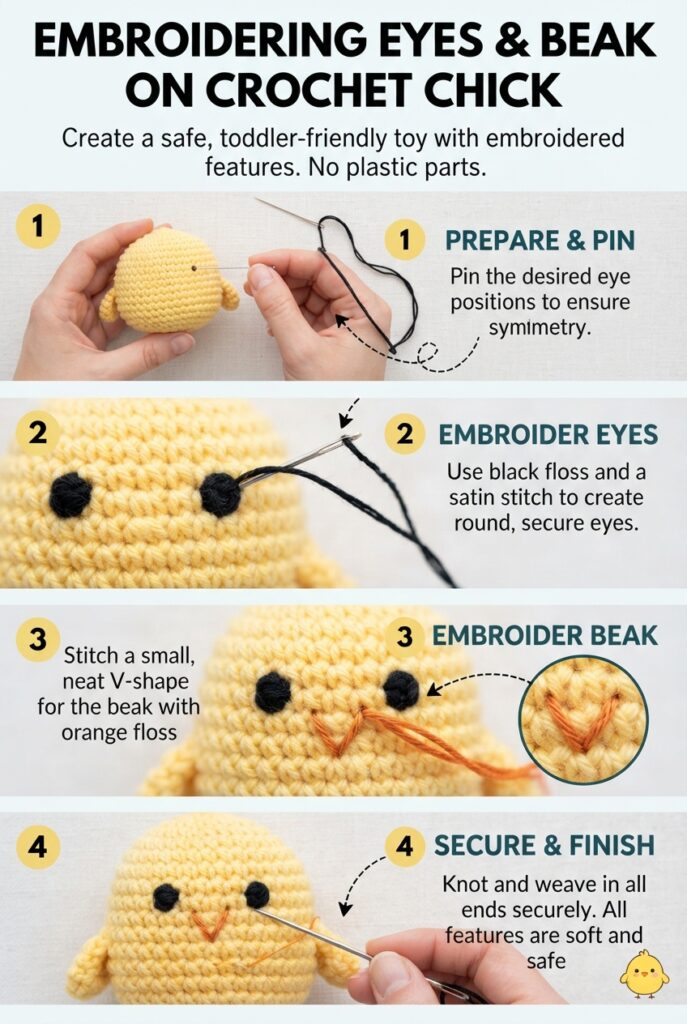
Use orange yarn to crochet a tiny triangular or diamond-shaped beak. You can also create the appearance of a beak by embroidering a small orange triangle directly onto the body.
For a toddler-friendly version, embroidered details are preferable to small pieces that could become detached.
Position the beak near the upper center of the face and secure the yarn carefully inside the body.
Step 5: Embroider the Face
Now it’s time to give your Easter chick some personality.
Use black yarn to embroider two small eyes. Keep the facial design simple and secure all yarn ends carefully.
You can also add tiny embroidered cheeks using pink or peach yarn if you want a softer, more playful appearance.
Avoid loose embellishments and detachable decorations when making toys intended for young children.
Step 6: Finish and Shape Your Chick
Once all the pieces are attached, inspect your crochet chick carefully.
Check that the wings are securely sewn on and that there are no loose yarn ends. Gently shape the body with your hands so it has a smooth, rounded appearance.
You can make several chicks in different sizes for an adorable Easter display. Try combining yellow chicks with pastel pink, blue, green, and lavender Easter decorations.
Fun Ways to Use Your Crochet Easter Chick
Your finished chick can be used in several ways:
- Easter basket decoration
- Handmade toddler gift
- Nursery decoration
- Spring craft project
- Easter table decoration
- Handmade photo prop
- Crochet gift for children
You can also turn the basic pattern into other Easter animals by changing the colors, adding different ears or tails, or experimenting with facial details.
Final Tips for Beginners
The most important thing is to enjoy the process. Your first crochet chick may not look exactly like the example, and that’s completely normal. Crochet becomes easier as you practice.
Choose a simple yarn, work slowly, and count your stitches regularly. If you’re making the chick for a toddler, pay particular attention to securely finished seams and age-appropriate materials.
A handmade crochet Easter chick is more than just a craft. It can become a cheerful little keepsake that makes Easter feel even more special.