
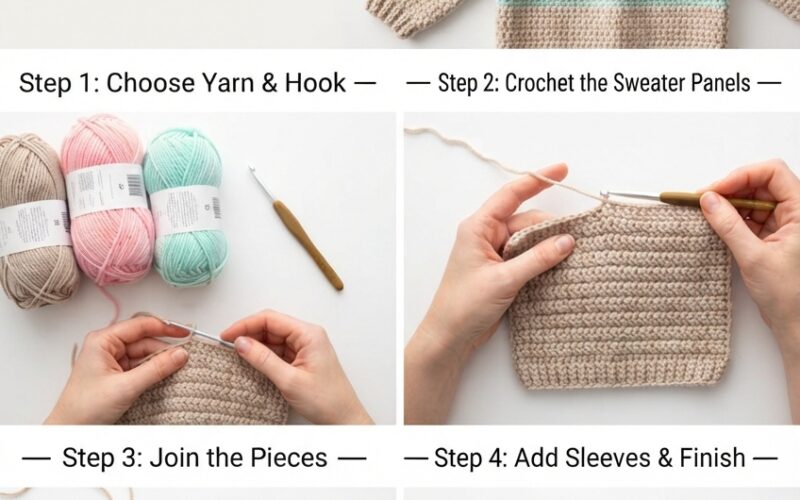
Crocheting a sweater for a toddler can be a fun and rewarding project, especially if you are just starting to learn crochet. A simple toddler sweater does not need complicated stitches or difficult shaping. With soft yarn, a comfortable crochet hook, and a little patience, beginners can create a cute handmade sweater that is perfect for everyday wear, chilly mornings, or a thoughtful handmade gift.
This beginner-friendly crochet toddler sweater uses simple stitches and basic construction techniques. You can customize the colors, length, and small details to create a sweater that feels unique.
Materials You Will Need
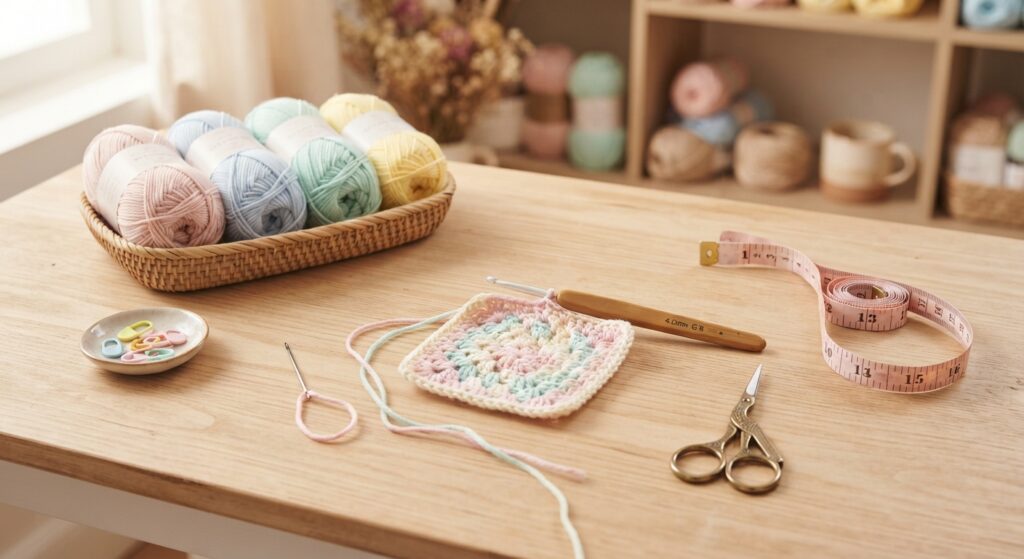
Before starting your crochet toddler sweater, gather everything you need:
- Soft medium-weight yarn suitable for children
- A crochet hook recommended for your yarn
- Yarn needle
- Scissors
- Measuring tape
- Stitch markers
- Optional: small buttons or decorative crochet details
Choose a soft, washable yarn that feels comfortable against a toddler’s skin. Cotton blends and soft acrylic yarns can be good choices for an easy-care sweater.
Step 1: Measure the Toddler
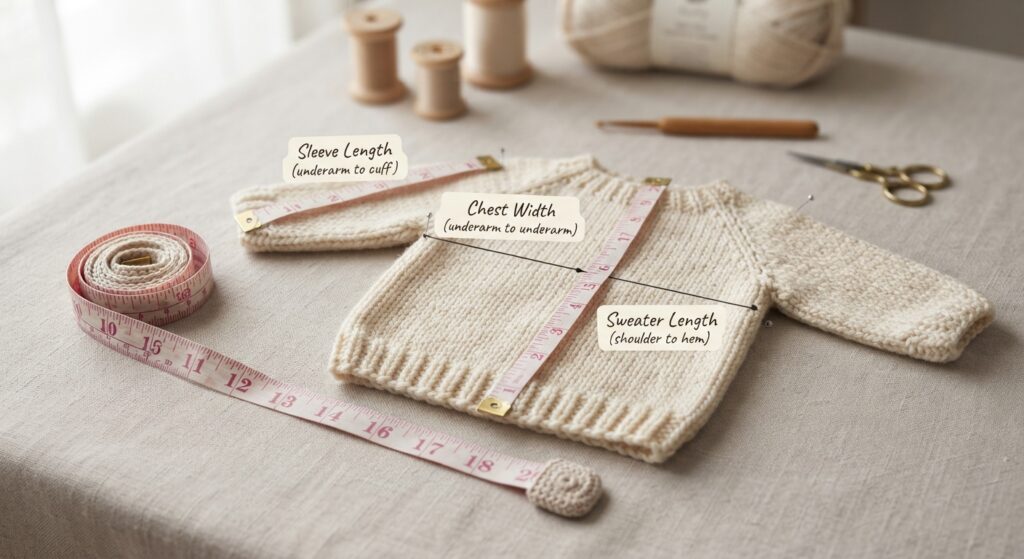
Before crocheting, take a few basic measurements. Measure around the chest, from the shoulder to the bottom of the sweater, and around the upper arm.
For a beginner project, it is helpful to make the sweater slightly relaxed rather than very fitted. Toddlers need enough room to move, play, and layer clothing underneath.
Write down the measurements before beginning so you can check the size as you work.
Step 2: Crochet the Main Body
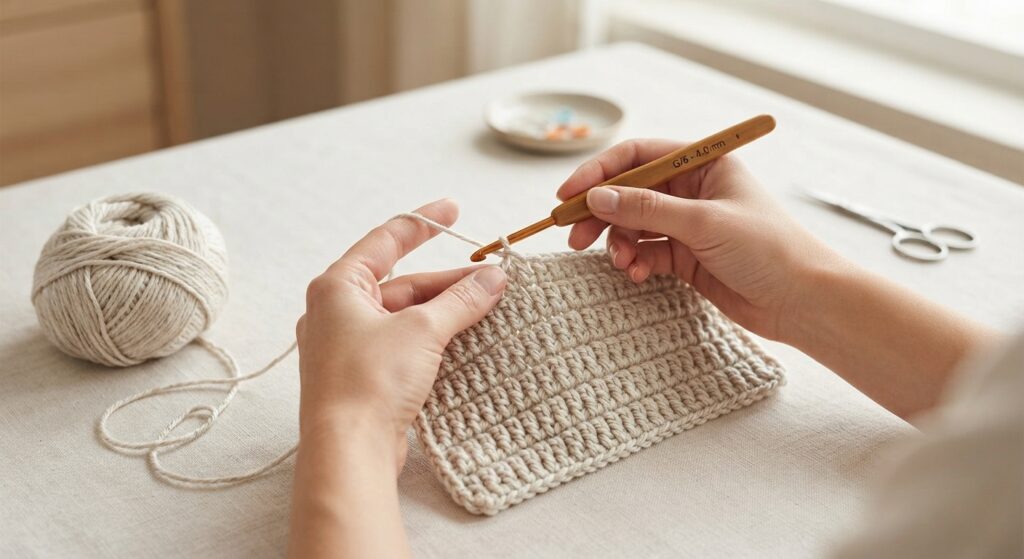
Start with the front and back panels of the sweater. A simple rectangle made with single crochet or half double crochet is ideal for beginners.
Create a foundation chain based on the desired sweater width. Work back and forth in rows until the panel reaches the required length.
Half double crochet is particularly useful because it creates a soft fabric while working up faster than single crochet. Keep your tension consistent so the stitches remain even.
Make two panels of the same size for the front and back.
Beginner tip: Count your stitches at the end of each row. This helps prevent the sweater from gradually becoming wider or narrower.
Step 3: Create the Neckline and Shoulders
Once the front and back panels are finished, create the neckline. For a simple beginner sweater, you can leave a comfortable opening in the center of the front panel.
Crochet across the shoulder sections while leaving the neckline open. Repeat the same arrangement on the back panel.
The neckline should be large enough for the toddler’s head to pass through comfortably. Avoid making the opening too tight.
After completing both panels, place them together with the right sides facing inward and use a yarn needle to sew the shoulder seams.
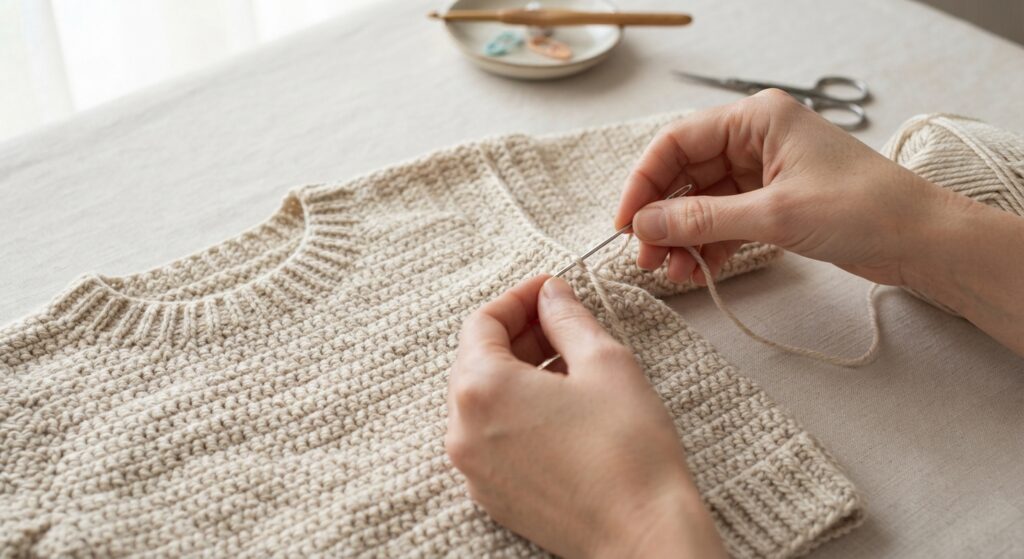
Step 4: Add the Sleeves
For simple sleeves, crochet directly around the arm openings or create separate rectangular sleeve pieces and sew them into place.
If you are a beginner, separate rectangular sleeves can be easier to control. Crochet each sleeve until it reaches the desired length, then fold and sew the sleeve seam.
Attach each sleeve carefully to the sweater body. Make sure both sleeves are approximately the same length.
For a cozy toddler sweater, slightly loose sleeves can make the finished garment comfortable and easy to wear.
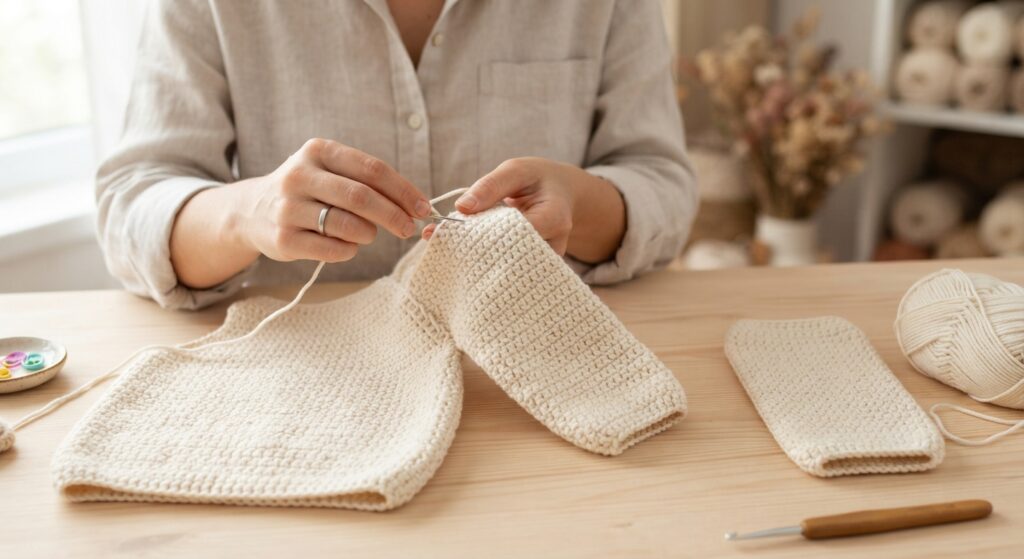
Step 5: Finish the Sweater
After assembling the main pieces, check all seams and weave in the loose yarn ends with a yarn needle.
You can finish the neckline, cuffs, and bottom edge with a simple round of single crochet. This creates a clean border and gives the sweater a more polished appearance.
For extra personality, add a small crochet flower, heart, star, bunny detail, or simple stripe pattern. Keep decorations securely attached, especially when making clothing for young children.
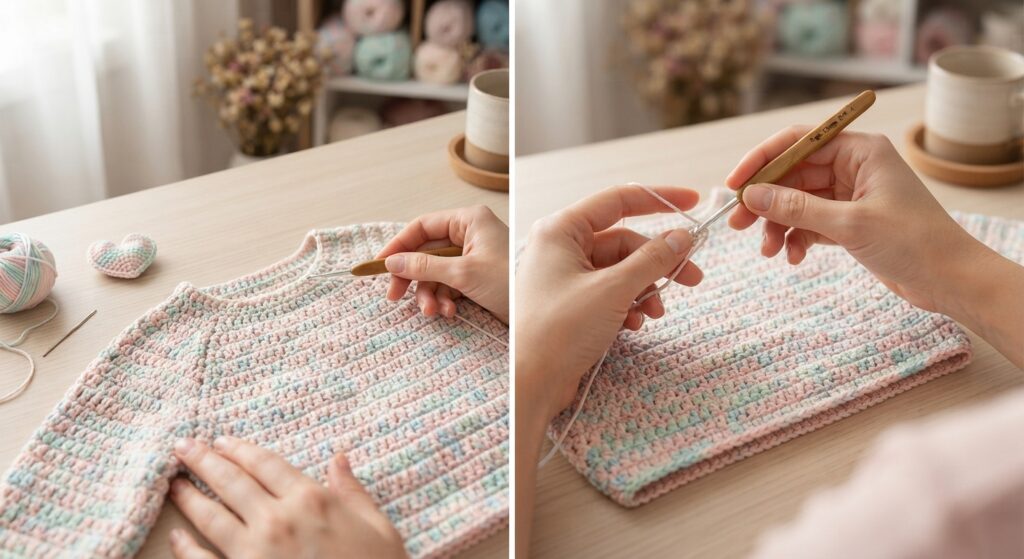
Easy Color Ideas
One of the best things about making your own crochet toddler sweater is choosing the colors yourself. Soft cream, beige, sage green, dusty blue, lavender, pale yellow, and warm brown can create a gentle handmade look.
For something more playful, try two contrasting colors. You could use one color for the main sweater and another for the cuffs and neckline.
Simple stripes are also beginner-friendly because you only need to change yarn colors at the end of selected rows.
Tips for Beginners
Do not worry if your first few rows are not perfect. Crochet tension usually becomes more consistent with practice.
Always check the sizing before sewing everything together. You can place the panels against a similar-sized toddler sweater to compare the width and length.
Use a stitch marker when working in rounds, and count stitches regularly. Most importantly, choose comfortable yarn and avoid overly complicated patterns when making your first sweater.
Toddler-Friendly Safety Tips
When making clothing for toddlers, choose soft, durable yarn and avoid small decorations that could become loose. If you add buttons or other embellishments, make sure they are securely attached and appropriate for the child’s age.
Always check the finished sweater for loose yarn ends, weak seams, or detachable decorations before use.
Final Thoughts
Learning how to crochet a cute toddler sweater for beginners is a great way to practice basic crochet skills while creating something useful and special. With simple panels, easy stitches, and straightforward assembly, you can make a comfortable handmade sweater without needing advanced crochet techniques.
Once you are comfortable with this basic design, experiment with different colors, borders, stripes, and small crochet details. A handmade toddler sweater can become a cozy everyday favorite or a thoughtful gift made with love.
