
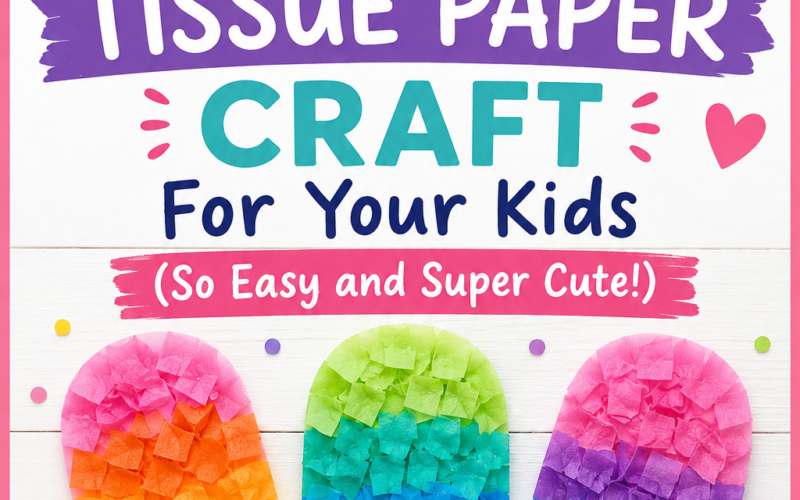
Keep little hands busy this summer with an easy tissue paper popsicle craft! Printable step-by-step guide with low mess and high fun. Perfect fine motor activity for toddlers and preschoolers.
Prep Time: 5 minutes | Craft Time: 15–20 minutes | Mess Level: Very Low
When the summer heat hits and you need a quick, quiet activity to keep little hands busy indoors, nothing beats a classic paper craft. This Summer Popsicle Tissue Paper Craft is bright, cheerful, and ridiculously simple to set up. Whether you are running a home daycare, teaching a preschool classroom, or just looking for a sanity-saving afternoon craft for your toddler, this sweet project delivers big creative smiles with minimal cleanup.
Beyond being absolutely adorable to hang up on the fridge or in a sunny window, this project doubles as a powerful learning activity. Early childhood development relies heavily on playful tactile experiences, and this craft delivers rich sensory input through texturing, squeezing, and sticking.
Why Tissue Paper Crafts Are Ideal for Young Kids
Before diving into the setup, it helps to understand why tissue paper is such a staple in early childhood art. Working with thin, flexible paper allows toddlers to experience cause and effect immediately. Unlike heavy construction paper or rigid cardboard, tissue paper responds effortlessly to tiny fingers.
- Building Hand & Finger Strength: Pinching, rolling, and scrunching tissue paper into tight little bursts forces toddlers to use their pincer grasp—the foundational grip required for writing, using scissors, and buttoning shirts.
- Low-Stress Creativity: There is no wrong way to scrunch a piece of tissue paper. Kids who feel frustrated by drawing precise lines thrive with textured crafts because every completed shape looks full, bright, and deliberate.
- Practicing Patience & Focus: Filling in an outlined space piece-by-piece encourages sustained focus, visual tracking, and spatial awareness as children decide where the next piece should go.
What You’ll Need
You don’t need a trip to a specialty craft store for this one. Most of these supplies are likely sitting in your craft drawer right now:
- Popsicle Template: A simple outline drawn on heavy cardstock, or a printed template.
- Tissue Paper Squares: Pre-cut into $1 \times 1$ inch squares in bright summer shades (pink, bright yellow, turquoise, lime green, orange, or purple).
- Craft Stick: Standard jumbo wooden craft stick (plain or pre-painted).
- School Glue: Standard liquid craft glue or a generous glue stick.
- Scissors: For cutting out the finished popsicle shape.
- Heavy Cardstock: White cardstock holds up much better than standard printer paper under liquid glue.
Step-by-Step Instructions
Step 1: Prep the Template & Materials
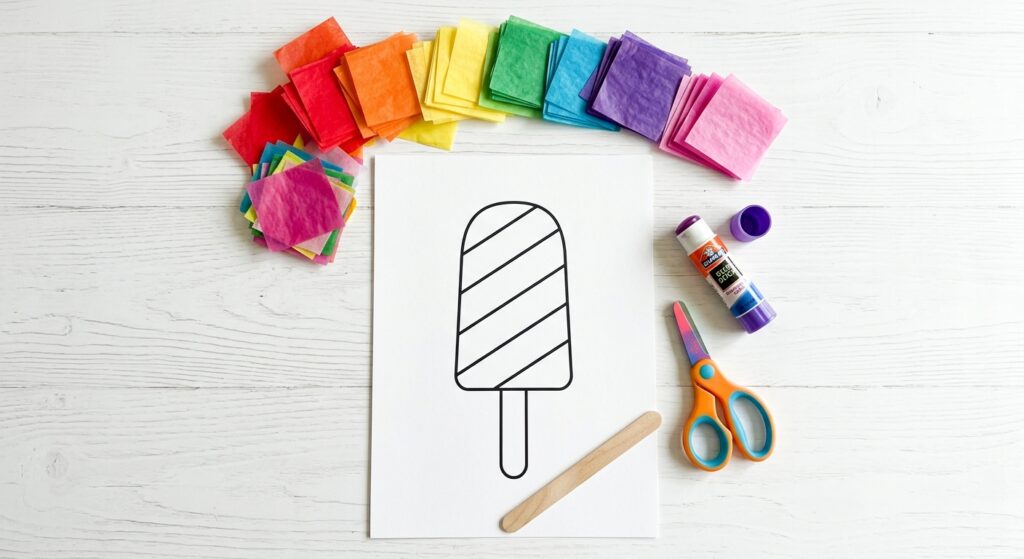
Start by printing your popsicle outline onto a sturdy sheet of cardstock, or draw your own quick freehand outline using a thick black marker. Standard printer paper will warp when wet glue is applied, so heavy cardstock is key for stability. Next, prepare your tissue paper. If you bought tissue sheets, cut them into small, rough $1 \times 1$ inch squares. You don’t need straight edges or perfection here! In fact, letting toddlers help tear the tissue paper into strips before snipping is another fantastic way to work on bilateral coordination.
Step 2: Scrunch the Tissue Paper
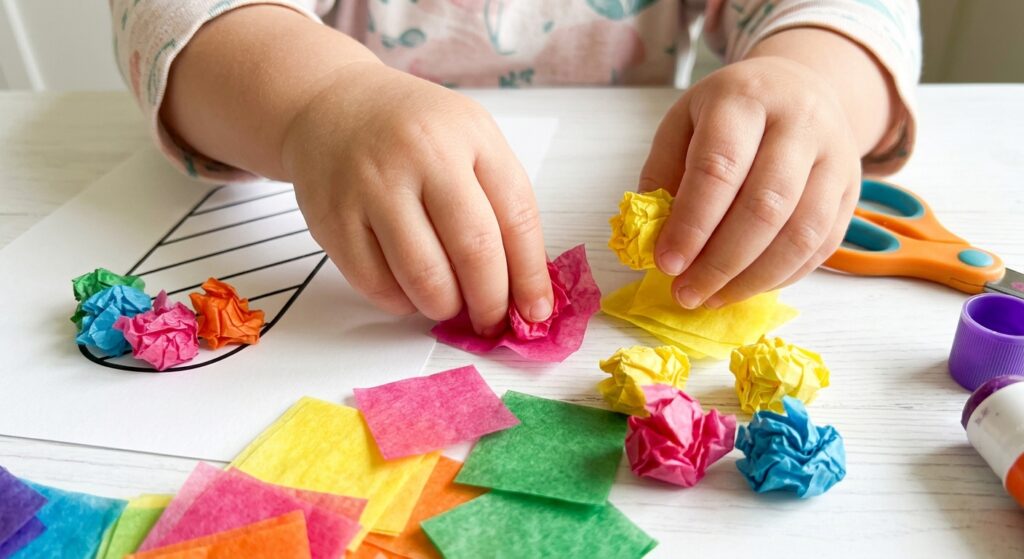
Show your child how to place a paper square in the center of their palm and crumple it using their fingertips. Encourage them to roll some into tight balls and leave others loosely scrunched for varied texture. For younger toddlers who may struggle with scrunching, you can demonstrate wrapping the paper around the dull eraser end of a pencil, though squeezing it directly by hand provides the best fine-motor workout. Group the scrunched balls by color into small bowls to turn this step into a quick color-sorting game.
Step 3: Fill in the Popsicle
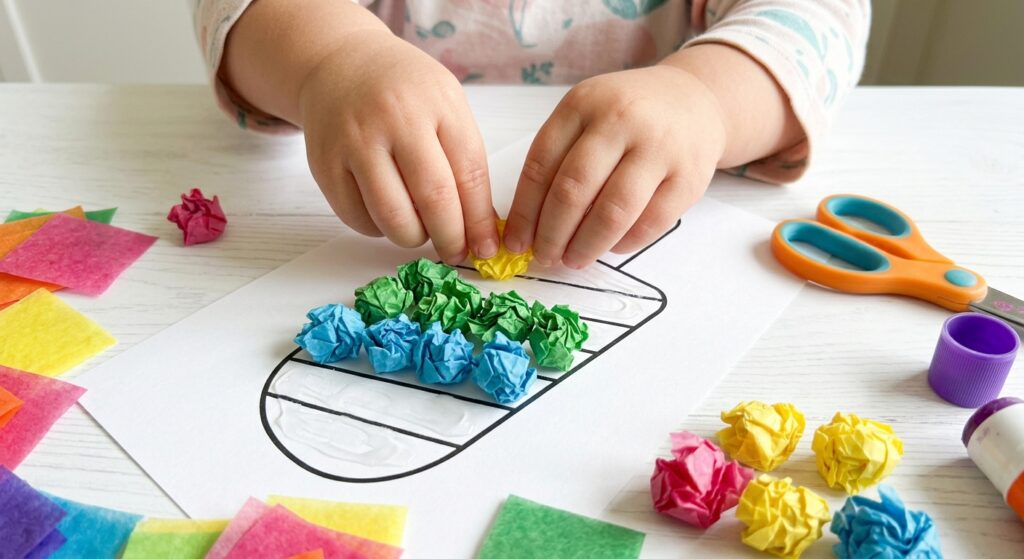
Squeeze a generous amount of liquid craft glue inside the main body of the popsicle outline. Working in smaller sections keeps the glue from drying out too fast. Have your child gently press the scrunched tissue paper pieces into the glue, placing them close together so very little white space shows through. Encourage them to get creative with patterns! They can make horizontal color-striped “bomb pops,” vertical color blocks, or a chaotic, beautiful rainbow mix.
Step 4: Add the Stick & Trim
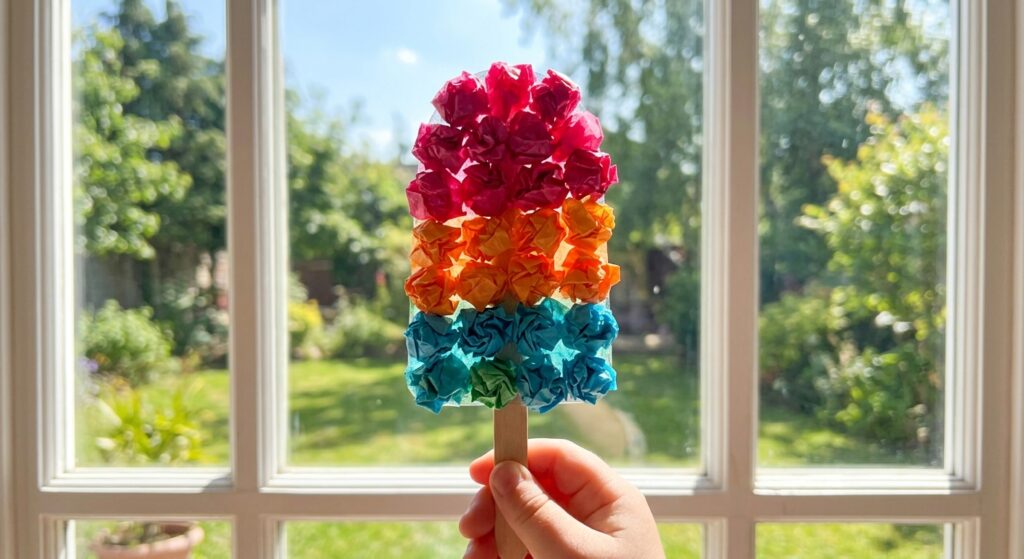
Once the tissue paper fully covers the template body, apply a thick line of glue along the top half of your wooden craft stick and slide it under the bottom edge of the paper popsicle shape. Press down firmly to adhere. Allow the glue to dry completely for about $15 \text{ to } 20$ minutes. Finally, take your scissors and cut out around the outer border of the popsicle, leaving a slight margin to clean up the edges.
Tips for Success & Quick Variations
- The Pencil-Top Method: Older preschoolers love wrapping tissue paper around the eraser end of a pencil, dipping the bottom in glue, and stamping it onto the paper. It creates a fluffy 3D effect!
- Mess Control: Squeeze liquid glue into a small plastic bottle cap or dish and hand your child a paintbrush or cotton swab. This gives them precise control without a giant squeeze-bottle puddle.
- Scented Popsicles: Add a drop of strawberry, orange, or lemon extract directly into the liquid glue before painting it down for a fun, multi-sensory twist!
Hang your finished colorful popsicles on a sunny classroom board or tape them to a window where natural light can bring those vibrant summer shades to life!
