
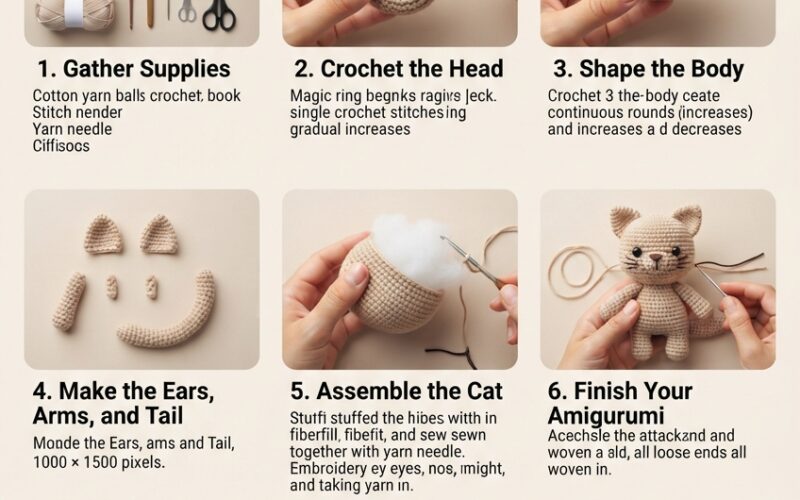
If you love handmade toys and want to try your first amigurumi project, this crochet cat pattern is a wonderful place to start. With its round head, tiny ears, little paws, and adorable tail, this crocheted cat makes a charming gift for birthdays, baby showers, or anyone who appreciates handmade creations.
You do not need advanced crochet skills to make this project. The pattern uses basic stitches and simple shaping techniques that beginners can learn with a little patience. You can also customize your cat with different yarn colors, embroidered facial expressions, and small details to give it a personality of its own.
In this easy tutorial, you will learn what materials you need, how to crochet each part, and how to assemble your finished amigurumi cat.
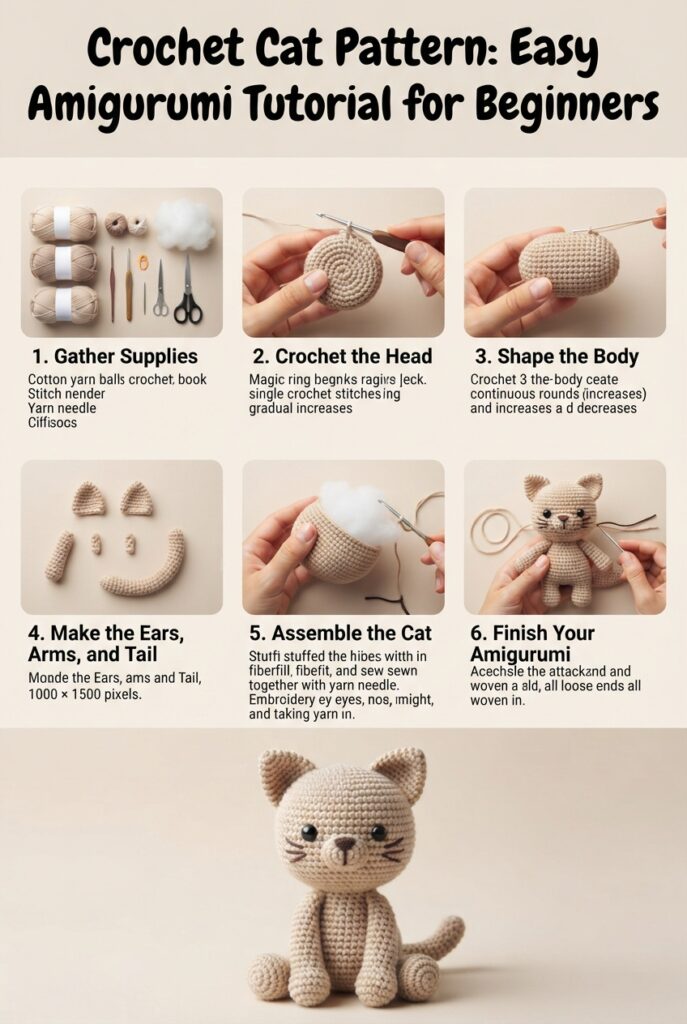
Materials You Will Need
Before beginning, gather the following supplies:
- Medium-weight cotton or acrylic yarn in your preferred color.
- A crochet hook suitable for your yarn, usually 2.5–3.5 mm for a small amigurumi toy.
- Polyester fiberfill stuffing.
- A yarn needle for sewing the pieces together.
- Scissors.
- A stitch marker.
- Black and pink embroidery yarn for the facial features.
Choose a hook that creates tight stitches so the stuffing does not show through the fabric. If you are making this toy for a young child, use embroidered facial features instead of plastic safety eyes and secure every piece firmly.
Crochet Abbreviations
This beginner-friendly pattern uses the following abbreviations:
- MR: Magic ring
- sc: Single crochet
- inc: Increase, meaning two single crochet stitches in one stitch
- dec: Decrease, preferably an invisible decrease
- sl st: Slip stitch
- ch: Chain
- st: Stitch
- FO: Fasten off
Work in continuous rounds unless otherwise indicated. Place a stitch marker at the beginning of each round to help you keep track of your stitches.
Step 1: Crochet the Cat’s Head
The head is the most recognizable part of your amigurumi cat, so take your time to create a neat, rounded shape.
Using your main yarn color, make a magic ring and crochet six single crochet stitches into the ring.
Round 1: 6 sc in the magic ring.
Round 2: Increase in every stitch (12 stitches).
Round 3: Repeat one single crochet and one increase around (18 stitches).
Round 4: Repeat two single crochet stitches and one increase around (24 stitches).
Rounds 5–9: Crochet one single crochet in each stitch around (24 stitches per round).
Round 10: Repeat two single crochet stitches and one decrease around (18 stitches).
Begin adding small amounts of stuffing to maintain the rounded shape.
Round 11: Repeat one single crochet and one decrease around (12 stitches).
Fasten off, leaving a long yarn tail for sewing. Add more stuffing if necessary before closing the remaining opening.
Step 2: Crochet the Body
The body can be slightly oval to give your finished cat a cute sitting position.
Using your main yarn color, chain seven stitches. Starting in the second chain from the hook, crochet five single crochet stitches, then three single crochet stitches in the last chain. Continue along the opposite side of the chain with four single crochet stitches and two single crochet stitches in the final space.
You should have an oval base of 14 stitches.
Round 2: Increase at each end of the oval, distributing the increases evenly along the sides.
Rounds 3–7: Crochet single crochet stitches around, adding occasional increases if needed to maintain the oval shape.
Continue until the body reaches your preferred height. Fasten off with a long tail and leave the opening accessible for stuffing.
Fill the body with fiberfill, keeping the bottom firm enough for the cat to sit upright. Sew the opening closed neatly.
Step 3: Make the Ears
Make two matching ears using the same yarn as the head.
Row 1: Chain five stitches.
Row 2: Starting in the second chain from the hook, crochet four single crochet stitches.
Row 3: Decrease one stitch at each end where possible, shaping the piece into a small triangle.
Fasten off and leave a yarn tail for sewing.
For a decorative touch, embroider a small pink triangle onto each ear using embroidery yarn. Keep the stitches secure and the details simple.
Step 4: Crochet the Arms and Tail
To make two small arms, chain seven stitches and work six single crochet stitches starting in the second chain from the hook. Repeat for the second arm. Fasten off, leaving enough yarn to attach each arm to the body.
For the tail, chain approximately 12 stitches. Work a row of single crochet stitches along the chain, then fasten off. You can adjust the length to make the tail short and curved or slightly longer.
These pieces do not need to be stuffed heavily. A little filling in the arms can help them retain their shape, while the tail can remain flat or lightly stuffed.
Step 5: Assemble Your Amigurumi Cat
Now it is time to bring all the pieces together.
Position the head above the body and sew them together using the long yarn tails. Make several secure stitches around the connection so the head stays upright.
Attach the two ears symmetrically to the top of the head. Sew the arms onto the sides of the body and attach the tail at the back, checking that the cat can sit comfortably.
Use black embroidery yarn to create two small eyes, a tiny nose, and a simple mouth. You can add whiskers with a few delicate stitches if desired.
Before finishing, check every seam and weave in all loose yarn ends. Gently shape the head and body with your fingers to create a smooth, rounded appearance.
Step 6: Customize Your Crochet Cat
One of the best things about making amigurumi is the freedom to personalize each creation.
Try cream yarn for a classic kitten, gray yarn for a soft-looking cat, or orange yarn for a playful ginger cat. You could also create a black-and-white cat by changing yarn colors between rounds.
For an extra special handmade gift, crochet a tiny scarf or a simple bow and sew it securely onto the finished toy. Embroidered stripes or patches can also make your cat look unique without adding complicated techniques.
If you are making several cats, experiment with different ear shapes, tail lengths, and body proportions to create an entire collection of crocheted kittens.
Tips for Beginner Crocheters
Keep your stitches consistent. Tight, even stitches help the stuffing stay inside and give your cat a neat finish.
Count every round. A stitch marker and a small notebook can help you track increases and decreases.
Stuff gradually. Adding small amounts of fiberfill as you work makes it easier to avoid lumps and gaps.
Practice invisible decreases. This technique creates a smoother surface and helps your amigurumi look more professional.
Secure every component. If the finished cat is intended for a young child, avoid detachable decorations and make sure all embroidered details and sewn parts are secure. Follow applicable toy-safety guidance.
Conclusion
This crochet cat pattern is a fun, approachable project for anyone learning amigurumi. By combining basic single crochet stitches with simple increases, decreases, and sewing techniques, you can create an adorable handmade cat without complicated instructions.
Once you have mastered the basic pattern, try different yarn colors and small design changes to make each cat unique. Whether you keep it as a handmade decoration or give it to someone special, your finished crochet cat is a lovely reminder of what you can create with a little yarn, patience, and creativity.
Happy crocheting!
